Bu kılavuzda güncel değişiklikler var. En son onaylanmamış sürüme geçin.
Giriş
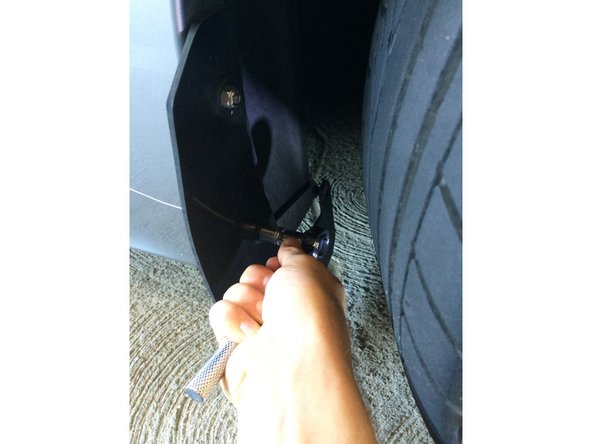
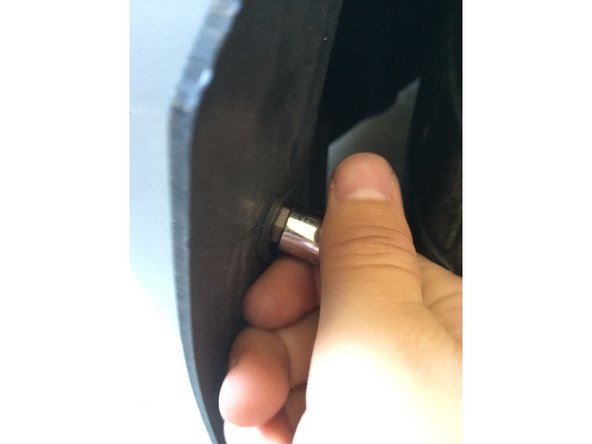
Are your mud flaps cracked or broken? Use this guide to replace your mud flaps to look brand new.
Neye ihtiyacın var


Neredeyse bitti!
To reassemble your device, follow these instructions in reverse order.
Sonuç
To reassemble your device, follow these instructions in reverse order.
Ekip

Cal Poly, Team 14-3, Green Fall 2015 Cal Poly, Team 14-3, Green Fall 2015 üyesi
CPSU-GREEN-F15S14G3
4 Üyeler
5 adet Kılavuz yazıldı