Giriş
Printed parts needed:
4x Bed Spacer.stl
1x Bed_frame_cover_-_front_left.stl
1x Bed_frame_cover_-_front_right.stl
1x Bed_frame_cover_-_Rear_left.stl
1x Bed_frame_cover_-_Rear_right.stl
Neye ihtiyacın var
-
-
Thread in 4x M6x16 button head screws into the threaded holes in the 2x 173mm 2020 extrusions. Attach the 2x 173mm 2020 extrusion to the 2x 405mm 2020 extrusion and tighten the M6x16mm screws.
-
Make sure the bed frame is square.
-
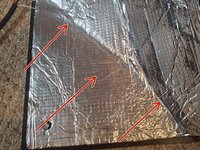
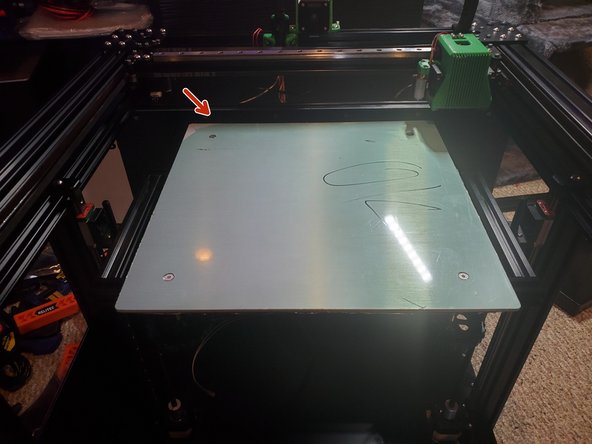
After assembly I found out that there should be 4x internal corners on the bed frame (marked with red arrows). Use 8x M5x8 button head screws and 8x M5 T-nuts to attach them to the bed frame.
-
The bed mounts come threaded which we don't want. Use a drill with a 4.5mm or 3/16 drill bit to drill out the threads
-
Attach the 4 bed mounts to the bed frame using 8x M5x8mm button head screws and 4x M5 T-nuts. Each Bed mount should be 62mm from the corner.
-
Mount the Bed Frame to the Z Bed Carriage Mounts using 4x M5x10mm button head screws and 8x M5 T-nuts. There should be 93mm from Z Bed Carriage Mounts to the corner on all sides of the Bed Frame
-
-
-
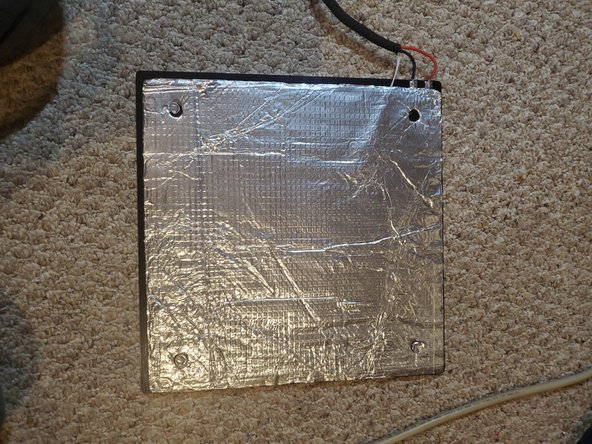
Take the 3mm Heated Bed and the foam insulation. Partially peel the backing paper on one corner of the insulation
-
Center the foam insulation on the back of the bed. Once it's centered press down on the corner were you peeled the backing paper from.
-
-
-
-
Peel more of the backing paper off but do not let the foam touch the bed yet.
-
Starting in the corner that is already taped to the bed go in a diagonal direction towards the opposite corner pressing the foam down to the bed
-
Expose more of the backing paper and repeat until the insulation is taped to the underside of the bed
-
-
-
Using the 4x M4x55 countersunk screws, bed springs, and bed adjustment wheels mount the bed to the frame.
-
Mount the bed frame to the Z brackets with 4x M5x10 button head screws and 4x M5 T-nuts
-
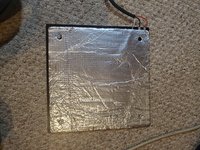
Feed the bed wires through the hole on the bottom left of the back panel
-
-
-
Peel the protective film off the bed. It would be wise to use IPA to clean the bed.
-
Peel the backing paper off the glass bed surface.
-
Press the glass bed surface onto the heated bed.
-
-
-
I've always had the theory when tightening the lead screw set screws and the bed carriage isn't parallel to X it'll cause side pull force which will cause the bed to become misaligned when the power is off.
-
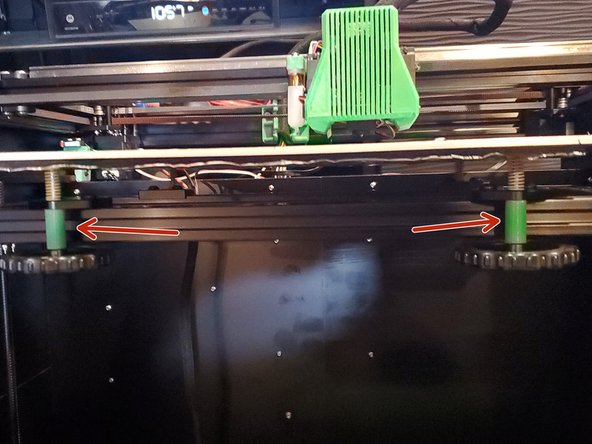
Loosen the bed carriage mounts and the lead screw set screws. I used 2 90° corner brackets. Press the frame so the brackets touch the X carriage. Tighten the M5s for the bed frame brackets
-
For this part I clamped the bed frame and corner brackets to the X carriage. Spin the lead screws into the coupler so they just kiss the bottom of the coupler. Than tighten the set screws on each coupler equally. If your couplers have 2 set screws that hold the lead screw don't tighten one completely, than the other. Tighten both of them equally.
-


İptal et: Bu kılavuzu tamamlamadım.
10 farklı kişi bu kılavuzu tamamladı.