Ana içeriğe geç

Bu sürüm, hatalı düzenlemeler içerebilir. En son doğrulanmış bellek kopyası dönün.

Neye ihtiyacın var

  1. Bu adım çevrilmemiş. Çevrilmesine yardım edin

    : adım 1, 2 resimden 1. : adım 1, 2 resimden 2.
    • Loosen the back cover using the suction cup.

    • Pull up on the center of the back with the suction cup.

    • Pull up on all four corners of the back with the suction cup.

  2. Bu adım çevrilmemiş. Çevrilmesine yardım edin

    : adım 2, 1 resimden 1.
    • Remove the back cover by gently placing the small opening tool in the crevice created by loosening the back.

    • Slide the opening tool around the edges of the device.

    • Wedge it open using the opening tool.

    • Use the suction cup again if you're having trouble removing the back cover.

  3. Bu adım çevrilmemiş. Çevrilmesine yardım edin

    : adım 3, 2 resimden 1. : adım 3, 2 resimden 2.
    • The black tape is stuck to delicate wires; remove with caution.

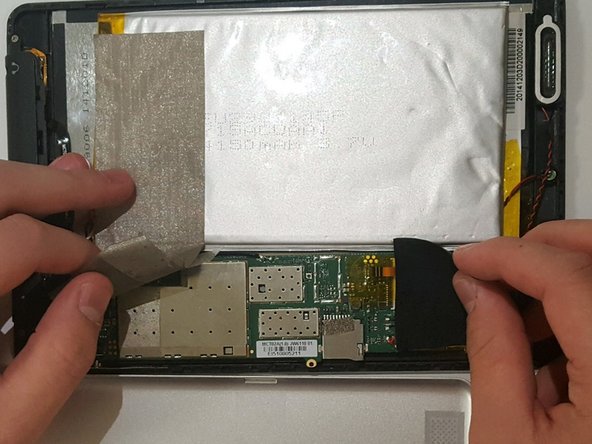
    • Peel off the silver tape.

    • Gently pull off the black tape.

  4. Bu adım çevrilmemiş. Çevrilmesine yardım edin

    : adım 4, 2 resimden 1. : adım 4, 2 resimden 2.
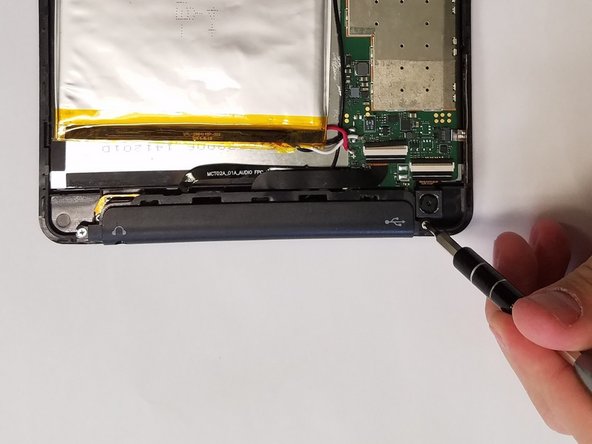
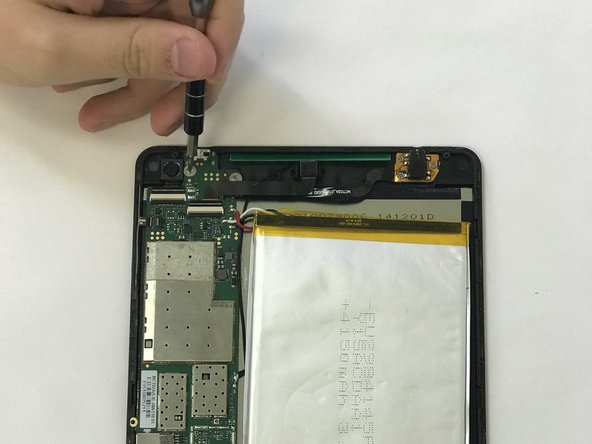
    • Using a JIS #000 screwdriver, remove the two 2.5 mm screws.

  5. Bu adım çevrilmemiş. Çevrilmesine yardım edin

    : adım 5, 2 resimden 1. : adım 5, 2 resimden 2.
    • Lift off the black audio cover.

  6. Bu adım çevrilmemiş. Çevrilmesine yardım edin

    : adım 6, 2 resimden 1. : adım 6, 2 resimden 2.
    • Remove the two JIS #000 screws.

  7. Bu adım çevrilmemiş. Çevrilmesine yardım edin

    : adım 7, 2 resimden 1. : adım 7, 2 resimden 2.
    • Flip up the small black connectors using a spudger or your nails.

    • Be careful when flipping them up. Too much force can cause them to break.

  8. Bu adım çevrilmemiş. Çevrilmesine yardım edin

    : adım 8, 1 resimden 1.
    • Remove battery.

    • Removing the battery may need some force. Be careful as to not break anything.

  9. Bu adım çevrilmemiş. Çevrilmesine yardım edin

    : adım 9, 2 resimden 1. : adım 9, 2 resimden 2.
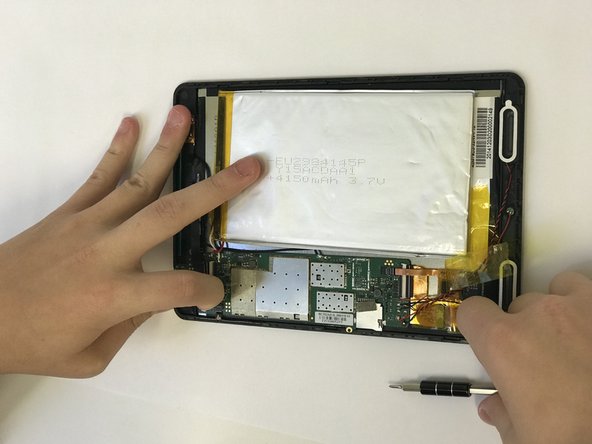
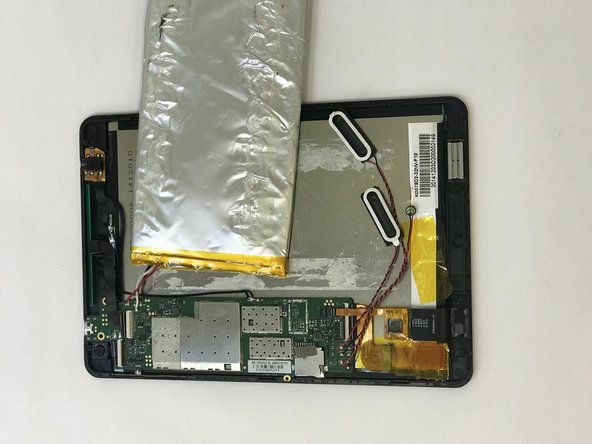
    • Use the tweezers to loosen up the sides of speakers by going into the gaps, before picking it up.

    • There are magnets holding down the speakers. Be careful as to not pick them up with the speakers.

    • The top of the speakers are very fragile and may fall out at the slightest touch. Be careful when picking them up.

  10. Bu adım çevrilmemiş. Çevrilmesine yardım edin

    : adım 10, 2 resimden 1. : adım 10, 2 resimden 2.
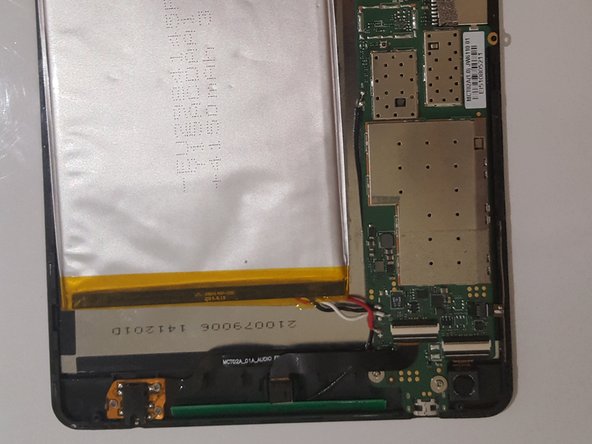
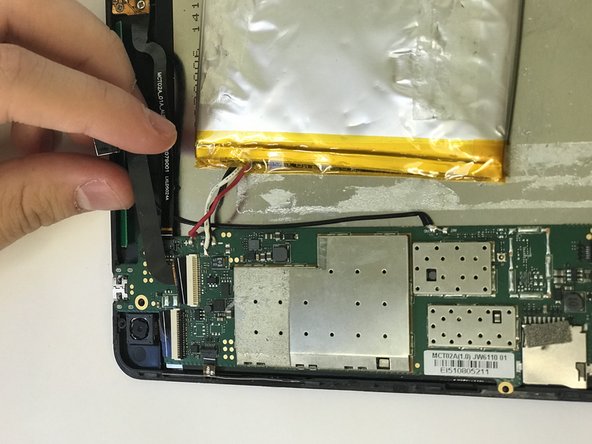
    • Remove all wire connections by sliding them out of the connectors.

    • Be careful as to not forcefully pull out anything because the wires are very delicate.

  11. Bu adım çevrilmemiş. Çevrilmesine yardım edin

    : adım 11, 1 resimden 1.
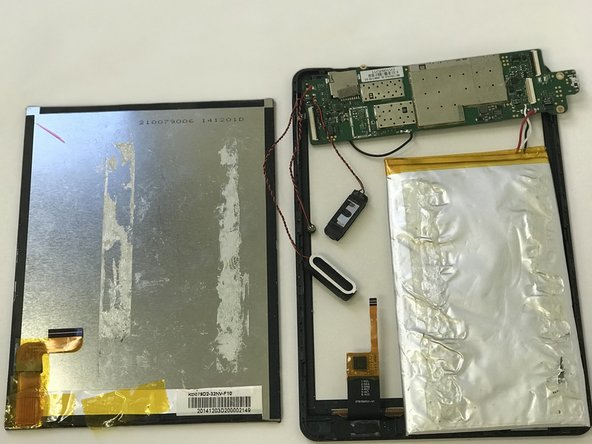
    • Take off the motherboard and set it aside. Your Finished product should look like this.

  12. Bu adım çevrilmemiş. Çevrilmesine yardım edin

    : adım 12, 3 resimden 1. : adım 12, 3 resimden 2. : adım 12, 3 resimden 3.
    • Use the suction cup to loosen and pull up the screen.

    • Be careful when pulling up screen. Too much force can lead to you breaking it.

Bitiş Çizgisi

Alana Escue

Üyelik tarihi: 09/18/18

425 İtibar

3 adet Kılavuz yazıldı

Bir Yorum

Remember to give the lengths for all screws. For warnings, try to be more straight forward and try not to use words like '“note.” Remember to add an introduction.

Jackson Reynolds - Yanıt

Yorum Ekle

İstatistikleri Görüntüle:

Son 24 Saat: 0

Son 7 gün: 6

Son 30 gün: 8

Her zaman: 519