Ana içeriğe geç

APS Tech 101629 Internal Drive Component Replacement

Neye ihtiyacın var

  1. APS Tech 101629 Internal Drive Component Replacement, External Casing: adım 1, 3 resimden 1. APS Tech 101629 Internal Drive Component Replacement, External Casing: adım 1, 3 resimden 2. APS Tech 101629 Internal Drive Component Replacement, External Casing: adım 1, 3 resimden 3.
    • Pry all four of the plastic feet off the bottom of the enclosure using the iPod opening tool.

  2. APS Tech 101629 Internal Drive Component Replacement: adım 2, 2 resimden 1. APS Tech 101629 Internal Drive Component Replacement: adım 2, 2 resimden 2.
    • Unscrew the four screws previously covered by the feet with a Phillips #1 screwdriver.

  3. APS Tech 101629 Internal Drive Component Replacement: adım 3, 2 resimden 1. APS Tech 101629 Internal Drive Component Replacement: adım 3, 2 resimden 2.
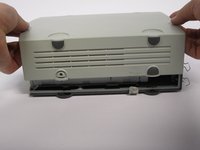
    • Flip the device right side up.

    • Gently slide the casing upwards and off the hard drive.

  4. APS Tech 101629 Internal Drive Component Replacement: adım 4, 1 resimden 1.
    • Flip device upside down again.

    • Gently pry the bottom gray casing away from the device.

  5. APS Tech 101629 Internal Drive Component Replacement: adım 5, 2 resimden 1. APS Tech 101629 Internal Drive Component Replacement: adım 5, 2 resimden 2.
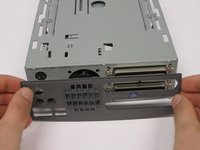
    • Rotate so the back of the device is facing you.

    • Gently pry the back casing away.

    • When the back casing is removed, the fan will become loose.

  6. APS Tech 101629 Internal Drive Component Replacement, Internal Drive Component: adım 6, 2 resimden 1. APS Tech 101629 Internal Drive Component Replacement, Internal Drive Component: adım 6, 2 resimden 2.
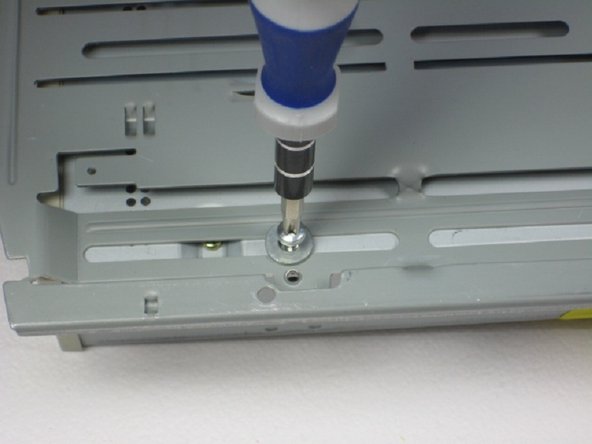
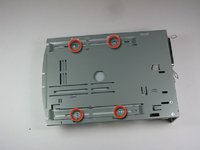
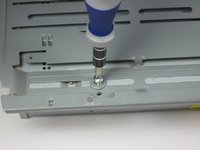
    • Flip so device is upside down.

    • Remove 4 screws with Phillips #1 screw driver.

    • Be sure to save the washers that seperate the screws from the baseplate for reassembly.

  7. APS Tech 101629 Internal Drive Component Replacement: adım 7, 2 resimden 1. APS Tech 101629 Internal Drive Component Replacement: adım 7, 2 resimden 2.
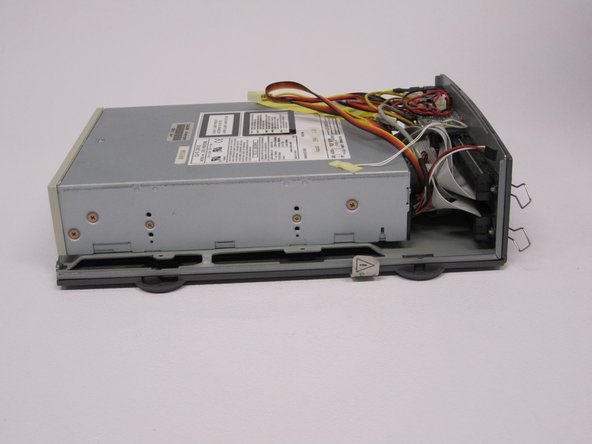
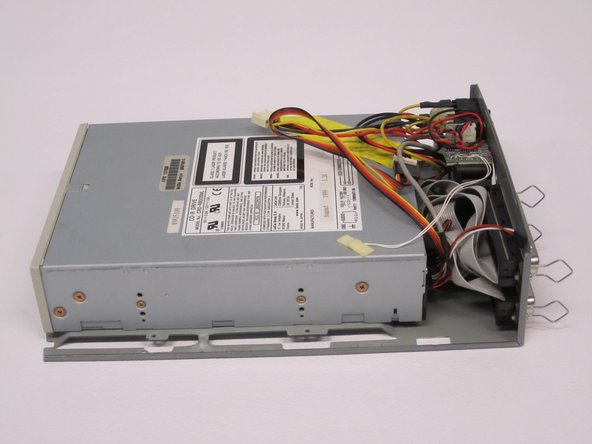
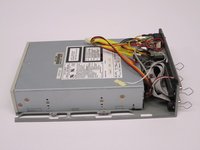
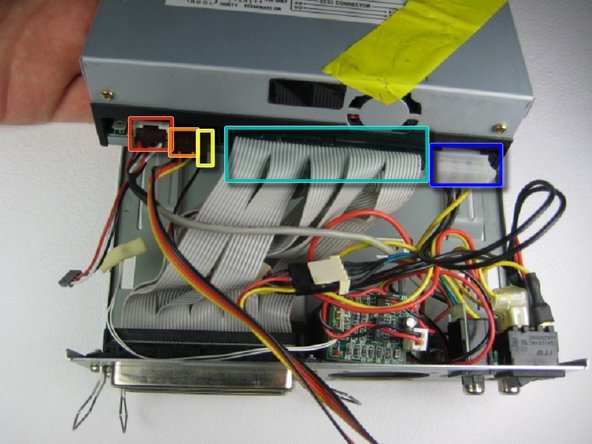
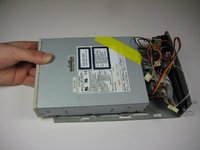
    • Slide the internal drive component away from the back of the device.

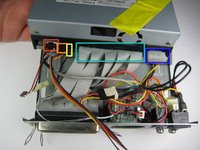
    • Remove the connections from the back of the internal component in the order of your choosing, we suggest left to right. The connections are:

    • Audio Connection

    • SCSI ID

    • Terminate On

    • SCSI Connection

    • DC Input (power)

Sonuç

To reassemble your device, follow these instructions in reverse order.

2 farklı kişi bu kılavuzu tamamladı.

Alexis Weckel

Üyelik tarihi: 04/11/11

140 İtibar

3 adet Kılavuz yazıldı

Ekip

Cal Poly, Team 24-60, Amido Spring 2011 Cal Poly, Team 24-60, Amido Spring 2011 üyesi

CPSU-AMIDO-S11S24G60

5 Üyeler

12 adet Kılavuz yazıldı

0 Yorum

Yorum Ekle

İstatistikleri Görüntüle:

Son 24 Saat: 0

Son 7 gün: 0

Son 30 gün: 2

Her zaman: 1,094