Giriş
In this guide, I will show you how to replace a RAM in an ASUS G713RC laptop. It may seem like a hard replacement at first look, but it will be fairly simple and not time consuming. Not replacing your RAM in time may cause issues to your laptop so it is important to replace it as soon as possible. No worries! This guide will help you replace one.
Hazard Warning: If you have small children, please do not leave any small parts from the laptop that can be easy access to the child. It can be a choking hazard.
Neye ihtiyacın var
-
-
-
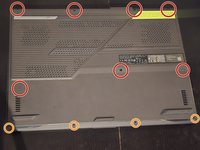
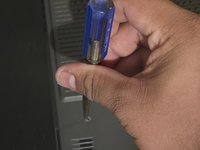
Remove the seven large screws using a Phillips #00 screwdriver.
-
Remove the four small screws using a Phillips #00 screwdriver.
-
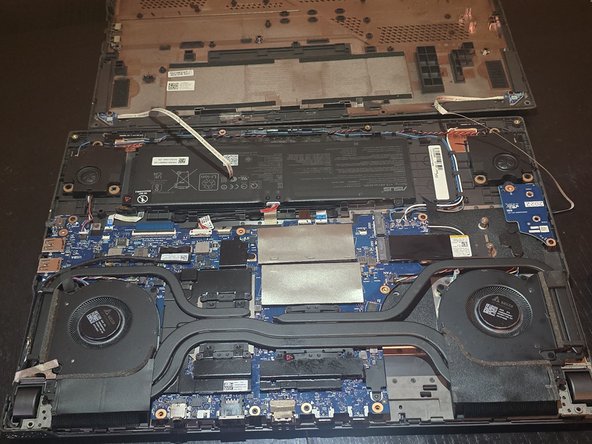
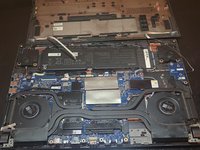
Carefully lift the lid, being careful of the two cables connected to the laptop.
 FixBot'a Sor
-
-
-
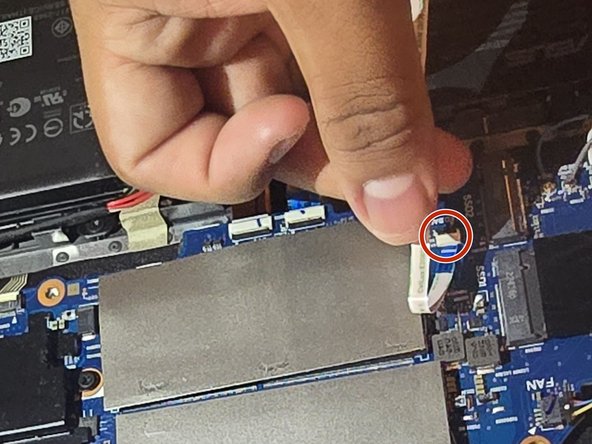
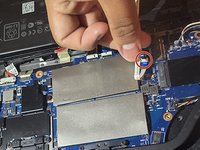
Carefully detach the two white cables that are connected to the lid.
-
Set aside the lid.
-
-
-
-
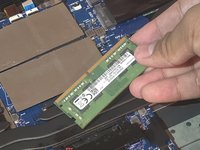
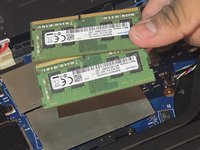
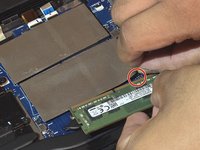
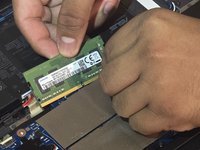
Insert each RAM stick under the gray bar. Push until you hear a click.
-
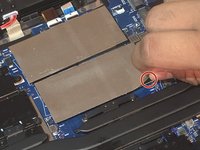
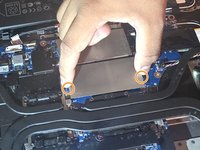
Hold down the gray bar to make sure it is flat and secure.
-
-
-
Reattach the lid by connecting the white wires to the base.
-
Plug in the white wires on both sides. You want to plug them in thoroughly, otherwise, your laptop won't turn on.
-
-
-
Line up the lid to the laptop.
-
Tighten the seven large screws using a Phillips #00 screwdriver.
-
Tighten the four small screws using a Phillips #00 screwdriver.
-
-










İptal et: Bu kılavuzu tamamlamadım.
2 farklı kişi bu kılavuzu tamamladı.

Ekip

CSU Los Angeles, Team 4-99, Harris Fall 2024 CSU Los Angeles, Team 4-99, Harris Fall 2024 üyesi
CSULA-HARRIS-F24S4G99
1 Üye
8 adet Kılavuz yazıldı
