Giriş
This is a guide to replace the display of your ASUS Q302L laptop. You may need to replace your display if you determine that is the faulty component of your laptop. The first thing you’ll need is a grounding strap and grounding mat. These are to ensure that you do not damage your motherboard or other components on your laptop while replacing the motherboard. You will also need a small Phillips #00 screwdriver, a small flat head screwdriver, and a prying tool.
Neye ihtiyacın var
-
-
-
Use a Phillips #0 screw driver to remove all ten 10 mm screws around the back of the laptop.
 FixBot'a Sor
-
-
-
Wedge a plastic opening tool under the rear case near the hinge.
-
Pry around the outer edge to release the plastic clips holding the rear case to the laptop.
-
-
-
Once the cover is free from all the clips, remove the cover from the laptop.
-
-
-
-
-
Use a Phillips #0 screwdriver and remove all five 5 mm screws securing the battery.
-
-
-
-
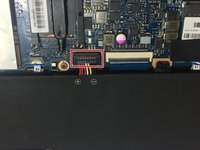
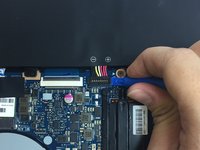
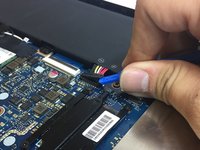
Gently wedge a plastic opening tool under the connector.
-
Carefully lift the connector up away from the socket to disconnect it.
-
-
-
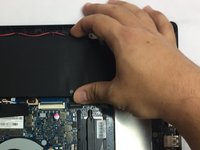
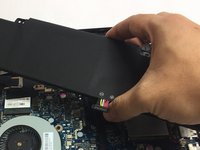
Once the screws and connector are removed, simply pull out the battery from its place.
-
-
-
-
-
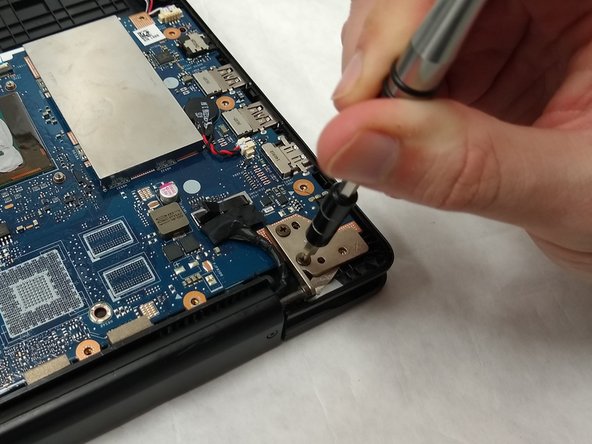
Use a Phillips #00 screw driver to remove the five 10mm screws at the hinges.
-
-
-
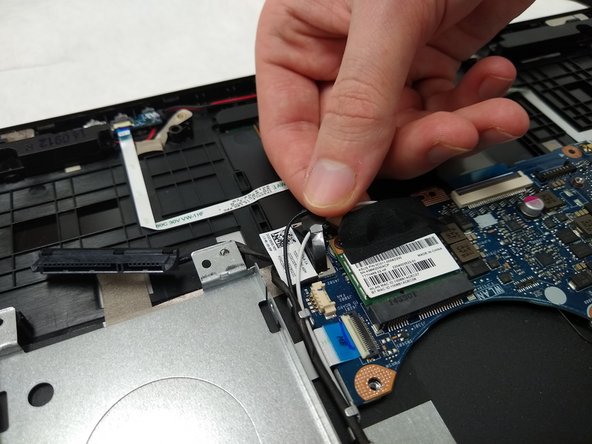
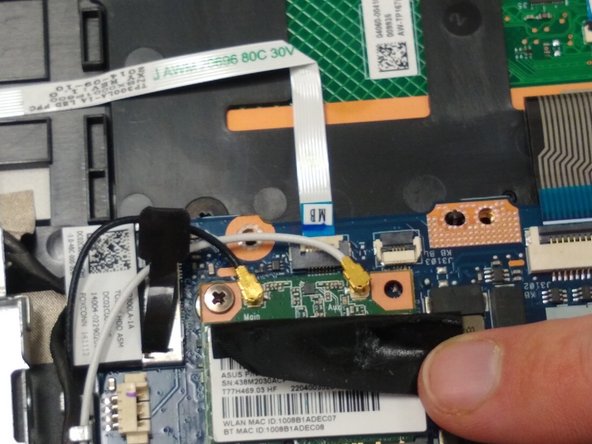
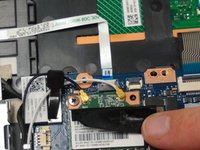
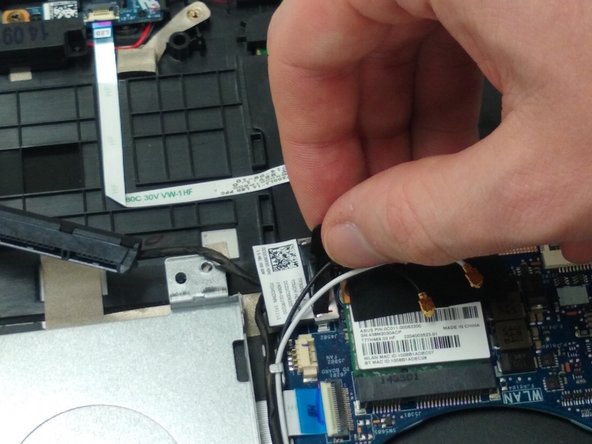
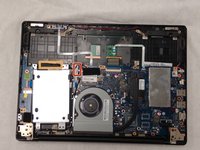
Pull up on the black tab to remove the connector that connects to the motherboard.
-
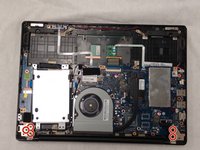
Unplug the hard drive cable from the hard drive.
-
Carefully remove the cables from the track that they run through.
-
-








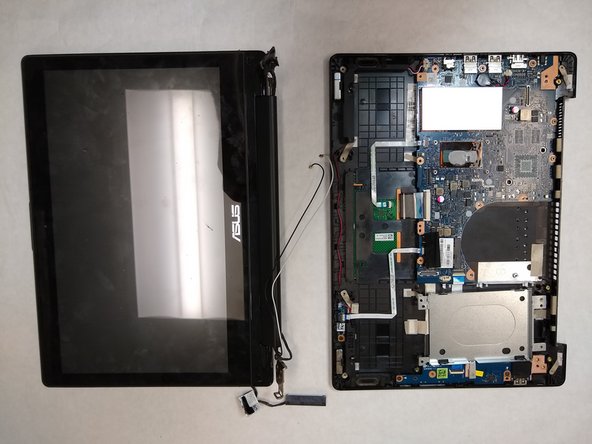
To reassemble your device, follow these instructions in reverse order.
İptal et: Bu kılavuzu tamamlamadım.
2 farklı kişi bu kılavuzu tamamladı.

Ekip

IUPUI, Team S2-G4, Harley Spring 2019 IUPUI, Team S2-G4, Harley Spring 2019 üyesi
IUPUI-HARLEY-S19S2G4
3 Üyeler
18 adet Kılavuz yazıldı
