Giriş
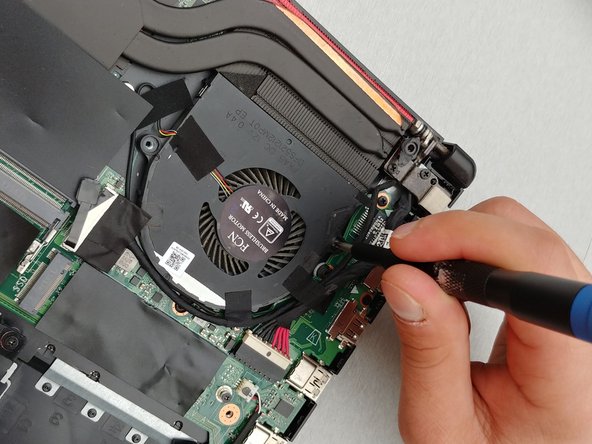
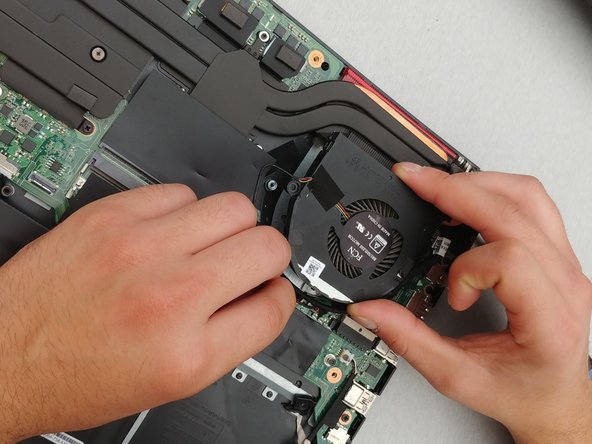
If you are having problems with your ASUS ROG Strix GL503VD-DB71 laptop overheating, keyboard feeling warm, freezing, shutting off, or making odd smells it could be a problem with the fans. In our [[ASUS ROG Strix GL503VD-DB71 Troubleshooting#|troubleshooting]] guide you can get more information and symptoms to malfunctioning fans with your laptop. The fans in the laptop are in charge of keeping the components and laptop cool so that they do not overheat and malfunction. When replacing the fans in your laptop be sure the laptop is off and unplugged from any power source.
Neye ihtiyacın var
-
-
Flip the laptop over so that the bottom is facing up.
-
Remove the ten screws around the edges and in the center of the back case with a Phillips #1 screwdriver.
-
-


To reassemble your device, follow these instructions in reverse order.
To reassemble your device, follow these instructions in reverse order.
İptal et: Bu kılavuzu tamamlamadım.
Bir başkası bu kılavuzu tamamladı.
Ekip

Embry-Riddle Aeronautical University, Team S17-G8, Lamothe Spring 2020 Embry-Riddle Aeronautical University, Team S17-G8, Lamothe Spring 2020 üyesi
ERAU-LAMOTHE-S20S17G8
4 Üyeler
5 adet Kılavuz yazıldı
2 Yorum
WTF i can find a 12 V for my GL503V