Giriş
Use this guide to replace your display screen. Be careful when removing screen because many of the parts are fagile. Many tools were used including the J1 screwdriver, pry opening tools, and the spudger.
Neye ihtiyacın var
-
-
-
Scrape off the black circle rubber cushions with your index finger at the bottom frame of the screen.
-
Unscrew the two 3mm Phillips screws that were hidden under the cushions using J1 screwdriver.
 FixBot'a Sor
-
-
-
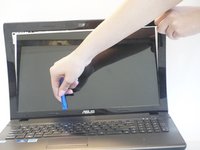
Insert the plastic opening tool into the crack where the plastic of the screen's frame meets the shell at the top.
-
Gently twist and slide the tool to open it. The plastic will snap as the frame is released.
-
Continue to pry with the tool or use your fingers until the top portion of the frame is released.
-
Pull the screen frame towards you so that the seam between the frame and the screen is opened.
-
-
-
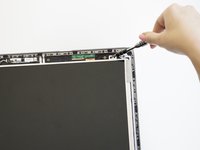
Insert the opening tool into the seam.
-
Pry the frame with the opening tool as shown in step 2.
-
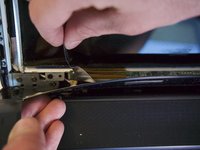
Peel off the metallic tape that's attached to the bottom of the frame inside of the shell.
-
-
-
-
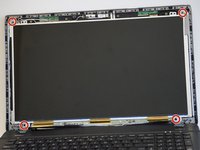
Unscrew the four 3mm Phillips screws with the J0 screwdriver on each corner of the screen.
-
-
-
Lay the screen down flat on the keyboard.
-
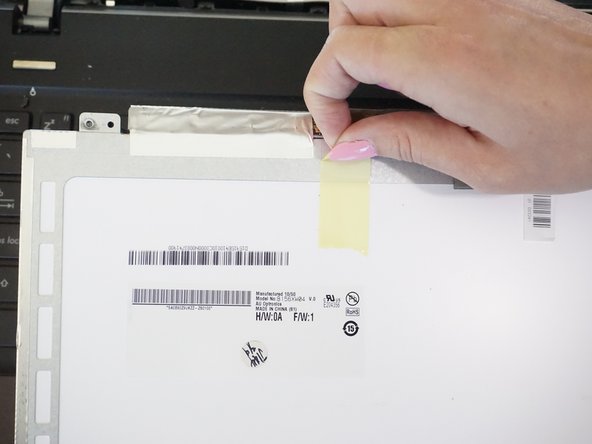
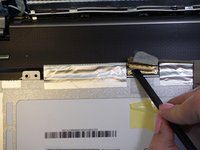
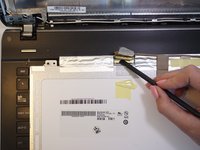
Peel the yellow tape and then the metallic tape holding the screen's connection to the computer.
-
-
-
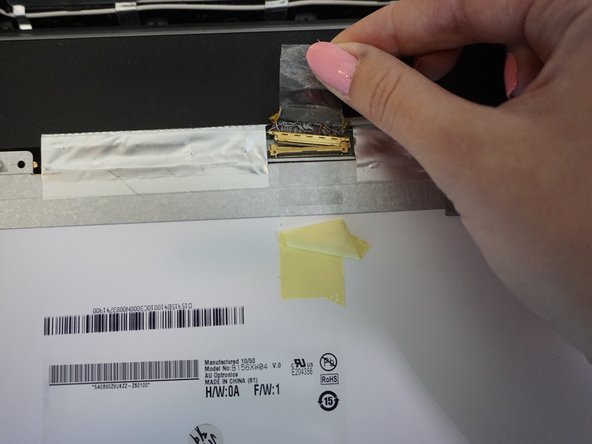
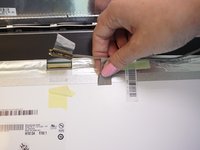
Unlatch the golden connector under the metallic tape using the flat side of the nylon spudger.
-
Gently lift the connector and peel the metallic tape to detach the wire on your right that holds it in place.
-
Lift the now freed screen.
-
-







To reassemble your device, follow these instructions in reverse order.

Ekip

CSU Fullerton, Team 1-3, Bruce Fall 2016 CSU Fullerton, Team 1-3, Bruce Fall 2016 üyesi
CSUF-BRUCE-F16S1G3
4 Üyeler
108 adet Kılavuz yazıldı
