Giriş
If your Asus laptop screen is cracked it can make it difficult or even impossible to work on the laptop depending on the size of the crack or cracks. The only way to fix this problem is to replace the entire screen.
To do this repair you will need to purchase a new screen and follow the steps in this guide. With no background working with computers you should still be able to complete the repair in under half an hour.
Neye ihtiyacın var
-
-
Bu adımda kullanılan alet:Tweezers$4.99
-
Remove plastic square covers on both bottom corners exposing the screws below using tweezers.
-
Remove the screws under the plastic square covers, using a Phillips #00 screwdriver.
 FixBot'a Sor
-
-
-
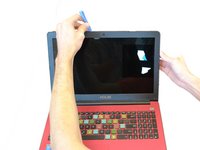
Remove the trim from the monitor by using the Plastic Opening Tool to carefully pop off the clips around the parameter.
-
-
-
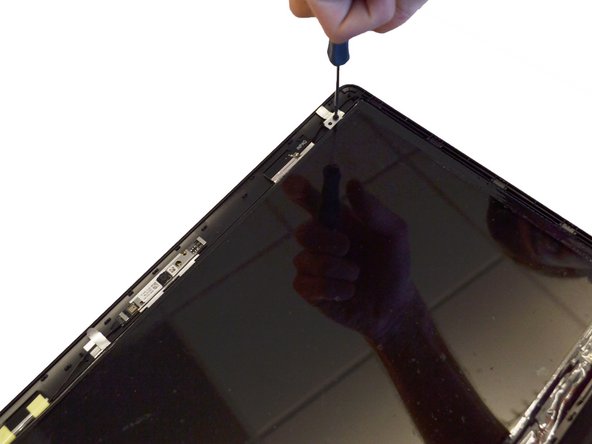
Remove the four phillips screws (two on top and two on bottom) using the Phillips #00 screwdriver.
-
-
-
-
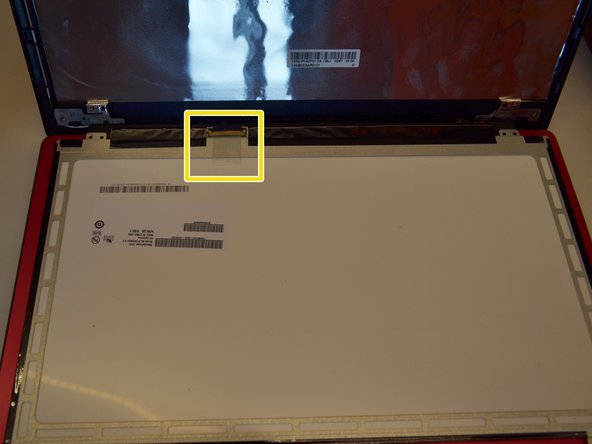
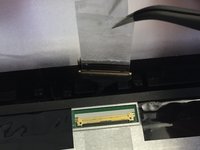
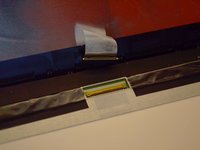
Peel off the clear tape that is securing the video cable connector using your fingers or tweezers.
-
-
-
Replace the damage screen with a new one.
-
Replacing the bezel trim requires the bottom to be inside the ends of the hinge cover. Be careful not to break the bezel when doing this.
-
Removing the hinge cover has a chance of breaking the tabs that hold it on. Remove it carefully.
-
-






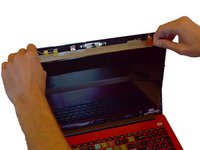
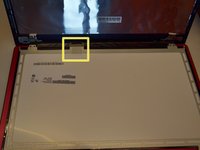


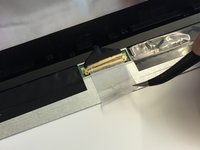
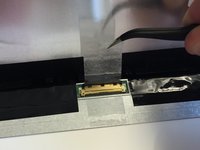



To reassemble your device, follow these instructions in reverse order.
İptal et: Bu kılavuzu tamamlamadım.
3 farklı kişi bu kılavuzu tamamladı.

Ekip

Clemson, Team 14-1, Shirley Winter 2015 Clemson, Team 14-1, Shirley Winter 2015 üyesi
CLEM-SHIRLEY-W15S14G1
5 Üyeler
35 adet Kılavuz yazıldı
