Ana içeriğe geç
Onarım Topluluğuna Katılın - Hesap Oluşturun

ASUS X552LAV-BBI5N08 Fan Replacement

Neye ihtiyacın var

    1. ASUS X552LAV-BBI5N08 Fan Replacement, Battery: adım 1, 1 resimden 1.
      • Battery is not showed in pictures.

      • Flip the laptop face down.

      FixBot'a Sor

      Yorum Ekle

    2. ASUS X552LAV-BBI5N08 Fan Replacement: adım 2, 3 resimden 1. ASUS X552LAV-BBI5N08 Fan Replacement: adım 2, 3 resimden 2. ASUS X552LAV-BBI5N08 Fan Replacement: adım 2, 3 resimden 3.
      • Slide the right button to the left.

      • Hold the left button to the right.

      • While you hold the left button in position, slide the battery out by pushing it away from you.

      FixBot'a Sor

      Yorum Ekle

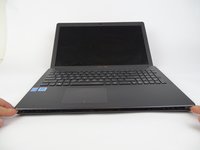
    1. ASUS X552LAV-BBI5N08 Fan Replacement, Fan: adım 3, 1 resimden 1.
      • Locate the bottom panel. It is at the opposite end of the battery.

      • Remove the two 12mm screws at the bottom panel with a Tri-wing Y1 screwdriver.

      FixBot'a Sor
      Yorum Ekle

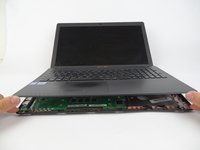
    2. ASUS X552LAV-BBI5N08 Fan Replacement: adım 4, 3 resimden 1. ASUS X552LAV-BBI5N08 Fan Replacement: adım 4, 3 resimden 2. ASUS X552LAV-BBI5N08 Fan Replacement: adım 4, 3 resimden 3.
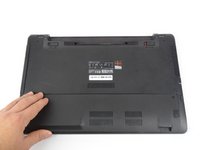
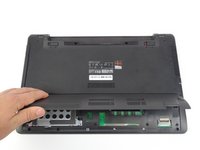
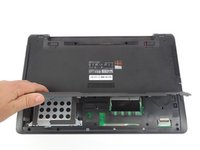
      • Remove bottom panel by lifting it up.

      FixBot'a Sor
      Yorum Ekle

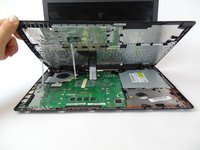
    3. ASUS X552LAV-BBI5N08 Fan Replacement: adım 5, 3 resimden 1. ASUS X552LAV-BBI5N08 Fan Replacement: adım 5, 3 resimden 2. ASUS X552LAV-BBI5N08 Fan Replacement: adım 5, 3 resimden 3.
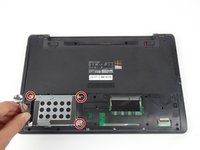
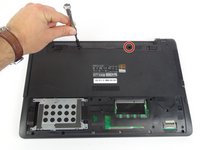
      • Remove the four 5.5mm screws located on the hard drive case using a Tri-wing Y1 screwdriver.

      • Slide the hard drive out to the left.

      FixBot'a Sor
      Yorum Ekle

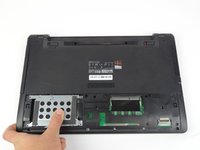
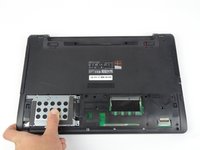
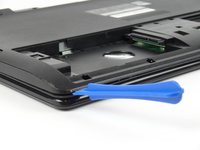
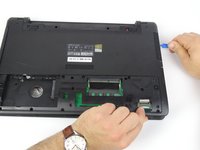
    4. ASUS X552LAV-BBI5N08 Fan Replacement: adım 6, 3 resimden 1. ASUS X552LAV-BBI5N08 Fan Replacement: adım 6, 3 resimden 2. ASUS X552LAV-BBI5N08 Fan Replacement: adım 6, 3 resimden 3.
      • Use opening tool to split keyboard from base of the laptop.

      • Make sure to start from one end and go around the edges.

      • Use Tri-wing Y1 screwdriver to remove two 12mm screws from battery area.

      FixBot'a Sor

      Yorum Ekle

    5. ASUS X552LAV-BBI5N08 Fan Replacement: adım 7, 3 resimden 1. ASUS X552LAV-BBI5N08 Fan Replacement: adım 7, 3 resimden 2. ASUS X552LAV-BBI5N08 Fan Replacement: adım 7, 3 resimden 3.
      • Flip laptop to sit on its bottom.

      • Lift keyboard up by the front edge

      FixBot'a Sor

      Yorum Ekle

    6. ASUS X552LAV-BBI5N08 Fan Replacement: adım 8, 3 resimden 1. ASUS X552LAV-BBI5N08 Fan Replacement: adım 8, 3 resimden 2. ASUS X552LAV-BBI5N08 Fan Replacement: adım 8, 3 resimden 3.
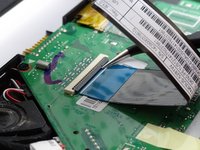
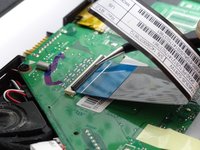
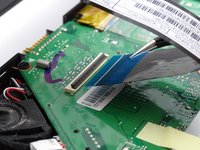
      • Flip up the small locking flap for the two ZIF connectors.

      • Unplug connectors that are keeping keyboard connected

      FixBot'a Sor

      Yorum Ekle

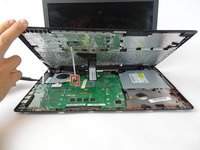
    7. ASUS X552LAV-BBI5N08 Fan Replacement: adım 9, 3 resimden 1. ASUS X552LAV-BBI5N08 Fan Replacement: adım 9, 3 resimden 2. ASUS X552LAV-BBI5N08 Fan Replacement: adım 9, 3 resimden 3.
      • Flip up the locking flap for the ZIF connector.

      • Unplug the connector that is keeping the keyboard connected.

      FixBot'a Sor
      Yorum Ekle

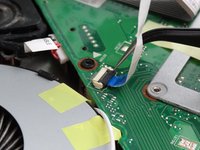
    8. ASUS X552LAV-BBI5N08 Fan Replacement: adım 10, 3 resimden 1. ASUS X552LAV-BBI5N08 Fan Replacement: adım 10, 3 resimden 2. ASUS X552LAV-BBI5N08 Fan Replacement: adım 10, 3 resimden 3.
      • Remove keyboard from laptop.

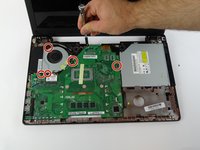
      • Remove the five 4mm screws (with a Tri-wing Y1 screwdriver) that are both connecting the fan and motherboard.

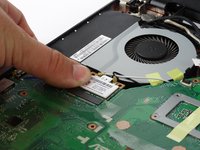
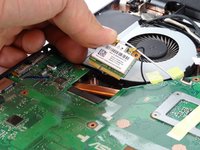
      • Pull out WiFi from below the cooling fan by lifting the edge nearest to the fan and sliding it towards the fan.

      FixBot'a Sor
      Yorum Ekle

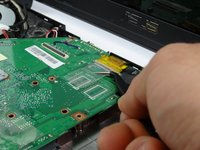
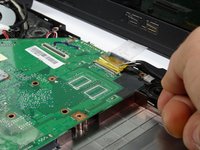
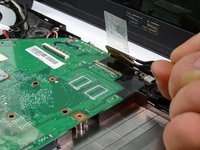
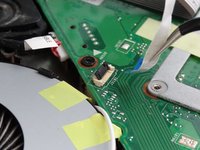
    9. ASUS X552LAV-BBI5N08 Fan Replacement: adım 11, 3 resimden 1. ASUS X552LAV-BBI5N08 Fan Replacement: adım 11, 3 resimden 2. ASUS X552LAV-BBI5N08 Fan Replacement: adım 11, 3 resimden 3.
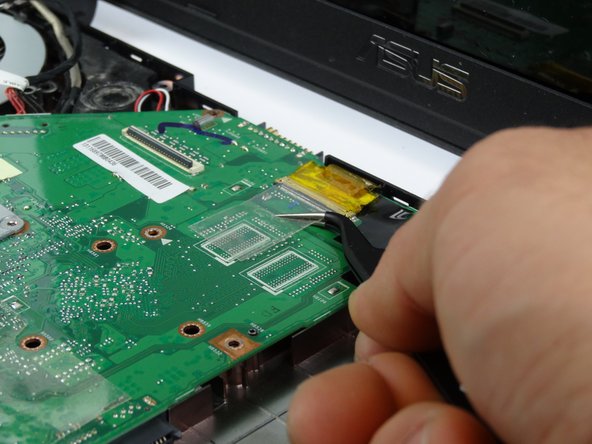
      • Lift yellow ZIF connector from the top of the motherboard to remove the connector.

      • Lift up motherboard from bottom edge towards the screen.

      FixBot'a Sor
      Yorum Ekle

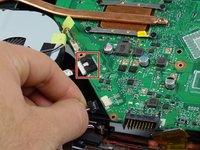
    10. ASUS X552LAV-BBI5N08 Fan Replacement: adım 12, 2 resimden 1. ASUS X552LAV-BBI5N08 Fan Replacement: adım 12, 2 resimden 2.
      • Unplug the two bundled cable connector from pin sockets below the fan.

      • Remove the motherboard and place on a flat surface.

      • Remove four 4mm screws with a Tri-wing Y1 screwdriver from the CPU.

      FixBot'a Sor

      Yorum Ekle

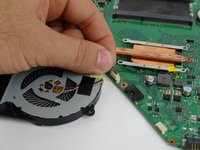
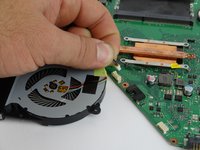
    11. ASUS X552LAV-BBI5N08 Fan Replacement: adım 13, 2 resimden 1. ASUS X552LAV-BBI5N08 Fan Replacement: adım 13, 2 resimden 2.
      • Disconnect bundled cable connector from the motherboard

      • Remove fan part from the motherboard.

      FixBot'a Sor

      Yorum Ekle

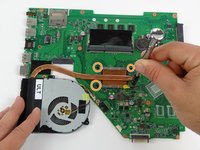
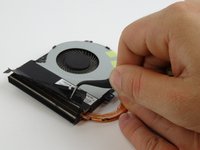
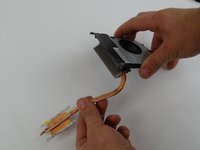
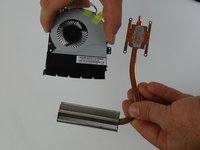
    12. ASUS X552LAV-BBI5N08 Fan Replacement: adım 14, 3 resimden 1. ASUS X552LAV-BBI5N08 Fan Replacement: adım 14, 3 resimden 2. ASUS X552LAV-BBI5N08 Fan Replacement: adım 14, 3 resimden 3.
      • Remove the black tape from the top of the fan radiator.

      • Remove radiator by tilting it down and pulling it out from the fan.

      FixBot'a Sor

      Yorum Ekle

Sonuç

To reassemble your device, follow these instructions in reverse order.

İptal et: Bu kılavuzu tamamlamadım.

Jason Vo

Üyelik tarihi: 02/15/18

891 İtibar

5 adet Kılavuz yazıldı

Ekip

USF Tampa, Team S17-G1, Boczar Spring 2018 USF Tampa, Team S17-G1, Boczar Spring 2018 üyesi

USFT-BOCZAR-S18S17G1

4 Üyeler

30 adet Kılavuz yazıldı

0Kılavuz Yorumları

Yorum Ekle

İstatistikleri Görüntüle:

Son 24 Saat: 3

Son 7 gün: 5

Son 30 gün: 26

Her zaman: 882