Giriş
If the person you are speaking to through hands free calling is unable to hear you, the internal microphone may need to be replaced. This guide will teach you how to disassemble your AT&T CL4940 corded answering system and replace the microphone used for hands free calling. This is a fairly simple process and can be accomplished with minimal technical expertise.
Neye ihtiyacın var
-
-
Remove phone line and power cord from the back cover of the device.
-
Remove phone cable from the side of the device.
-
-
-
-
Starting from the bottom of the device, use a metal spudger, separate the top (white) plastic piece from the bottom (gray) plastic piece.
-
Work your way across the bottom of the device, then to each side, and finally to the top.
-
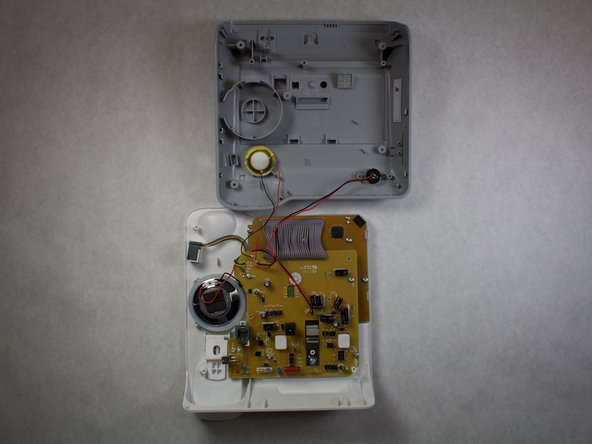
The top and bottom pieces should separate, and the internals of the device will now be accessible.
-
To reassemble your device, follow these instructions in reverse order.
To reassemble your device, follow these instructions in reverse order.


