Ana içeriğe geç
Onarım Topluluğuna Katılın - Hesap Oluşturun

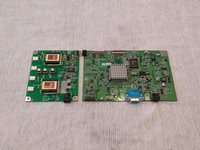
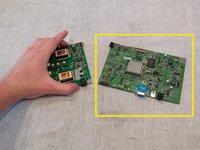
Acer AL1714 Video Display Board

Neye ihtiyacın var

    1. Acer AL1714 Video Display Board, Video Display Board: adım 1, 2 resimden 1. Acer AL1714 Video Display Board, Video Display Board: adım 1, 2 resimden 2.
      • Turn the monitor face-down.

      • Unscrew the 5 screws holding back cover on.

      • (This may require flipping the monitor over and shaking the screws loose once they're already unscrewed)

      FixBot'a Sor

      Yorum Ekle

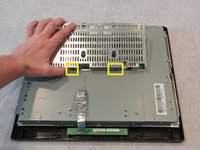
    2. Acer AL1714 Video Display Board: adım 2, 3 resimden 1. Acer AL1714 Video Display Board: adım 2, 3 resimden 2. Acer AL1714 Video Display Board: adım 2, 3 resimden 3.
      • Take the edge tool or a metal ruler and insert it into the bezel.

      • Apply pressure and push down.

      • Do the same to the right side.

      • Once the side of the bezel facing you is decoupled, take the back cover and pry it loose.

      FixBot'a Sor

      Yorum Ekle

    3. Acer AL1714 Video Display Board: adım 3, 3 resimden 1. Acer AL1714 Video Display Board: adım 3, 3 resimden 2. Acer AL1714 Video Display Board: adım 3, 3 resimden 3.
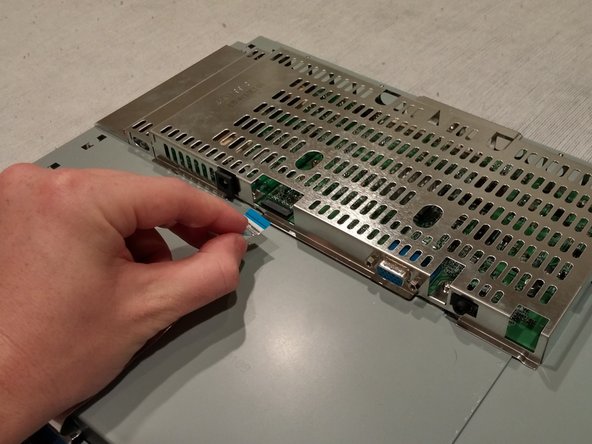
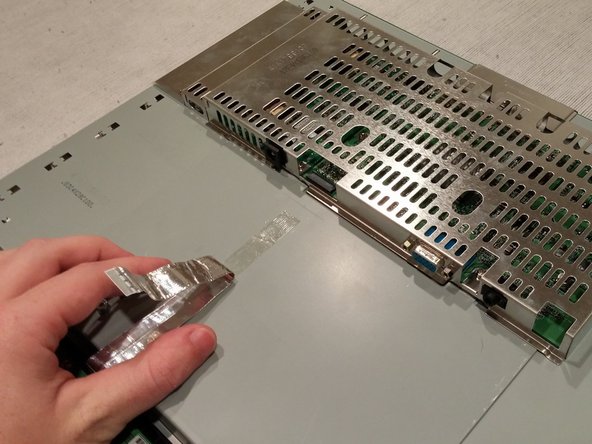
      • Remove the Flat Flex Cable from the Power Supply board located under the metal cage.

      • Pull the cord back and out of the way.

      • (It may be stuck down with adhesive)

      FixBot'a Sor

      Yorum Ekle

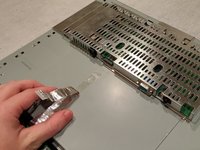
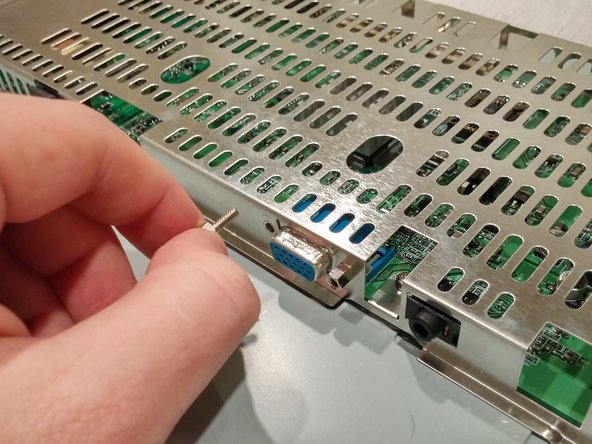
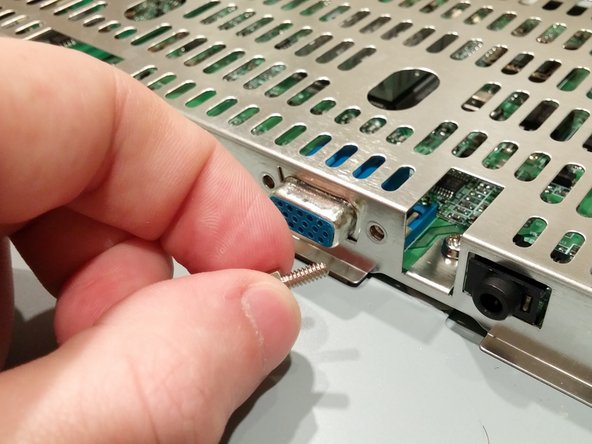
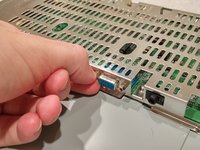
    4. Acer AL1714 Video Display Board: adım 4, 3 resimden 1. Acer AL1714 Video Display Board: adım 4, 3 resimden 2. Acer AL1714 Video Display Board: adım 4, 3 resimden 3.
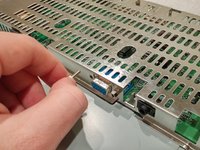
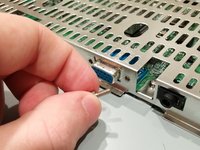
      • Unscrew the cord anchors for the VGA port.

      • (Use needle nose pliers if they're too tight for removal by hand)

      FixBot'a Sor

      Yorum Ekle

    5. Acer AL1714 Video Display Board: adım 5, 2 resimden 1. Acer AL1714 Video Display Board: adım 5, 2 resimden 2.
      • Turn the monitor around.

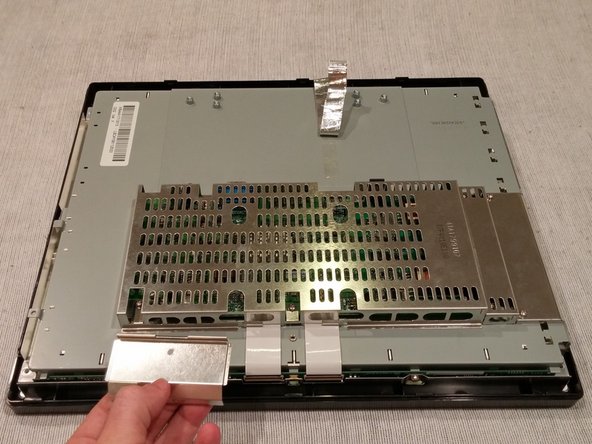
      • Unscrew the 1 screw holding the Flat power Cable cover on.

      • Lift up and remove the Flat Power Cable cover.

      • (Careful: this may be sharp)

      FixBot'a Sor

      Yorum Ekle

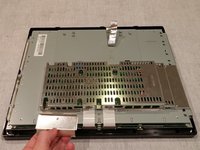
    6. Acer AL1714 Video Display Board: adım 6, 1 resimden 1.
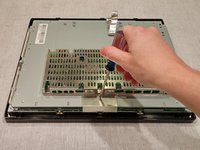
      • Unscrew the 5 screws holding the metal cage on.

      FixBot'a Sor

      Yorum Ekle

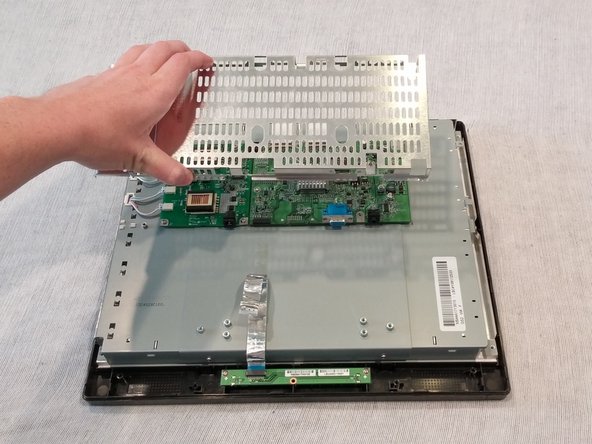
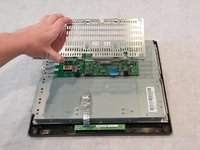
    7. Acer AL1714 Video Display Board: adım 7, 2 resimden 1. Acer AL1714 Video Display Board: adım 7, 2 resimden 2.
      • Turn the monitor around.

      • Lift the back of the metal cage slightly.

      • Pull the cage toward self.

      • (Must be careful to free the cover of the VGA port and the power supply input)

      FixBot'a Sor

      Yorum Ekle

    8. Acer AL1714 Video Display Board: adım 8, 3 resimden 1. Acer AL1714 Video Display Board: adım 8, 3 resimden 2. Acer AL1714 Video Display Board: adım 8, 3 resimden 3.
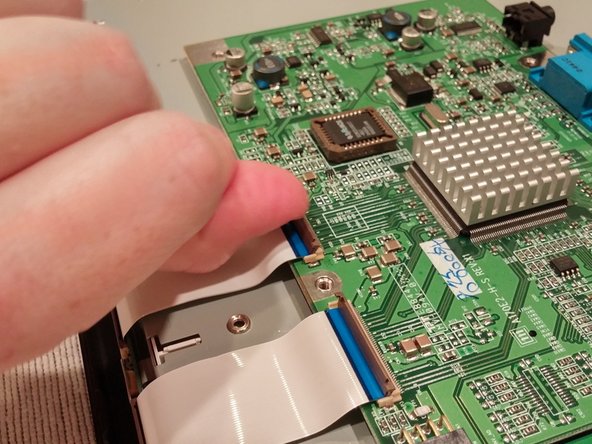
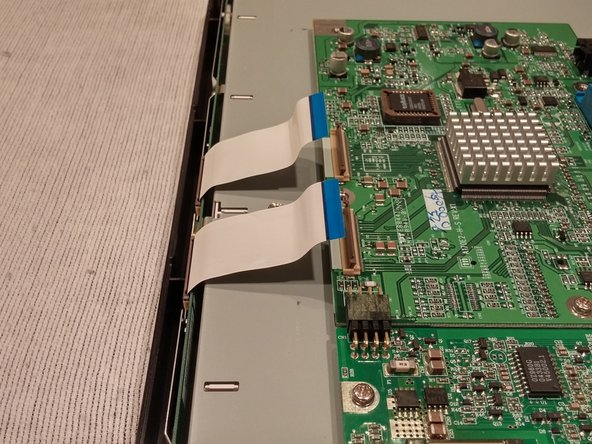
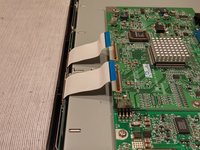
      • Lift the Flat Flex Cable holder tabs to release the cables.

      • Lift up on the Flat Flex Cables and bend them out of the working area.

      FixBot'a Sor

      Yorum Ekle

    9. Acer AL1714 Video Display Board: adım 9, 3 resimden 1. Acer AL1714 Video Display Board: adım 9, 3 resimden 2. Acer AL1714 Video Display Board: adım 9, 3 resimden 3.
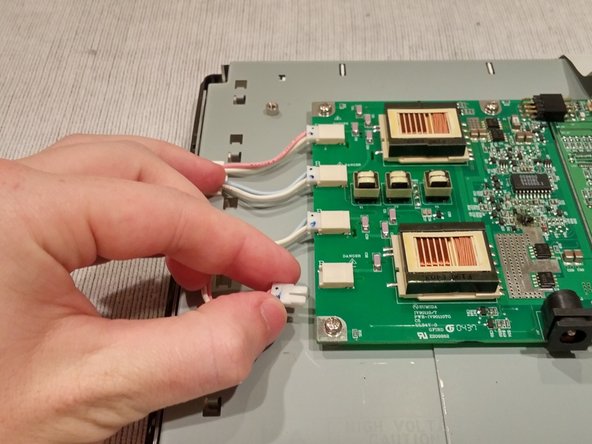
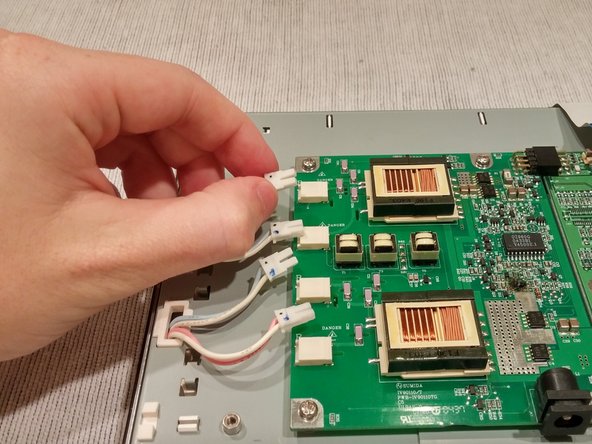
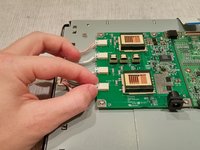
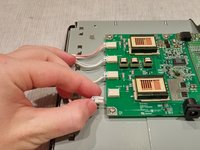
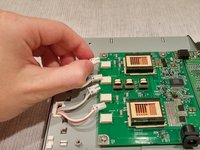
      • Unplug the 4 backlight wires from their ports on the Power Supply Board.

      • (Considering their size, the best way to unplug the backlight wires is by slowly jiggling the wires out of place)

      FixBot'a Sor

      Yorum Ekle

    10. Acer AL1714 Video Display Board: adım 10, 1 resimden 1.
      • Unscrew the 5 screws holding the Power Supply and Video Display boards.

      FixBot'a Sor

      Yorum Ekle

    11. Acer AL1714 Video Display Board: adım 11, 2 resimden 1. Acer AL1714 Video Display Board: adım 11, 2 resimden 2.
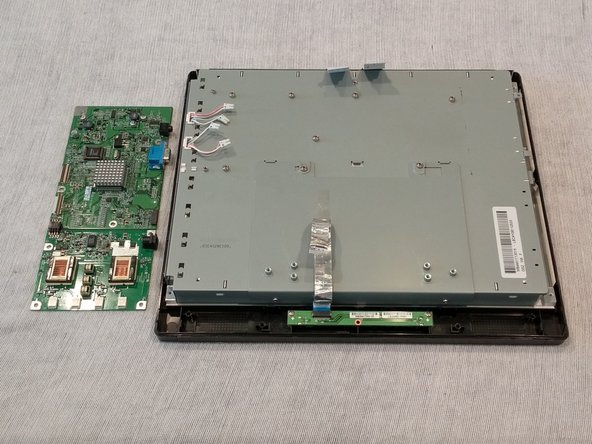
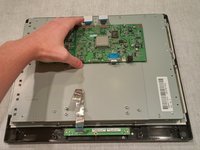
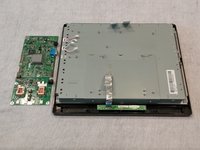
      • Lift and remove the joined boards.

      FixBot'a Sor

      Yorum Ekle

    12. Acer AL1714 Video Display Board: adım 12, 3 resimden 1. Acer AL1714 Video Display Board: adım 12, 3 resimden 2. Acer AL1714 Video Display Board: adım 12, 3 resimden 3.
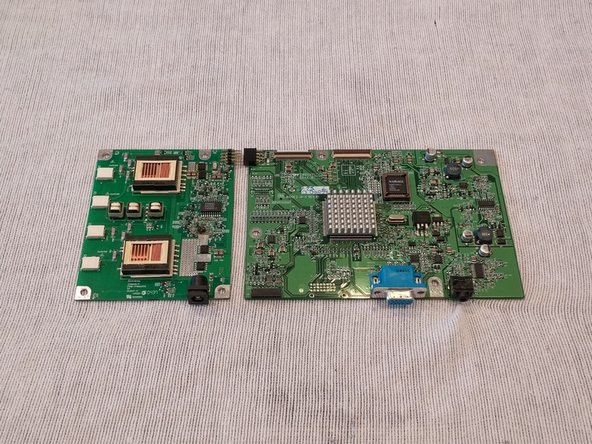
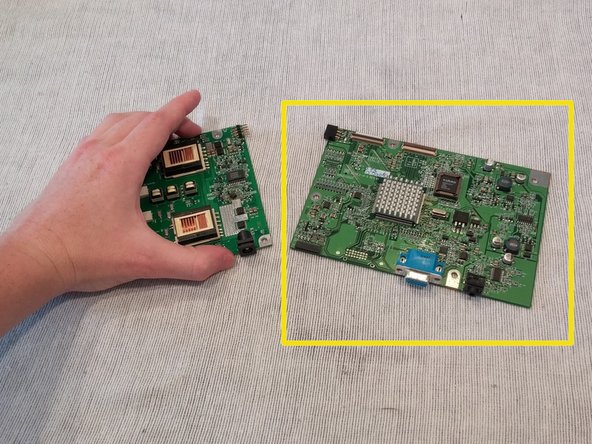
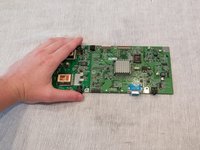
      • Carefully detach the two boards at their connector joint.

      • Replace outlined part.

      FixBot'a Sor

      Yorum Ekle

Sonuç

To reassemble your device, follow these instructions in reverse order.

İptal et: Bu kılavuzu tamamlamadım.

2 farklı kişi bu kılavuzu tamamladı.

Christopher Kelly

Üyelik tarihi: 09/25/14

590 İtibar

4 adet Kılavuz yazıldı

Ekip

USF Tampa, Team 1-3, Brown Fall 2014 USF Tampa, Team 1-3, Brown Fall 2014 üyesi

USFT-BROWN-F14S1G3

3 Üyeler

5 adet Kılavuz yazıldı

0Kılavuz Yorumları

Yorum Ekle

İstatistikleri Görüntüle:

Son 24 Saat: 0

Son 7 gün: 6

Son 30 gün: 40

Her zaman: 1,286