Ana içeriğe geç
Onarım Topluluğuna Katılın - Hesap Oluşturun

Acer Aspire One 722 Screen Replacement

Neye ihtiyacın var

  1. Acer Aspire One 722 Screen Replacement, Battery: adım 1, 1 resimden 1.
    • Power down the netbook by pressing the power button on the top left corner.

    FixBot'a Sor

    Yorum Ekle

  2. Acer Aspire One 722 Screen Replacement: adım 2, 1 resimden 1.
    • Close the netbook and flip it over so that the back is facing up.

    FixBot'a Sor

    Yorum Ekle

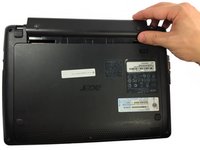
  3. Acer Aspire One 722 Screen Replacement: adım 3, 1 resimden 1.
    • Slide the button below the battery to the right while simultaneously pulling the battery out.

    FixBot'a Sor

    Yorum Ekle

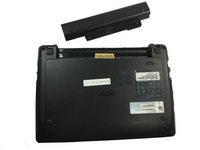
  4. Acer Aspire One 722 Screen Replacement: adım 4, 2 resimden 1. Acer Aspire One 722 Screen Replacement: adım 4, 2 resimden 2.
    • If necessary, remove the old battery and replace it with a new one.

    FixBot'a Sor

    Yorum Ekle

  5. Acer Aspire One 722 Screen Replacement: adım 5, 1 resimden 1.
    • Check the thin grooves on the side of the battery entry and line the replacement battery up to the grooves.

    FixBot'a Sor

    Yorum Ekle

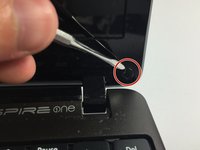
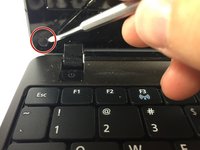
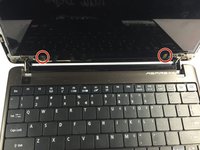
  6. Acer Aspire One 722 Screen Replacement, Screen: adım 6, 2 resimden 1. Acer Aspire One 722 Screen Replacement, Screen: adım 6, 2 resimden 2.
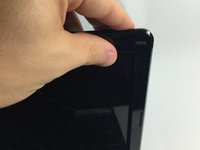
    • Remove the black rubber clips from the bottom right and left of the netbook screen.

    FixBot'a Sor

    Yorum Ekle

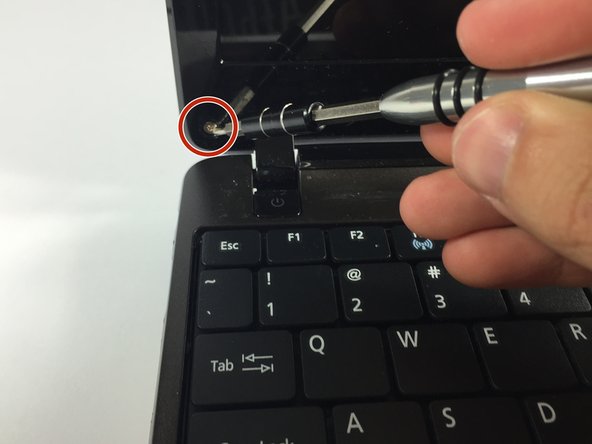
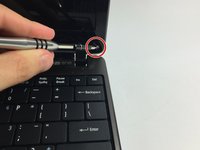
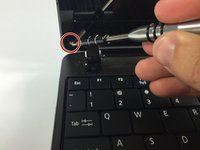
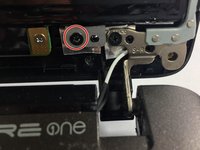
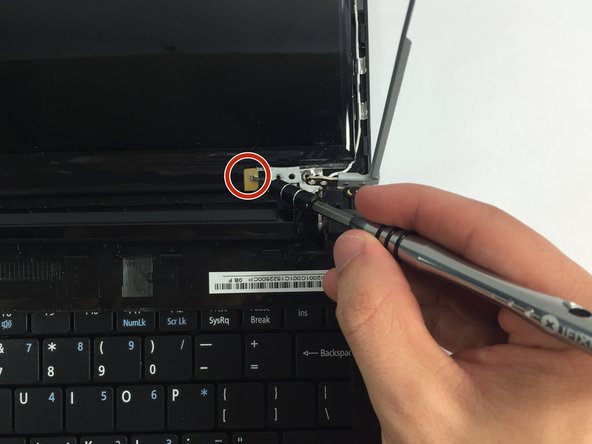
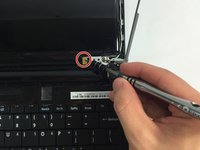
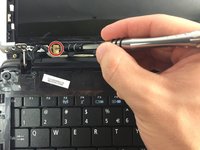
  7. Acer Aspire One 722 Screen Replacement: adım 7, 2 resimden 1. Acer Aspire One 722 Screen Replacement: adım 7, 2 resimden 2.
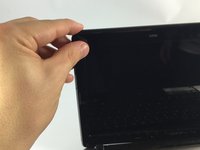
    • Remove the screws under the black caps.

    FixBot'a Sor

    Yorum Ekle

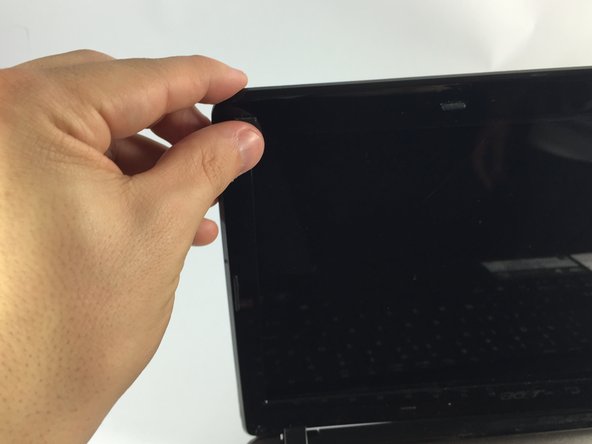
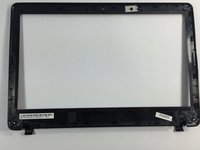
  8. Acer Aspire One 722 Screen Replacement: adım 8, 3 resimden 1. Acer Aspire One 722 Screen Replacement: adım 8, 3 resimden 2. Acer Aspire One 722 Screen Replacement: adım 8, 3 resimden 3.
    • Slowly separate the screen casing from the screen.

    • Potential for device damage: Be careful when detaching the screen casing from the screen. If not done slowly, it can break.

    FixBot'a Sor

    Yorum Ekle

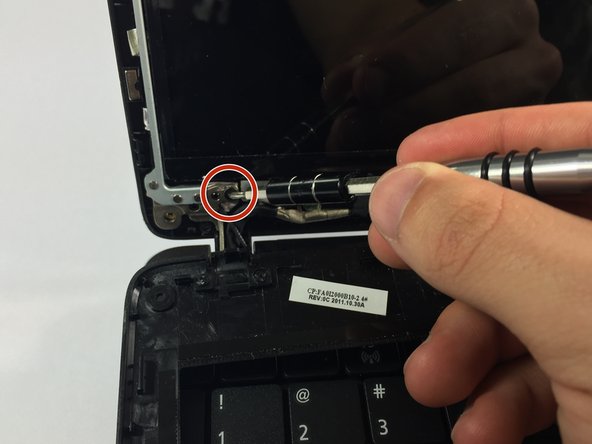
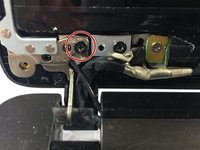
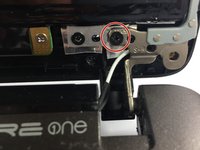
  9. Acer Aspire One 722 Screen Replacement: adım 9, 3 resimden 1. Acer Aspire One 722 Screen Replacement: adım 9, 3 resimden 2. Acer Aspire One 722 Screen Replacement: adım 9, 3 resimden 3.
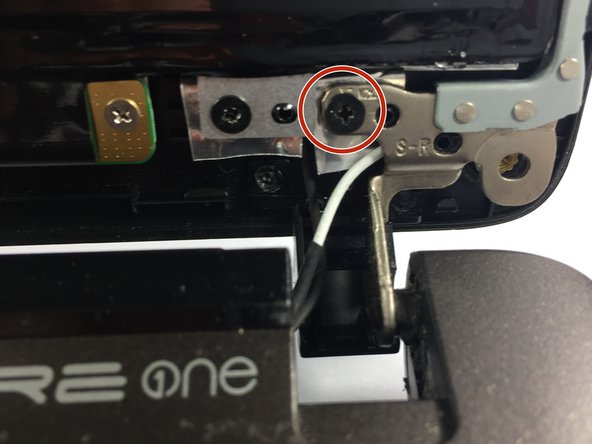
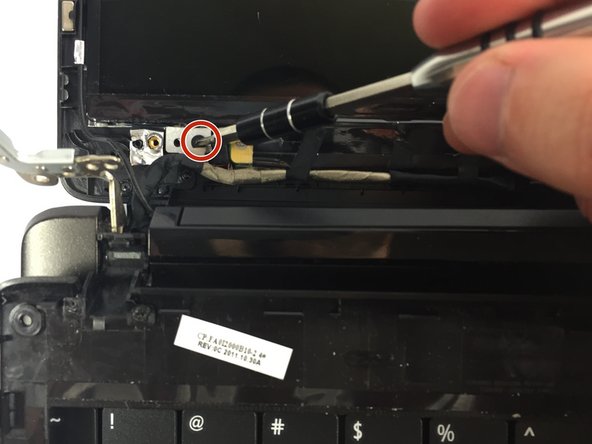
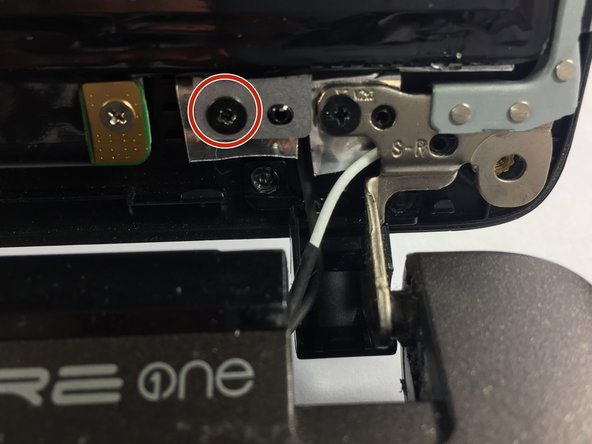
    • Remove the screws located on the four corners of the screen.

    FixBot'a Sor

    Yorum Ekle

  10. Acer Aspire One 722 Screen Replacement: adım 10, 3 resimden 1. Acer Aspire One 722 Screen Replacement: adım 10, 3 resimden 2. Acer Aspire One 722 Screen Replacement: adım 10, 3 resimden 3.
    • Remove the two bottom screws.

    • Taking out these screws will allow you to remove the screen from its attachment.

    FixBot'a Sor

    Yorum Ekle

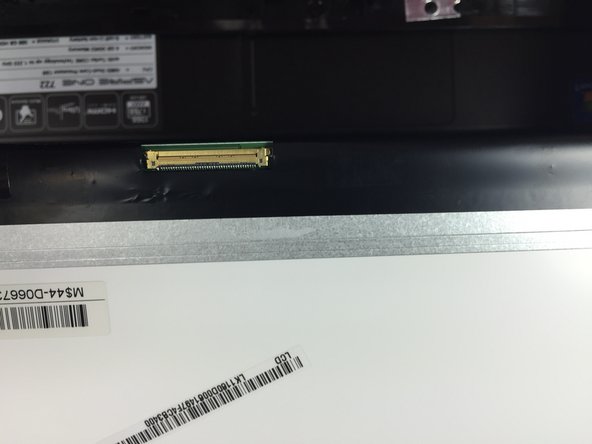
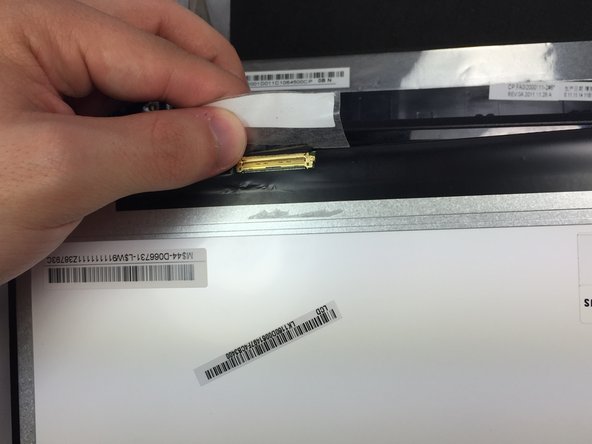
  11. Acer Aspire One 722 Screen Replacement: adım 11, 3 resimden 1. Acer Aspire One 722 Screen Replacement: adım 11, 3 resimden 2. Acer Aspire One 722 Screen Replacement: adım 11, 3 resimden 3.
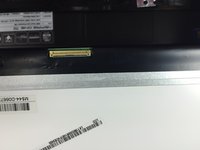
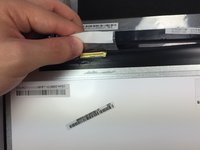
    • On the bottom left of the screen there is a cord attached. Remove the tape that is attached to the screen.

    FixBot'a Sor

    Yorum Ekle

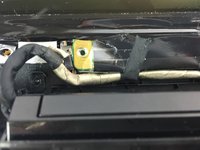
  12. Acer Aspire One 722 Screen Replacement: adım 12, 3 resimden 1. Acer Aspire One 722 Screen Replacement: adım 12, 3 resimden 2. Acer Aspire One 722 Screen Replacement: adım 12, 3 resimden 3.
    • On the green board, remove the two screws.

    • Remove the board.

    FixBot'a Sor

    Yorum Ekle

Sonuç

To reassemble your device, follow these instructions in reverse order.

İptal et: Bu kılavuzu tamamlamadım.

4 farklı kişi bu kılavuzu tamamladı.

Christian Barboza

Üyelik tarihi: 10/25/15

824 İtibar

5 adet Kılavuz yazıldı

Ekip

UMass Dartmouth, Team 5-6, Gulbrandsen Fall 2015 UMass Dartmouth, Team 5-6, Gulbrandsen Fall 2015 üyesi

UMASSD-GULBRANDSEN-F15S5G6

3 Üyeler

10 adet Kılavuz yazıldı

0Kılavuz Yorumları

Yorum Ekle

İstatistikleri Görüntüle:

Son 24 Saat: 3

Son 7 gün: 12

Son 30 gün: 36

Her zaman: 3,778