Giriş
This technical guide provides a step-by-step process for replacing the screen assembly of an Acer Spin 5 N17W2 laptop. The Acer Spin 5 N17W2 is a popular convertible laptop that features a touchscreen display, making it a great device for both productivity and entertainment. However, if the screen becomes damaged or stops working, it can be a frustrating issue to deal with. With this guide, you'll be able to replace the screen yourself, saving you time and money compared to taking it to a repair shop. The guide includes detailed instructions, helpful tips, and recommended tools to ensure a successful screen replacement.
Neye ihtiyacın var
-
-
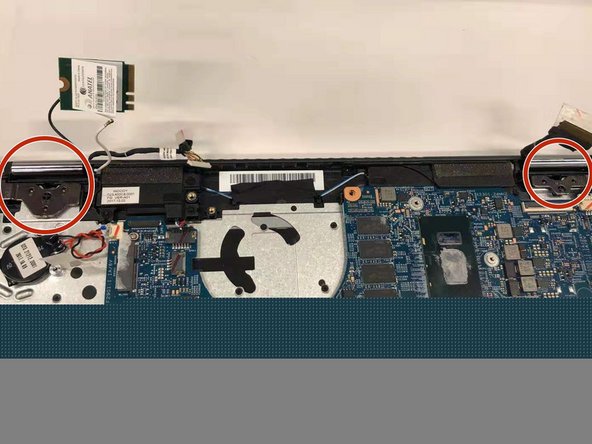
Use the Phillips #1 screwdriver to remove the six 6mm screws.
-
Use Phillips #1 screwdriver to remove six 5mm screws.
-
-
To reassemble your device, follow these instructions in reverse order.
To reassemble your device, follow these instructions in reverse order.
İptal et: Bu kılavuzu tamamlamadım.
3 farklı kişi bu kılavuzu tamamladı.


