Ana içeriğe geç
Onarım Topluluğuna Katılın - Hesap Oluşturun

Air Hog Smash Bots Front Panel Replacement

Neye ihtiyacın var

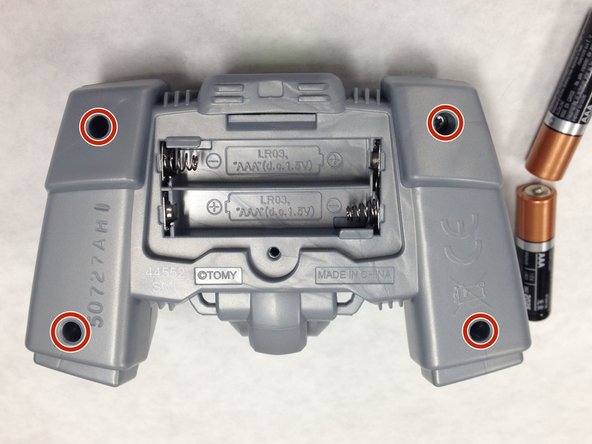
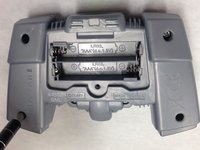
    1. Air Hog Smash Bots Front Panel Replacement, Front Panel: adım 1, 2 resimden 1. Air Hog Smash Bots Front Panel Replacement, Front Panel: adım 1, 2 resimden 2.
      • Take out your controller and access to the back of the controller.

      FixBot'a Sor

      Yorum Ekle

    2. Air Hog Smash Bots Front Panel Replacement: adım 2, 1 resimden 1.
      • Remove the screw on the battery lid. Using the Hex 4 socket and PH #0 bit, remove the 8 mm screw.

      FixBot'a Sor

      Yorum Ekle

    3. Air Hog Smash Bots Front Panel Replacement: adım 3, 1 resimden 1.
      • Remove the 2 AAA batteries.

      FixBot'a Sor

      Yorum Ekle

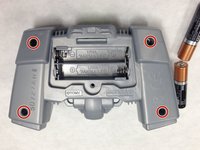
    4. Air Hog Smash Bots Front Panel Replacement: adım 4, 2 resimden 1. Air Hog Smash Bots Front Panel Replacement: adım 4, 2 resimden 2.
      • Using the Hex 4 socket and PH #0 bit, remove the four 8 mm screws on the panel.

      FixBot'a Sor

      Yorum Ekle

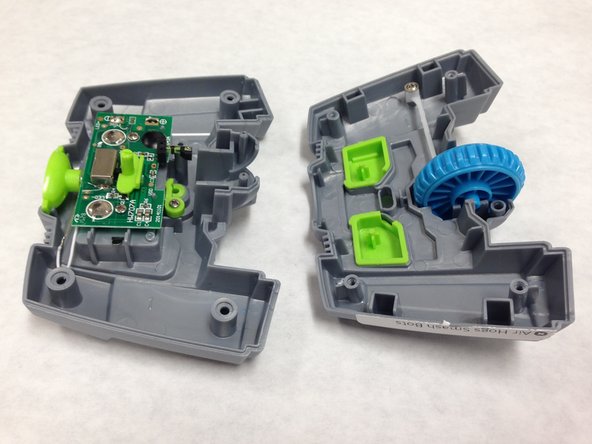
    5. Air Hog Smash Bots Front Panel Replacement: adım 5, 2 resimden 1. Air Hog Smash Bots Front Panel Replacement: adım 5, 2 resimden 2.
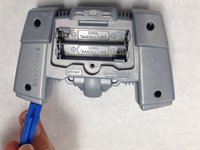
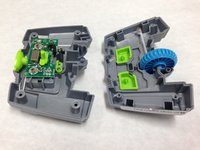
      • Use the plastic opening tool to disconnect the front and back parts of the panel.

      • Some of the internal components may be displaced when opening the controller.

      FixBot'a Sor

      Yorum Ekle

Sonuç

To reassemble your device, follow these instructions in reverse order.

İptal et: Bu kılavuzu tamamlamadım.

Jiani Xie

Üyelik tarihi: 02/08/16

173 İtibar

1 Kılavuz yazıldı

Ekip

IUPUI, Team 1-1, Baechle Spring 2016 IUPUI, Team 1-1, Baechle Spring 2016 üyesi

IUPUI-BAECHLE-S16S1G1

4 Üyeler

14 adet Kılavuz yazıldı

0Kılavuz Yorumları

Yorum Ekle

İstatistikleri Görüntüle:

Son 24 Saat: 1

Son 7 gün: 4

Son 30 gün: 28

Her zaman: 487