Bu sürüm, hatalı düzenlemeler içerebilir. En son doğrulanmış bellek kopyası dönün.
Neye ihtiyacın var
-
Bu adım çevrilmemiş. Çevrilmesine yardım edin
-
Use a spudger to gently pry off the stickers to reveal the location of the four screws.
-
-
Bu adım çevrilmemiş. Çevrilmesine yardım edin
-
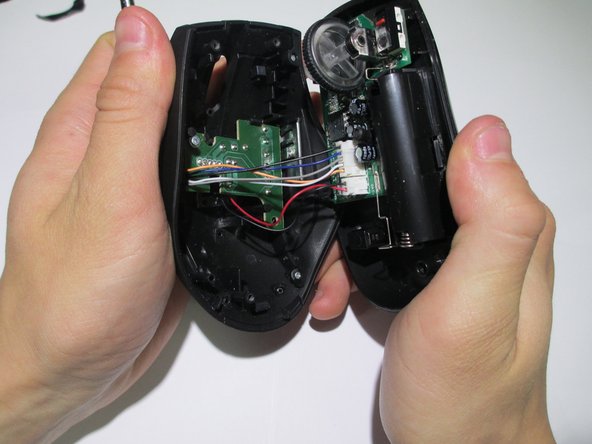
Pry the center of the mouse apart using a spudger to separate the upper and lower housing of the boards.
-
-
-
Bu adım çevrilmemiş. Çevrilmesine yardım edin
-
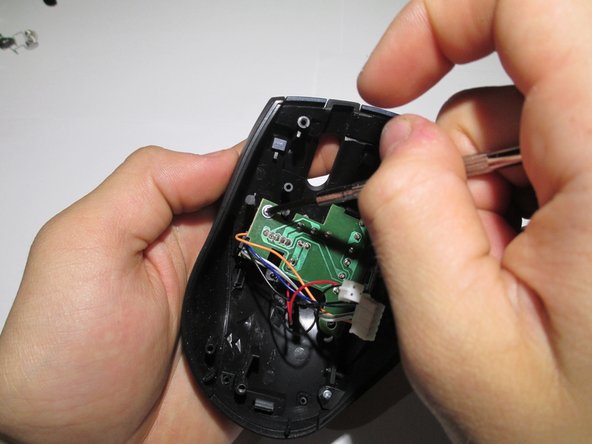
Remove the wires from the white crimp headers. This will separate the upper and lower housing units of the mouse.
-
-
Bu adım çevrilmemiş. Çevrilmesine yardım edin
-
Take the upper housing of the mouse and remove the two screws that hold the board in place.
-
-
Bu adım çevrilmemiş. Çevrilmesine yardım edin
-
To remove the LED, flip the board over and desolder the wires.
-


Ekip

Cal Poly, Team 1-39, Maness Winter 2014 Cal Poly, Team 1-39, Maness Winter 2014 üyesi
CPSU-MANESS-W14S1G39
4 Üyeler
16 adet Kılavuz yazıldı