Bu sürüm, hatalı düzenlemeler içerebilir. En son doğrulanmış bellek kopyası dönün.
Neye ihtiyacın var
-
Bu adım çevrilmemiş. Çevrilmesine yardım edin
-
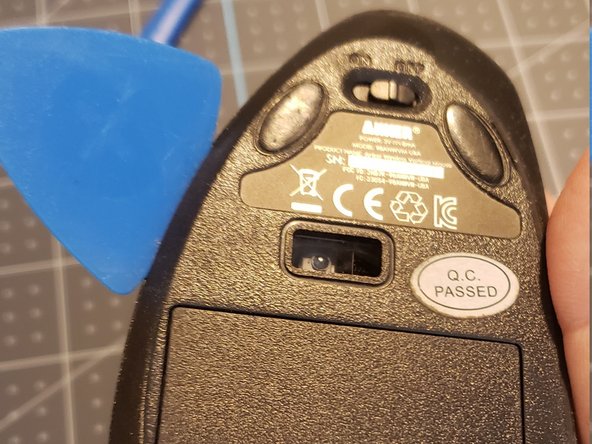
Flip the mouse over so that the bottom is facing up.
-
Using a prying tool to peel off the black stickers from the bottom of the mouse.
-
-
Bu adım çevrilmemiş. Çevrilmesine yardım edin
-
Using the Phillips #0 screwdriver, remove the four screws from the bottom of the mouse.
-
-
Bu adım çevrilmemiş. Çevrilmesine yardım edin
-
Pry the panels apart gently using a plastic opening tool or spudger.
-
-
-
Bu adım çevrilmemiş. Çevrilmesine yardım edin
-
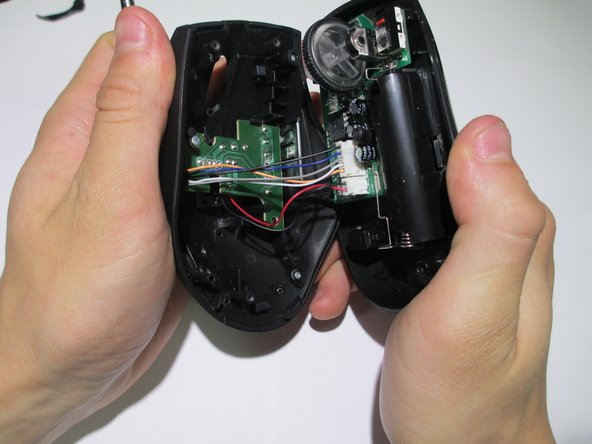
After separating the halves, remove the housing wires from the white crimp headers to separate the upper and lower housing units of the mouse.
-
-
Bu adım çevrilmemiş. Çevrilmesine yardım edin
-
Remove the two screws holding the board in place using a Phillips #0 screwdriver.
-
-
Bu adım çevrilmemiş. Çevrilmesine yardım edin
-
Remove the board from the housing unit and place it aside.
-
-
Bu adım çevrilmemiş. Çevrilmesine yardım edin
-
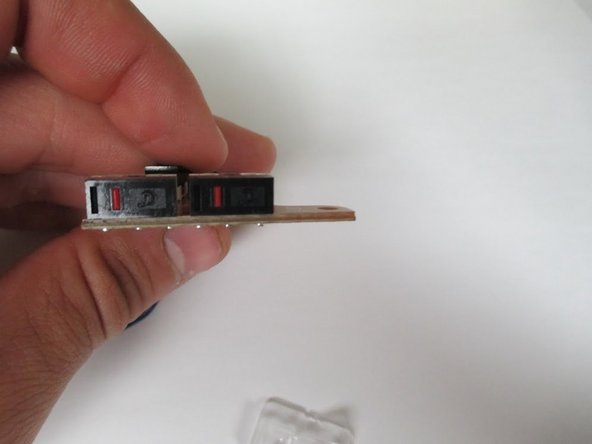
Left on the brown-colored bottom of the board, there are two black-and-white boxes. These are the side buttons.
-
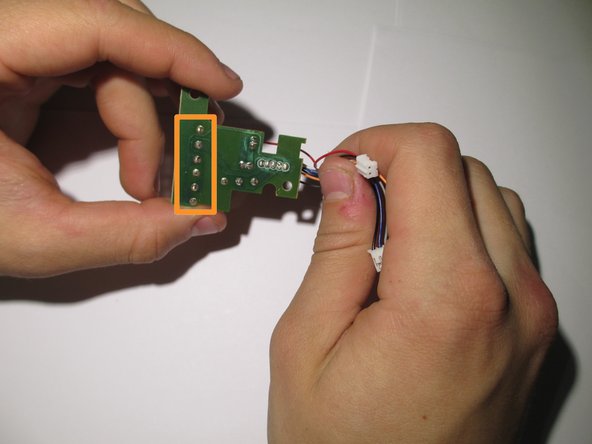
Flip the board over to reveal the green-colored side.
-
Desolder the six silver pins to disconnect the side buttons.
-
Once desoldered, remove the old side buttons.
-


