Giriş
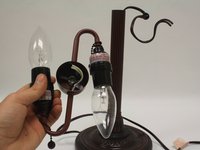
In this guide, users will learn about some of the internal workings of some older lamps. The lamp in this guide is actually a lamp from my grandmother. It was one of her favorite lamps for its unique patterns it throws on the room around it. It's a simple replacement of the threaded center support that just requires a bit of disassembly to get to it, once that is all done the lamp is reassembled the same way it came apart.
Neye ihtiyacın var
-
-
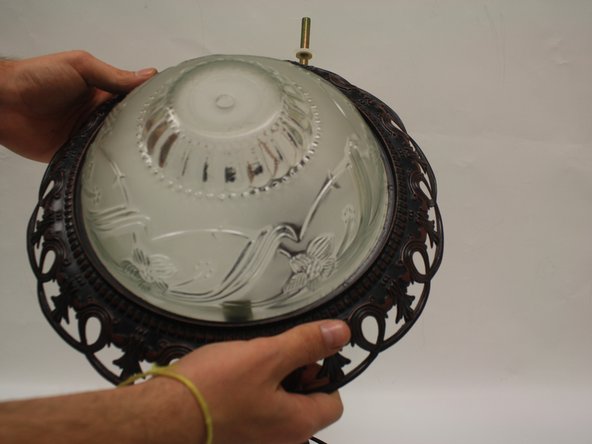
Start by unscrewing the decorative nut from the top of the canopy. Then lift the canopy off the old support.
-
-
-
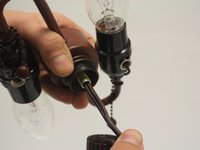
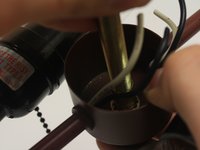
When the canopy is removed from the lamp, lift the broken support off. The wires should now be accessible from the top.
-
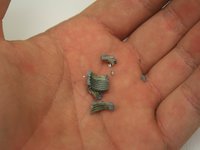
Save these pieces, as they might be useful in reassembly.
-
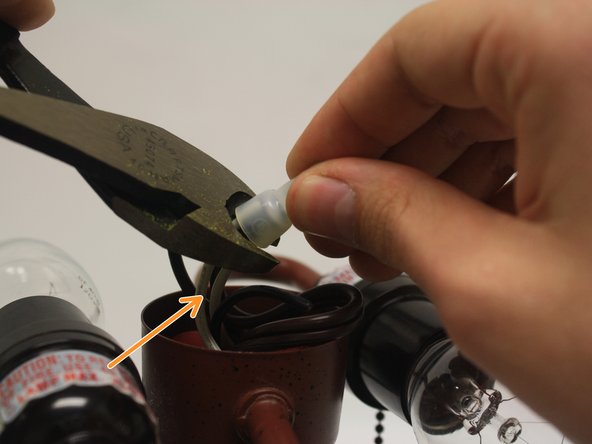
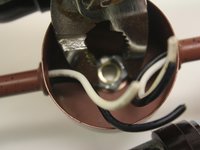
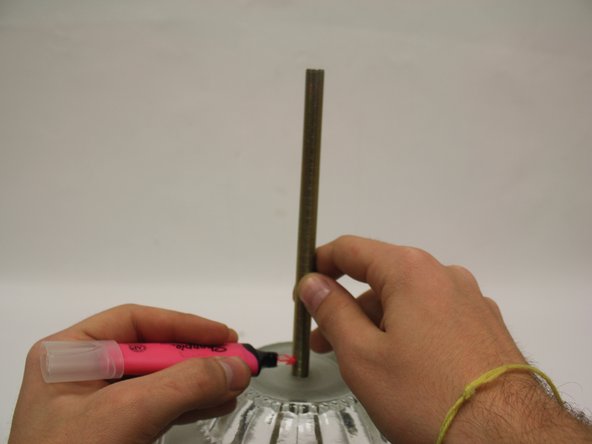
Mark the positive wire on the main power cord; this can be done with a marker, tape, or most any other method.
-
-
-
-
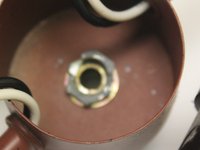
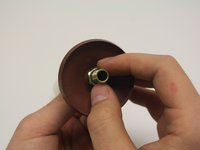
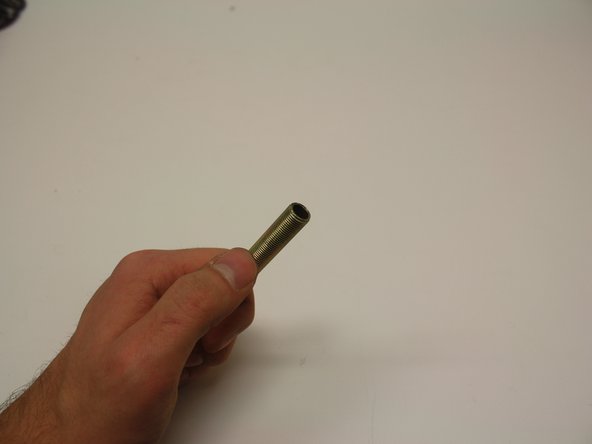
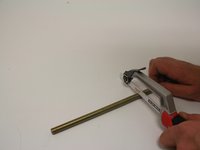
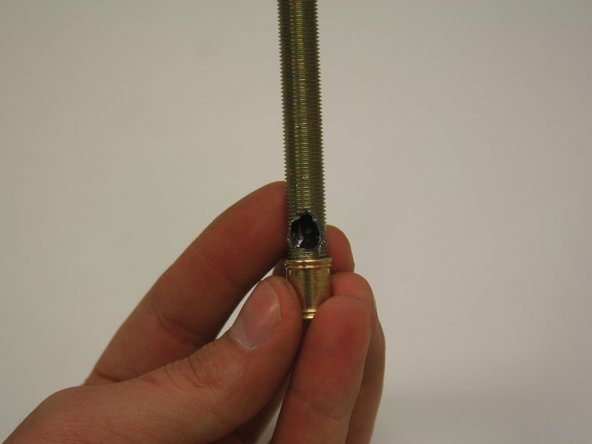
The threaded rod and coupling may need a hole for the wires to pass through. Remove the coupling and rod from the light fixture; do not move the coupler up the threaded rod. The coupler's location will serve as a reference for the hole.
-
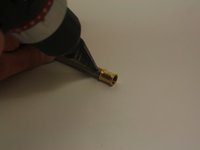
Make a hole with the drill; if the size of the whole needed is unknown, a stepped drill bit is useful. Do not apply too much pressure as the metal is likely soft.
-


To reassemble your device, follow these instructions in reverse order.
To reassemble your device, follow these instructions in reverse order.
İptal et: Bu kılavuzu tamamlamadım.
Bir başkası bu kılavuzu tamamladı.
Ekip

Missouri Western, Team S40-G9, Kunkel Spring 2017 Missouri Western, Team S40-G9, Kunkel Spring 2017 üyesi
MWSU-KUNKEL-S17S40G9
2 Üyeler
1 Kılavuz yazıldı