Bu sürüm, hatalı düzenlemeler içerebilir. En son doğrulanmış bellek kopyası dönün.
Neye ihtiyacın var
-
Bu adım çevrilmemiş. Çevrilmesine yardım edin
-
Turn computer over.
-
Remove battery expansion cover and battery.
-
-
Bu adım çevrilmemiş. Çevrilmesine yardım edin
-
With monitor hinge at the bottom, remove the two top center screws.
-
-
Bu adım çevrilmemiş. Çevrilmesine yardım edin
-
Open computer kickstands.
-
Remove screws underneath each kickstand.
-
-
-
Bu adım çevrilmemiş. Çevrilmesine yardım edin
-
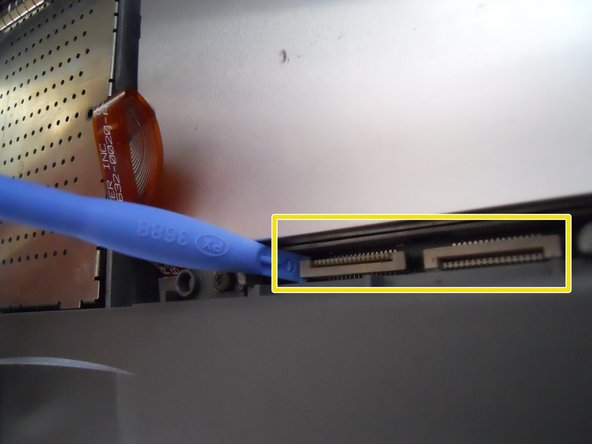
Lift the white ribbon clamps securing the keyboard ribbon cables to the motherboard. You can do this using a plastic opening tool.
-
Removing both ribbon cables from the motherboard will leave the clamps like so.
-
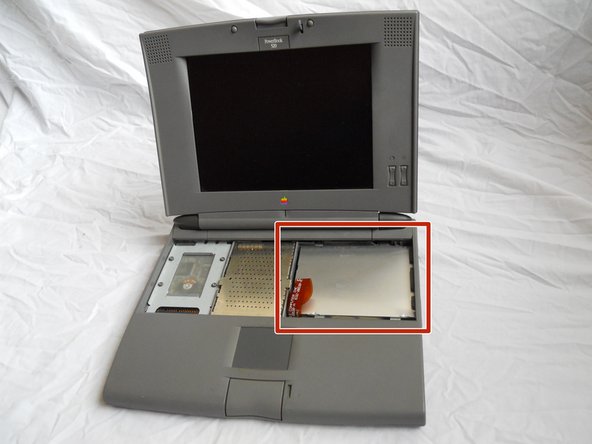
From here you can access the logic board, hard drive, and floppy drive.
-
-
Bu adım çevrilmemiş. Çevrilmesine yardım edin
-
Open the panel on back of the device. Remove 2 T8 torque screws.
-
-
Bu adım çevrilmemiş. Çevrilmesine yardım edin
-
Remove the 2 T8 Torx Screws securing the logic board protection plate from the midsection of the logic board protection plate. Remove the T8 Torx Screw from the back of the plate, underneath the hinge.
-
-
Bu adım çevrilmemiş. Çevrilmesine yardım edin
-
Using a plastic spudger, gently pry up the uppermost board fixture. This is the Memory (RAM).
-
-
Bu adım çevrilmemiş. Çevrilmesine yardım edin
-
Once the old Memory board is removed, replace it with the new Memory board.
-


İptal et: Bu kılavuzu tamamlamadım.
2 farklı kişi bu kılavuzu tamamladı.
Ekip

Cal Poly, Team 20-66, Walters Spring 2011 Cal Poly, Team 20-66, Walters Spring 2011 üyesi
CPSU-WALTERS-S11S20G66
4 Üyeler
3 adet Kılavuz yazıldı