Giriş
In the technological world, people often throw away their laptops to get the latest version. However, repairing your older laptop can be a rewarding do-it-yourself project that also prevents more technology waste.
Before using this guide, inspect the Apple Powerbook for the severity of damage to the screen. Then, view the battery and keyboard replacement guides. Next, review and purchase the list of required tools and replacement parts.
Neye ihtiyacın var
-
-
To begin this repair process first position the Powerbook towards you with the monitor closed, also make sure the laptop is away from anything that can cause a fire, self harm, etc.
-
Press the battery removal latch located on the right side of the front panel.
-
Gently slide the battery out. Make sure you place the battery in a safe place where it can also be easily accesible
-
-
-
For the next step you are to grab the TR8 Torx Security Screwdriver
-
Once you have the screwdriver turn the laptop over and look for three T8 torx screws that should be located near the bottom panel of the device.
-
Once located, begin unscrewing and place screws in a comfortable space where they are easily accesible
-
-
-
Once the screws are off carefully turn the laptop over, make sure the monitor of the device is facing you
-
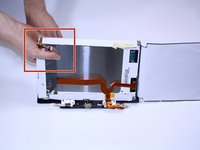
With the monitor facing towards you, gently pull up on the keyboard panel from the bottom.
-
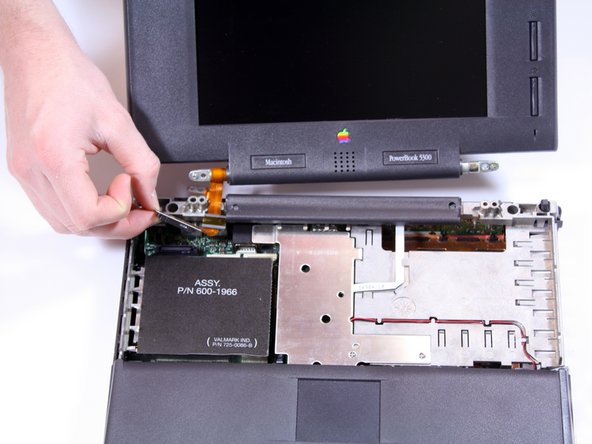
With the keyboard turned over as pictured, carefully remove its ribbon cable from the connection port on the logic board. Use the spudger tool to lift the white plastic retainer about 1/16" to release the cable.
-
-
-
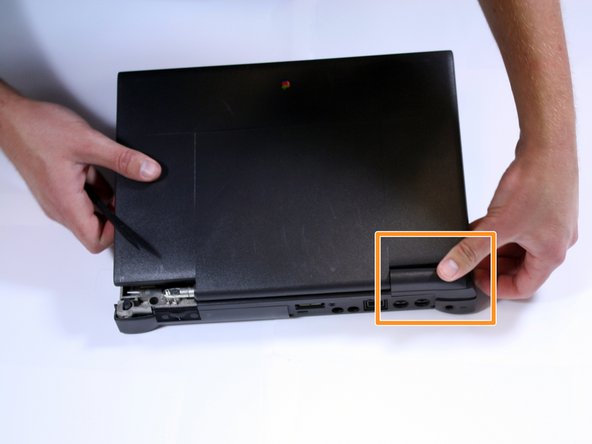
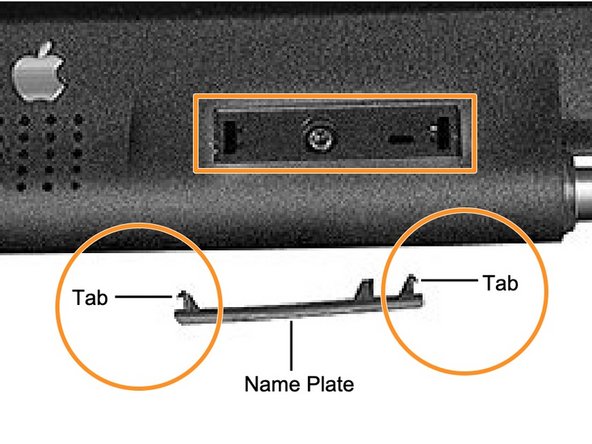
Begin by locating the side panel covers.
-
Remove the side panels by pulling up and towards the rear of the laptop.
-
Remove the two Torx #8 screws using a TR8 Torx security screwdriver.
-
-
-
-
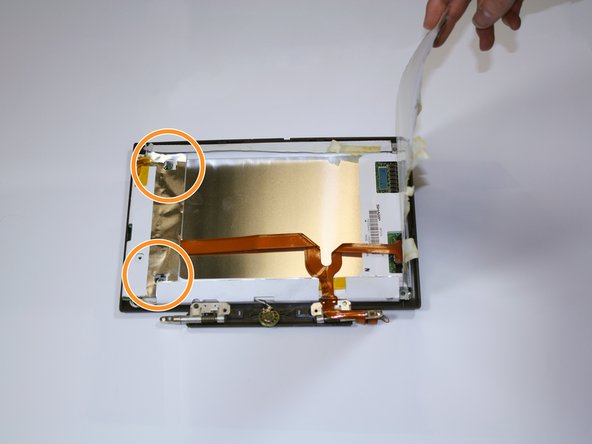
Unscrew the three Torx #8 screws above the white paper backing holding the display to the bezel.
-
Unscrew the three Torx #8 screws below the white paper backing.
-
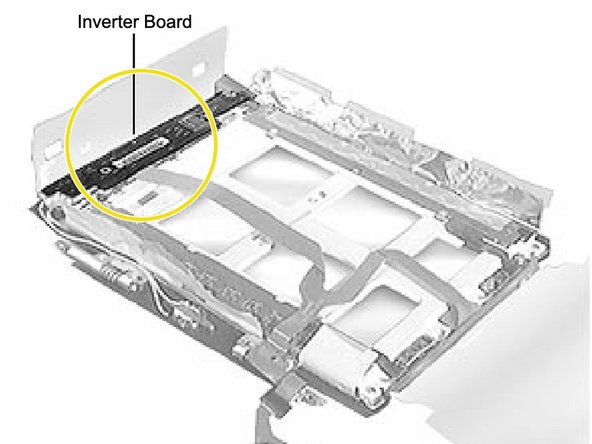
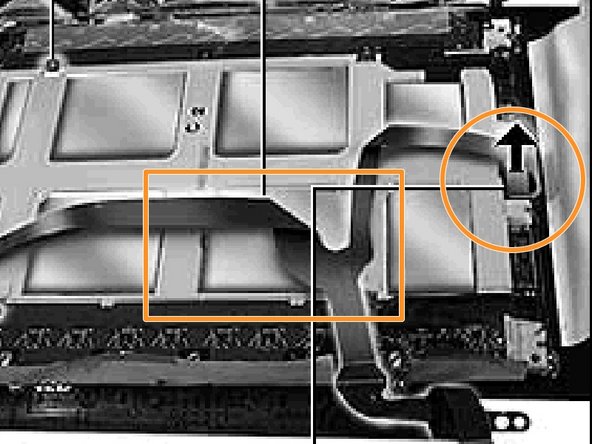
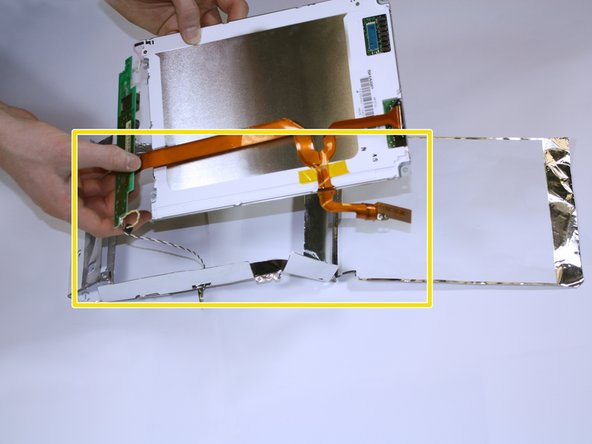
Remove the tape and peel back the paper backing to access the screws below. Lay back the display EMI insulator and gently lift the inverter board.
-


To reassemble your device, follow steps 1-12 in the instructions in reverse order.
İptal et: Bu kılavuzu tamamlamadım.
2 farklı kişi bu kılavuzu tamamladı.
Ekip

Cal Poly, Team 25-30, Garner Spring 2011 Cal Poly, Team 25-30, Garner Spring 2011 üyesi
CPSU-GARNER-S11S25G30
4 Üyeler
6 adet Kılavuz yazıldı