Giriş
This set of instructions covers the Apple Powerbook 190/5300 Series’ hard drive removal and replacement.. This procedure should be performed for the replacement of a faulty or inoperable hard drive; including but not limited to data cable damage, or power cable damage. The user may also want to remove their hard drive to secure their data from compromise.
This device contains the highest voltage of any Powerbook of its time, and requires precaution. Remove the battery and power adaptor before the procedure.
Neye ihtiyacın var
-
-
Position the Powerbook towards you with the monitor closed.
-
Press the battery removal latch located on the right side of the front panel.
-
Gently slide the battery out.
-
-
-
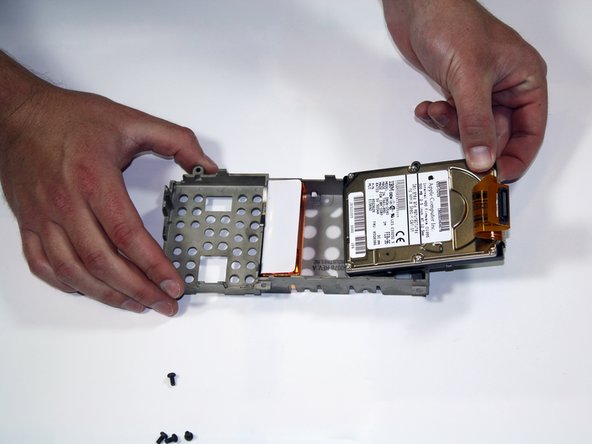
Turn the laptop over and remove the three T8 torx screws from the bottom panel.
-
-
-
-
Gently lift up the laptop's front-most panel and slowly raise the trackpad from the logic board.
-
Disconnect the front panel's ribbon cable from the board by slowly pulling it out of the connection port. Set the panel aside.
-


To reassemble your device, follow these instructions in reverse order.
To reassemble your device, follow these instructions in reverse order.
İptal et: Bu kılavuzu tamamlamadım.
2 farklı kişi bu kılavuzu tamamladı.
Ekip

Cal Poly, Team 25-30, Garner Spring 2011 Cal Poly, Team 25-30, Garner Spring 2011 üyesi
CPSU-GARNER-S11S25G30
4 Üyeler
6 adet Kılavuz yazıldı