Ana içeriğe geç
Onarım Topluluğuna Katılın - Hesap Oluşturun

ArmorAll AA255 Power Cord Replacement

Neye ihtiyacın var

  1. ArmorAll AA255 Power Cord Replacement, Lower Motor Housing: adım 1, 1 resimden 1.
    • Remove the orange main housing unit from the vacuum bucket by pulling outward on the handle tabs while lifting upward as shown.

    FixBot'a Sor

    Yorum Ekle

  2. ArmorAll AA255 Power Cord Replacement: adım 2, 1 resimden 1.
    • Remove the five 15mm PH2 screws.

    FixBot'a Sor

    Yorum Ekle

  3. ArmorAll AA255 Power Cord Replacement: adım 3, 1 resimden 1.
    • Remove the 15 mm T20 screw. This screw is located nearest the power cord.

    FixBot'a Sor

    Yorum Ekle

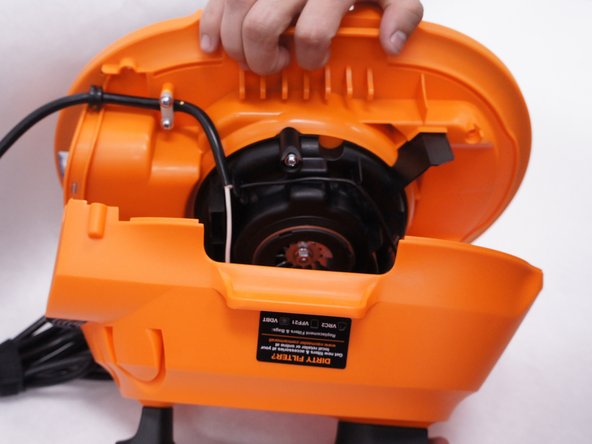
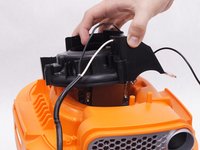
  4. ArmorAll AA255 Power Cord Replacement: adım 4, 2 resimden 1. ArmorAll AA255 Power Cord Replacement: adım 4, 2 resimden 2.
    • Gently separate the upper and lower sections of the main housing.

    FixBot'a Sor

    Yorum Ekle

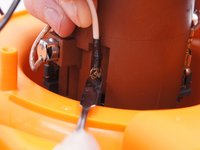
  5. ArmorAll AA255 Power Cord Replacement, Power Cord: adım 5, 1 resimden 1.
    • Pull the black wire from the power cord out of the switch.

    • There are no clips or tabs that hold this wire in place. Just pull strongly to remove it.

    • Don't remove both black wires. Only the black wire that comes from the power cord itself needs to be removed. The one going to the motor can be left alone.

    FixBot'a Sor

    Yorum Ekle

  6. ArmorAll AA255 Power Cord Replacement: adım 6, 1 resimden 1.
    • Remove the five 15mm screws from the plastic motor cover and power cord clamp using a PH2 screwdriver.

    FixBot'a Sor

    Yorum Ekle

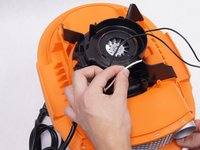
  7. ArmorAll AA255 Power Cord Replacement: adım 7, 2 resimden 1. ArmorAll AA255 Power Cord Replacement: adım 7, 2 resimden 2.
    • Remove the plastic motor cover.

    • Be sure to loosen the white wire from the notch in the plastic motor cover by pulling it upwards.

    FixBot'a Sor

    Yorum Ekle

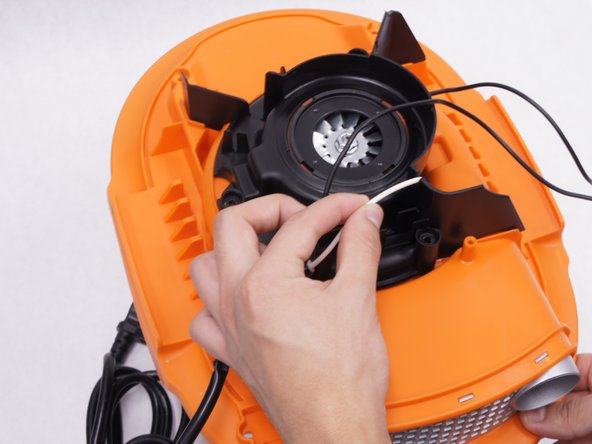
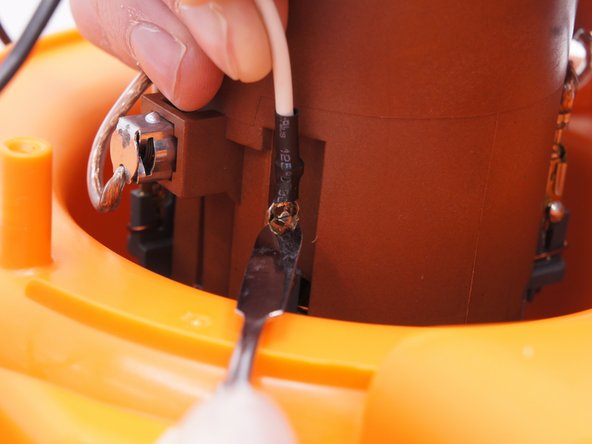
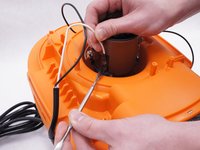
  8. ArmorAll AA255 Power Cord Replacement: adım 8, 2 resimden 1. ArmorAll AA255 Power Cord Replacement: adım 8, 2 resimden 2.
    • Detach the white wire from the motor by pulling upwards on the wire as you depress the small metal tab on the connector with a nylon spudger.

    • When working with electronics, it's important to choose a tool that's ESD-safe to avoid accidental damage to the device. The regular black nylon spudger or a plastic opening tool should be used whenever possible.

    FixBot'a Sor

    Yorum Ekle

Sonuç

To reassemble your device, follow these instructions in reverse order.

İptal et: Bu kılavuzu tamamlamadım.

3 farklı kişi bu kılavuzu tamamladı.

Abel Manring

Üyelik tarihi: 02/10/16

263 İtibar

1 Kılavuz yazıldı

Ekip

IUPUI, Team 2-1, Baechle Spring 2016 IUPUI, Team 2-1, Baechle Spring 2016 üyesi

IUPUI-BAECHLE-S16S2G1

4 Üyeler

10 adet Kılavuz yazıldı

0Kılavuz Yorumları

Yorum Ekle

İstatistikleri Görüntüle:

Son 24 Saat: 1

Son 7 gün: 7

Son 30 gün: 38

Her zaman: 1,518