Giriş
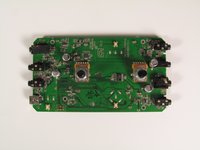
In this guide, we will be reaching and removing the motherboard from its housing in the Astro A40 Gen2. The motherboard is the only component inside the mixamp.
WARNING: Use caution when placing screws to the side as they are very small and easy to lose. Place them in groups apart from each other to avoid confusion.
Neye ihtiyacın var
-
-
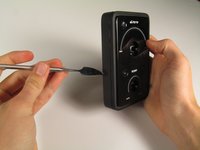
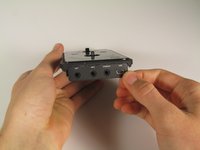
Remove the dials using either a metal spudger or your hands. Be careful as the dials may be difficult to remove.
-
-
Bu adımda kullanılan alet:Tweezers$4.99
-
Locate the two 11/32 inch nuts underneath the dials.
-
Use an 11/32 inch socket wrench or tweezers to unscrew and remove the nuts and washers.
-
-
-
-
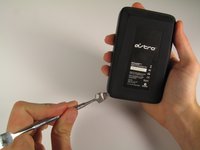
Remove the one 4.5 mm Phillips #0 screw on the back panel of the mixamp.
-
-
-
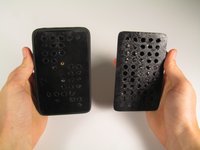
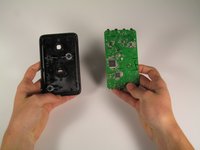
Using a large metal spudger, detach all plastic clips holding the bottom and top casings together.
-
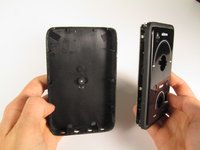
Remove the input casing using your fingers.
-
-
-
Remove the four 5.8 mm Phillips #0 screws on the motherboard.
-


To reassemble your device, follow these instructions in reverse order.
İptal et: Bu kılavuzu tamamlamadım.
2 farklı kişi bu kılavuzu tamamladı.
Ekip
Cal Poly, Team 20-18, Maness Winter 2015 Cal Poly, Team 20-18, Maness Winter 2015 üyesi
CPSU-MANESS-W15S20G18
4 Üyeler
10 adet Kılavuz yazıldı
1Rehber Yorum
Where would I find a motherboard? And would it save money fixing the mixamp?