Giriş
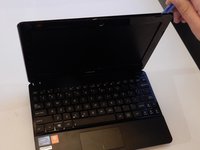
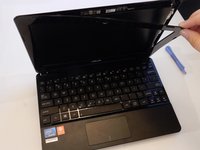
The following guide will help the user remove the screen. The screen trim can been removed using a spudger. A Phillips #0 screwdriver is needed to remove the screws keeping the screen attached to the laptop.
Neye ihtiyacın var
-
-
Hold the laptop using both hands with the battery facing upwards.
 FixBot'a Sor
-
-
-
Push the two tabs located below the battery in towards each other using your thumbs.
-
-
-
Continue to push the battery upwards until it is completely separated from the laptop as shown.
-
-
-
-
Push up on the back of the tabs that cover the hinges connecting the screen to the base of the laptop.
-
While pushing up on the back of the tabs, insert the spudger into the opening created from pushing on the tabs until the tab detaches.
-
-
-
Once the case has been separated from the laptop, pull the case off completely, using the plastic opening tool or your fingers.
-
-
-
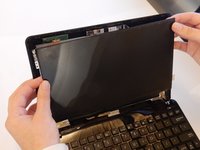
When the screen case has been successfully removed, the laptop should resemble the photo shown here.
-
-
-
Unscrew the 3 mm screws (4) using a #0 Phillips head screwdriver.
-
-
-
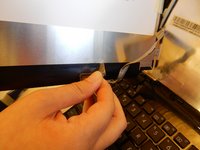
Remove the wire that is glued to the back of the screen with your fingers.
-
Remove the tape covering the connection port.
-


To reassemble your device, follow these instructions in reverse order.
İptal et: Bu kılavuzu tamamlamadım.
2 farklı kişi bu kılavuzu tamamladı.
Ekip

Clemson, Team 7-4, Benson Spring 2016 Clemson, Team 7-4, Benson Spring 2016 üyesi
CLEM-BENSON-S16S7G4
5 Üyeler
7 adet Kılavuz yazıldı