Ana içeriğe geç
Onarım Topluluğuna Katılın - Hesap Oluşturun

Asus Eee PC 1008ha Screen Replacement

Neye ihtiyacın var

    1. Asus Eee PC 1008ha Screen Replacement, Battery: adım 1, 1 resimden 1.
      • Using the plastic opening tool, carefully pry the top panel from the base.

      FixBot'a Sor

      Yorum Ekle

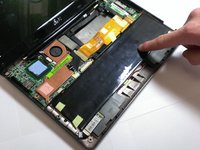
    2. Asus Eee PC 1008ha Screen Replacement: adım 2, 3 resimden 1. Asus Eee PC 1008ha Screen Replacement: adım 2, 3 resimden 2. Asus Eee PC 1008ha Screen Replacement: adım 2, 3 resimden 3.
      • Lift the side of the keyboard.

      • Disconnect the attached ribbon located underneath the keyboard.

      • Place your index finger in the hole on the right side of the keyboard tray and lift the tray.

      FixBot'a Sor

      Yorum Ekle

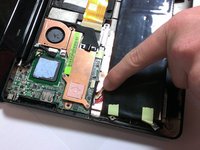
    3. Asus Eee PC 1008ha Screen Replacement: adım 3, 2 resimden 1. Asus Eee PC 1008ha Screen Replacement: adım 3, 2 resimden 2.
      • Use your fingers to lift the battery and gently disconnect the wires from the base.

      FixBot'a Sor

      Yorum Ekle

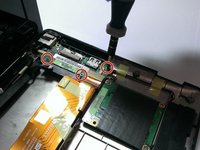
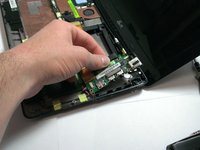
    1. Asus Eee PC 1008ha Screen Replacement, LCD Screen: adım 4, 2 resimden 1. Asus Eee PC 1008ha Screen Replacement, LCD Screen: adım 4, 2 resimden 2.
      • Using the Phillips #00 screwdriver, unscrew the 4mm screws from the rightmost circuit board.

      • Carefully pull the circuit board away from side of device base.

      FixBot'a Sor

      Yorum Ekle

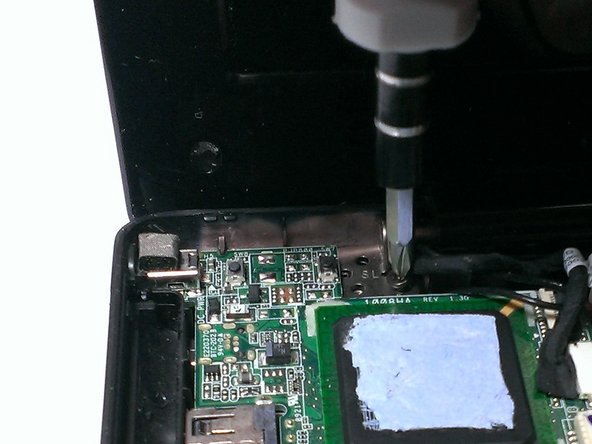
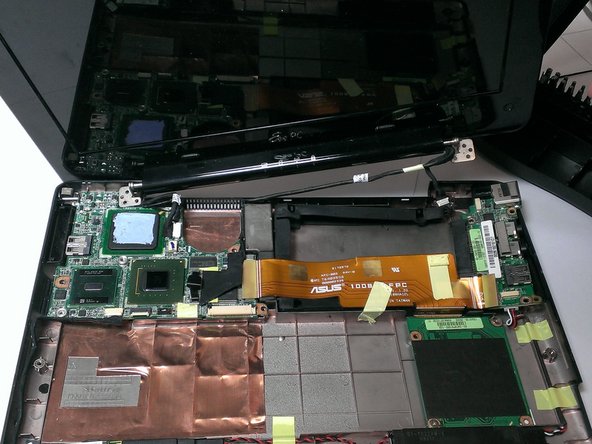
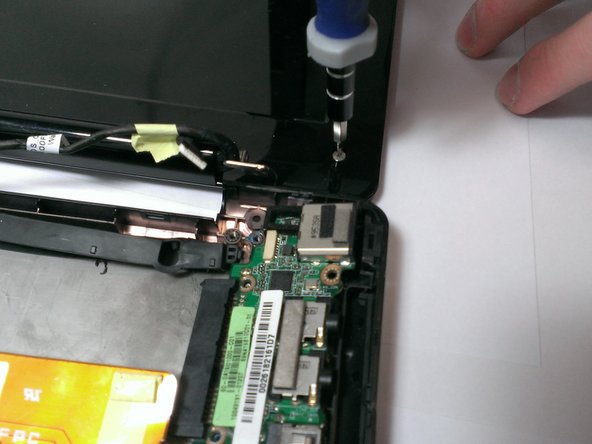
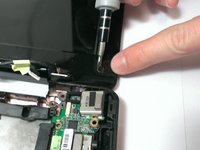
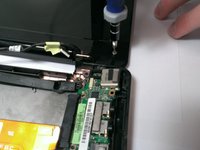
    2. Asus Eee PC 1008ha Screen Replacement: adım 5, 3 resimden 1. Asus Eee PC 1008ha Screen Replacement: adım 5, 3 resimden 2. Asus Eee PC 1008ha Screen Replacement: adım 5, 3 resimden 3.
      • Using the Phillips #00 screwdriver, unscrew the 4mm screws attaching screen to base from both sides.

      • Gently lift the screen portion from the base.

      FixBot'a Sor

      Yorum Ekle

    3. Asus Eee PC 1008ha Screen Replacement: adım 6, 2 resimden 1. Asus Eee PC 1008ha Screen Replacement: adım 6, 2 resimden 2.
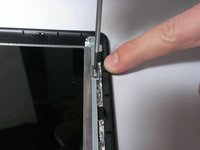
      • Using the Plastic Opening Tool, pry the six small chits from the face of the screen portion.

      • Using the Phillips #00 screwdriver, unscrew the two 2mm and four 4mm screws from underneath the chits.

      FixBot'a Sor

      Yorum Ekle

    4. Asus Eee PC 1008ha Screen Replacement: adım 7, 2 resimden 1. Asus Eee PC 1008ha Screen Replacement: adım 7, 2 resimden 2.
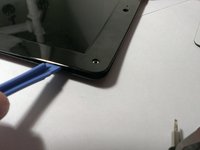
      • Slide the Plastic Opening Tool under the edge of the screen bezel to release the front panel of the screen.

      FixBot'a Sor

      Yorum Ekle

    5. Asus Eee PC 1008ha Screen Replacement: adım 8, 2 resimden 1. Asus Eee PC 1008ha Screen Replacement: adım 8, 2 resimden 2.
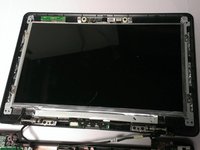
      • Using the Phillips #00 screwdriver, unscrew the 2mm screws from the perimeter of the screen.

      • Use your fingers to hold the screen and carefully lift it from the base.

      FixBot'a Sor

      Yorum Ekle

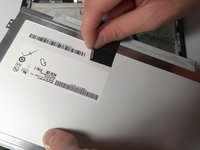
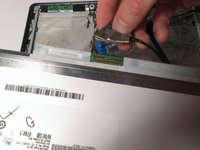
    6. Asus Eee PC 1008ha Screen Replacement: adım 9, 2 resimden 1. Asus Eee PC 1008ha Screen Replacement: adım 9, 2 resimden 2.
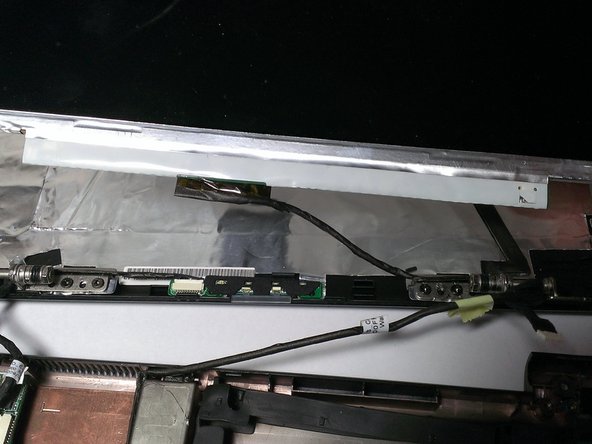
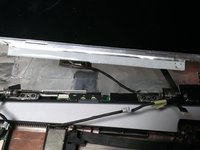
      • Use your fingers to peel back the adhesive tape located on the back of the screen.

      • Disconnect the wire from the screen.

      FixBot'a Sor

      Yorum Ekle

Sonuç

To reassemble your device, follow these instructions in reverse order.

İptal et: Bu kılavuzu tamamlamadım.

Bir başkası bu kılavuzu tamamladı.

Michael Dooley

Üyelik tarihi: 04/18/13

138 İtibar

3 adet Kılavuz yazıldı

Ekip

Cal Poly, Team 21-52, Johann Spring 2013 Cal Poly, Team 21-52, Johann Spring 2013 üyesi

CPSU-JOHANN-S13S21G52

4 Üyeler

11 adet Kılavuz yazıldı

0Kılavuz Yorumları

Yorum Ekle

İstatistikleri Görüntüle:

Son 24 Saat: 0

Son 7 gün: 7

Son 30 gün: 34

Her zaman: 3,524