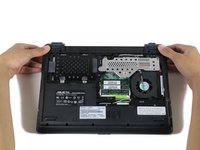
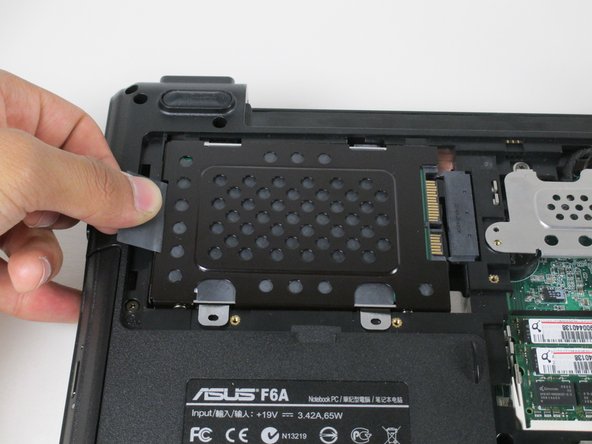
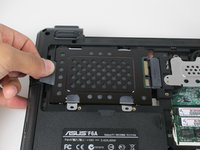
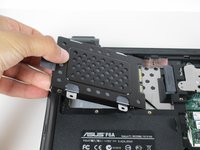
Ana içeriğe geç

Asus F6A-X2 Hard Drive Replacement

Neye ihtiyacın var

  1. Asus F6A-X2 Hard Drive Replacement, Battery: adım 1, 1 resimden 1.
    • Remove any power cords and turn the laptop off. Attempting to replace part of the laptop while power is running through it may cause electrocution or damage to the device.

    • Flip laptop face down and rotate so the battery is facing toward you.

    • The battery is not shown in this picture.

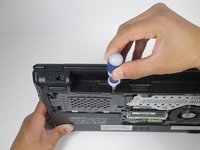
    • To remove the battery, place one finger on each of the two black slide tabs. Push each tab toward the center of the laptop to release the lock.

    • Slide the battery toward you and lift it out of the laptop.

  2. Asus F6A-X2 Hard Drive Replacement, Back Access Panel: adım 2, 2 resimden 1. Asus F6A-X2 Hard Drive Replacement, Back Access Panel: adım 2, 2 resimden 2.
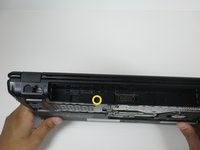
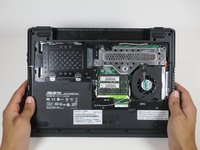
    • With the laptop facing down, rotate it so the battery pack is facing away from you.

    • Remove the six 1.5 mm Phillips #1 screws on the back panel of the laptop.

  3. Asus F6A-X2 Hard Drive Replacement: adım 3, 3 resimden 1. Asus F6A-X2 Hard Drive Replacement: adım 3, 3 resimden 2. Asus F6A-X2 Hard Drive Replacement: adım 3, 3 resimden 3.
    • Insert a finger into one of the slots on the bottom panel.

    • Gently lift the upwards, and the back panel of the laptop will come off easily.

  4. Asus F6A-X2 Hard Drive Replacement, Hard Drive: adım 4, 2 resimden 1. Asus F6A-X2 Hard Drive Replacement, Hard Drive: adım 4, 2 resimden 2.
    • Rotate the laptop 90 degrees towards you so that you are looking at the empty battery compartment.

  5. Asus F6A-X2 Hard Drive Replacement: adım 5, 2 resimden 1. Asus F6A-X2 Hard Drive Replacement: adım 5, 2 resimden 2.
    • Remove the 2.0 mm Phillips #3 screw located beneath the battery compartment.

  6. Asus F6A-X2 Hard Drive Replacement: adım 6, 3 resimden 1. Asus F6A-X2 Hard Drive Replacement: adım 6, 3 resimden 2. Asus F6A-X2 Hard Drive Replacement: adım 6, 3 resimden 3.
    • Lay the laptop flat on its back.

    • Gently pull left on the black tab, located on the left side of the hard drive, until it pops out.

    • Slowly lift the tab up and pull the hard drive out of the laptop.

Sonuç

To reassemble your device, follow these instructions in reverse order.

Bir başkası bu kılavuzu tamamladı.

Jonathan

Üyelik tarihi: 04/24/14

1.174 İtibar

11 adet Kılavuz yazıldı

Ekip

Cal Poly, Team 10-56, Amido Spring 2014 Cal Poly, Team 10-56, Amido Spring 2014 üyesi

CPSU-AMIDO-S14S10G56

4 Üyeler

12 adet Kılavuz yazıldı

0 Yorum

Yorum Ekle

İstatistikleri Görüntüle:

Son 24 Saat: 0

Son 7 gün: 5

Son 30 gün: 8

Her zaman: 839