Giriş
If you are experiencing problems with your computer's screen like cracking or dead pixels, you will likely need to replace it. With this guide, you will learn how to take apart your Asus G74SX-BBK7 for a screen replacement step-by-step.
Neye ihtiyacın var
-
-
Bu adımda kullanılan alet:Tweezers$4.99
-
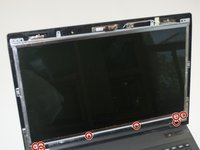
Begin by removing the six square rubber pads around the edge of the frame. These cover the screws to remove the outer frame. They can be taken out by hand or with a pair of tweezers.
-
Next, remove the six 6mm Phillip #0 screws from the frame using a Phillips #0 screwdriver.
 FixBot'a Sor
-
-
-
Use a spudger to remove the frame. It should come off easier at the top than the bottom so start at the top and work your way down.
-
-
-
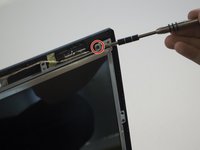
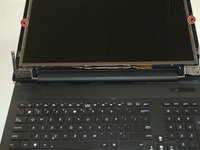
Remove the two 6mm Phillips #0 screws from the top left and right corners using a Phillips #0 screwdriver.
-
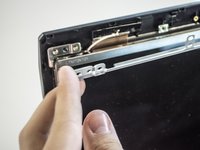
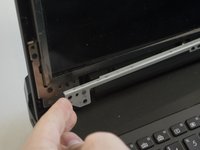
Gently lift the top bracket off of the screen and set it aside.
-
-
-
-
Repeat the last step with the bottom bracket, removing eight 6 mm Phillips #0 screws using a Phillips #0 screwdriver. Set the bracket aside.
-
-
-
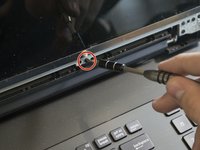
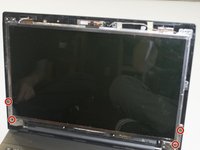
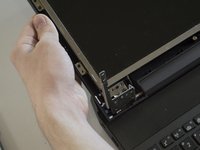
Remove four 6mm Phillips #0 screws from the hinges at the bottom of the screen using a Phillips #0 screwdriver.
-
The top section of the laptop will no longer be attached, so gently lay it back on the table.
-
-
-
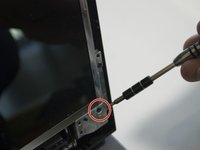
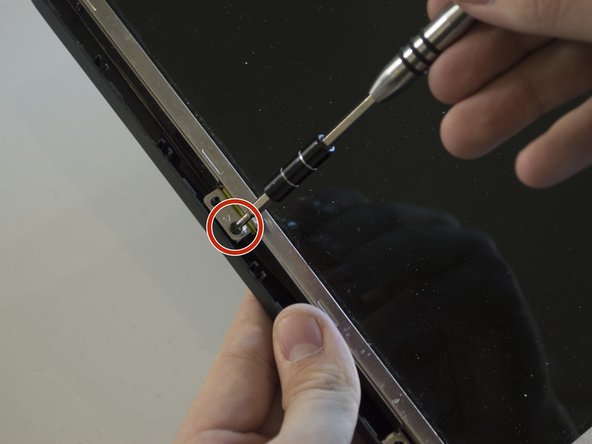
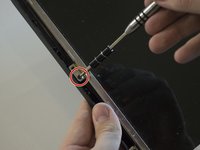
Remove the two 6mm Phillips #0 screws on either side of the screen using a Phillips #0 screwdriver.
-
-
-
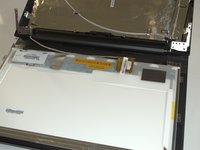
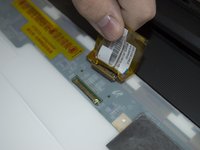
Remove the screen from the laptop casing and flip it over. Peel the sticker above the connector back and firmly pull the connector out.
-
-
-
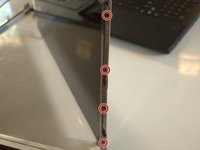
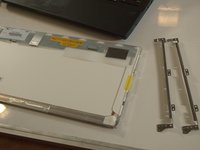
The last step is to remove eight 3mm Phillip #0 screws from both side brackets of the screen itself using a Phillips #0 screwdriver. There are four screws on each side.
-
-











To reassemble your device, follow these instructions in reverse order.
İptal et: Bu kılavuzu tamamlamadım.
4 farklı kişi bu kılavuzu tamamladı.

Ekip

Cal Poly, Team 5-10, Maness Spring 2015 Cal Poly, Team 5-10, Maness Spring 2015 üyesi
CPSU-MANESS-S15S5G10
4 Üyeler
12 adet Kılavuz yazıldı
1Rehber Yorum
I replace a motherboard in computer AND W0NT SHOW 0N THE SCREEN BUT IT DOSE TURN ON
