Giriş
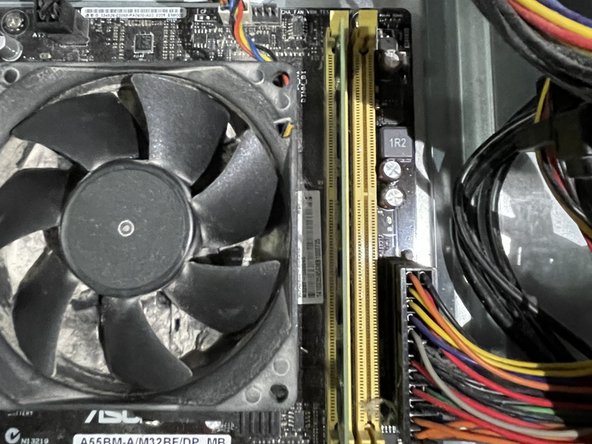
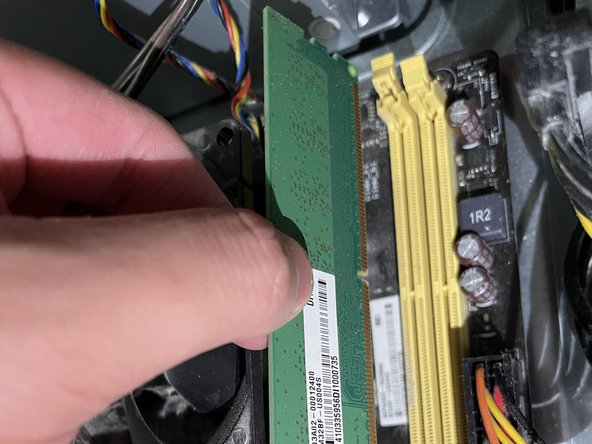
RAM or system memory is an important part of every computer. The more memory your computer has, the more tasks it will be able to take on. This allows your computer to take on heavier workloads without freezing up or losing out on performance.
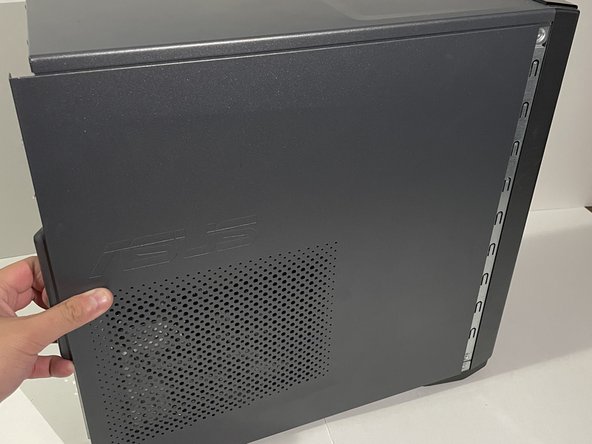
This guide will help you replace your RAM in your Asus M32BF desktop PC, specifically for the model, Asus M32BF-US002T.
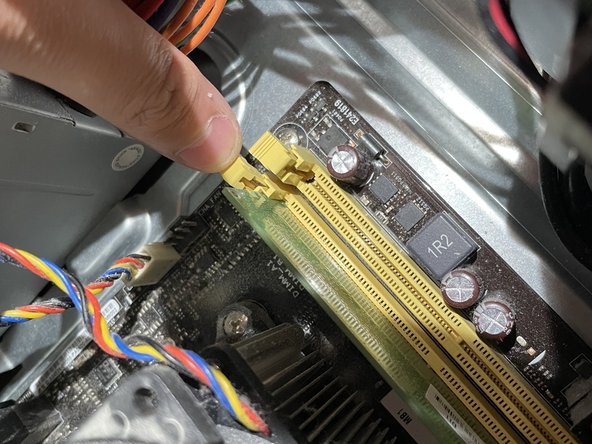
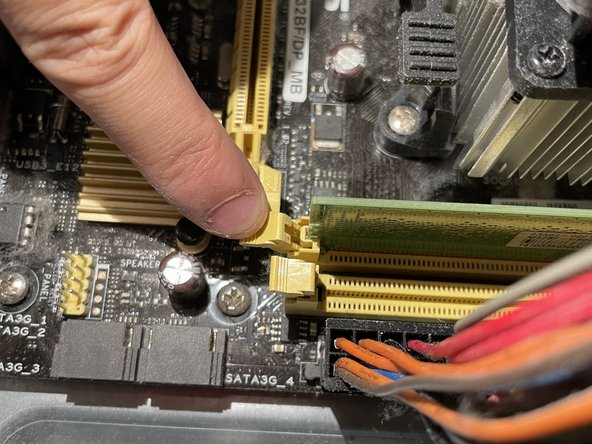
Before using this guide, please ensure that you are installing a compatible stick of RAM into your computer. This computer specifically uses DDR3 RAM. If any RAM besides DDR3 is used, the notches on the ram slot will not align with the gap on the ram stick, and as a result, the ram will not properly fit into the slot.
Neye ihtiyacın var


To reassemble your device, follow these instructions in reverse order.
To reassemble your device, follow these instructions in reverse order.
İptal et: Bu kılavuzu tamamlamadım.
2 farklı kişi bu kılavuzu tamamladı.

Ekip

York University, Team E-22, Melo-Thaiss Fall 2021 York University, Team E-22, Melo-Thaiss Fall 2021 üyesi
YORK-MELO-THAISS-F21SEG22
1 Üye
2 adet Kılavuz yazıldı