Giriş
In this guide you will learn how to remove and replace the Asus Q505UA-BI5T7's C31POJ1 battery for this device.
This is a simple process with a minimal amount of tools needed. The replacement of this part should take around only 10 minutes to complete. Please read the troubleshooting page before deciding to remove the battery.
Neye ihtiyacın var
-
-
Flip the device over so that the back cover is facing you.
-
Remove the two 10 mm Philips #1 screws from the top two corners of the back cover of the laptop.
-
Remove the remaining eight 8 mm Philips #1 screws remaining in the back cover of the laptop.
-
-
-
-
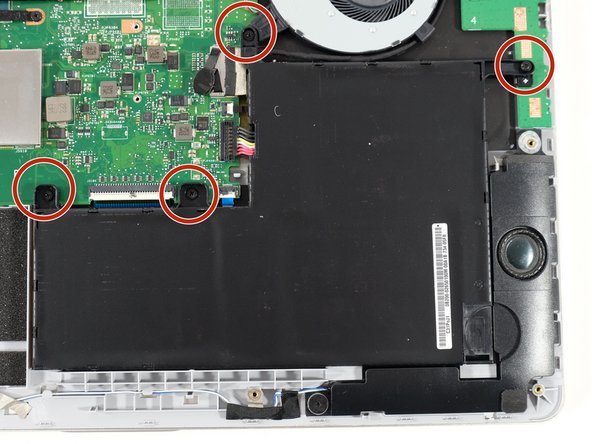
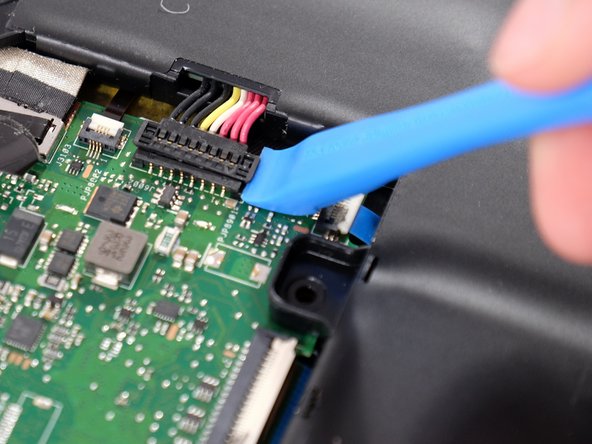
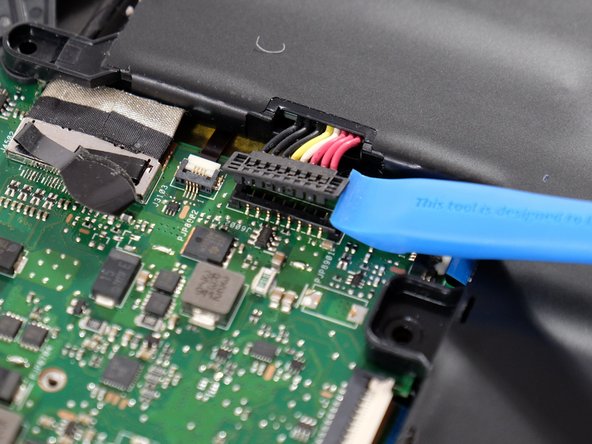
Make sure your device is turned off. Remove the 5 mm screws on each respective side of the battery by twisting counter-clockwise with a #0 Phillips screwdriver.
-


To reassemble your device, follow these instructions in reverse order.
To reassemble your device, follow these instructions in reverse order.

Ekip

Linn Benton Community College, Team 1-2, Karnes Fall 2023 Linn Benton Community College, Team 1-2, Karnes Fall 2023 üyesi
LBCC-KARNES-F23S1G2
3 Üyeler
3 adet Kılavuz yazıldı