Ana içeriğe geç

Asus Q550LF-BBI7T07 RAM Replacement

Neye ihtiyacın var

  1. Asus Q550LF-BBI7T07 RAM Replacement, Battery: adım 1, 2 resimden 1. Asus Q550LF-BBI7T07 RAM Replacement, Battery: adım 1, 2 resimden 2.
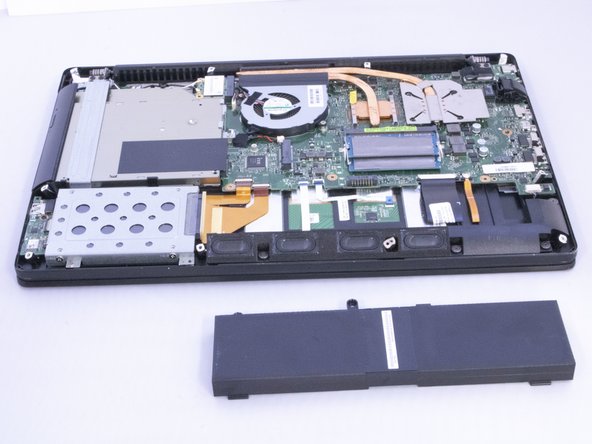
    • Use a T4 Torx screwdriver head to remove the ten 4mm Torx head screws on the bottom of the laptop.

  2. Asus Q550LF-BBI7T07 RAM Replacement: adım 2, 2 resimden 1. Asus Q550LF-BBI7T07 RAM Replacement: adım 2, 2 resimden 2.
    • Use an opening tool to pry open the rear cover. Lift the cover off and away from the board.

  3. Asus Q550LF-BBI7T07 RAM Replacement: adım 3, 2 resimden 1. Asus Q550LF-BBI7T07 RAM Replacement: adım 3, 2 resimden 2.
    • Use a Phillips #0 screwdriver head to remove the three black 7mm Phillips head screws that hold the battery in place.

  4. Asus Q550LF-BBI7T07 RAM Replacement: adım 4, 2 resimden 1. Asus Q550LF-BBI7T07 RAM Replacement: adım 4, 2 resimden 2.
    • Once the screws have been removed, gently lift the battery out.

  5. Asus Q550LF-BBI7T07 RAM Replacement, RAM: adım 5, 3 resimden 1. Asus Q550LF-BBI7T07 RAM Replacement, RAM: adım 5, 3 resimden 2. Asus Q550LF-BBI7T07 RAM Replacement, RAM: adım 5, 3 resimden 3.
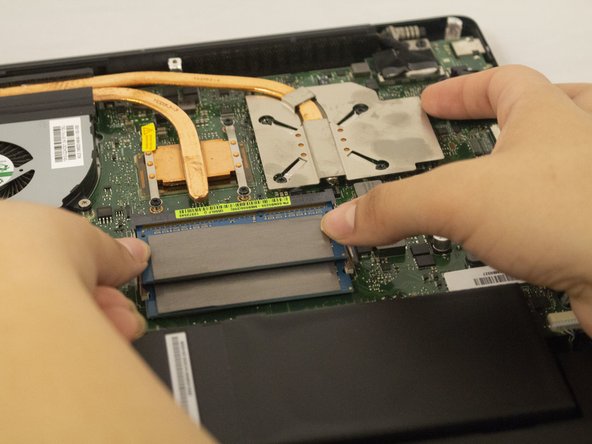
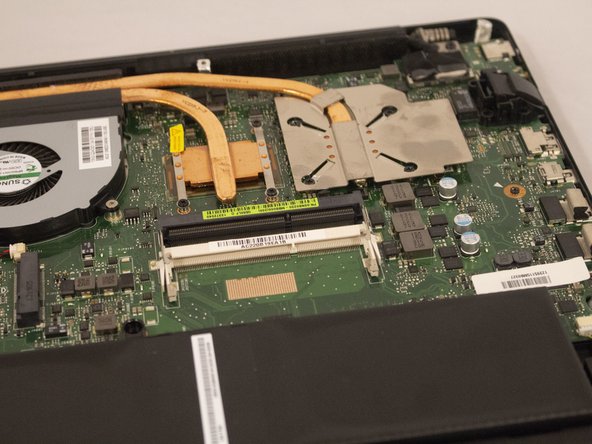
    • Push both metal tabs away from each other on each side of the RAM farthest from battery so that the RAM will pop up.

  6. Asus Q550LF-BBI7T07 RAM Replacement: adım 6, 1 resimden 1.
    • Pull out first RAM chip.

  7. Asus Q550LF-BBI7T07 RAM Replacement: adım 7, 1 resimden 1.
    • Push both metal tabs away from each other on each side of the RAM closest to the battery so that the second RAM will pop up.

  8. Asus Q550LF-BBI7T07 RAM Replacement: adım 8, 2 resimden 1. Asus Q550LF-BBI7T07 RAM Replacement: adım 8, 2 resimden 2.
    • Pull out second RAM chip.

Sonuç

To reassemble your device, follow these instructions in reverse order.

4 farklı kişi bu kılavuzu tamamladı.

0 Yorum

Yorum Ekle

İstatistikleri Görüntüle:

Son 24 Saat: 1

Son 7 gün: 3

Son 30 gün: 8

Her zaman: 603