Giriş
This guide is intended to show how to remove a damaged screen from the laptop. Reversing the steps will describe the steps needed to replace the laptop with a new screen.
Neye ihtiyacın var
-
-
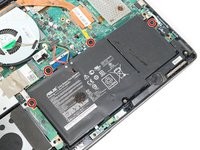
Unscrew the 10 screws around the edge of the back panel. Eight of the screws are 0.0793mm T5 , two of them are 0.0793 JIS #0.
 FixBot'a Sor
-
-
-
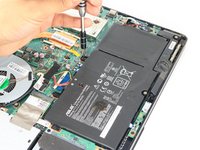
Use the plastic opening tool to pry the back panel off the base of the laptop.
-
-
-
-
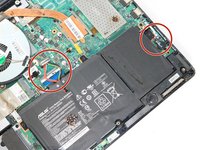
Un-clip both wire clips on the upper and right side of the battery.
-
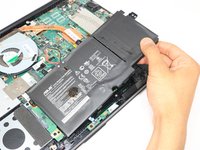
Lift the battery out of the device.
-
-
-
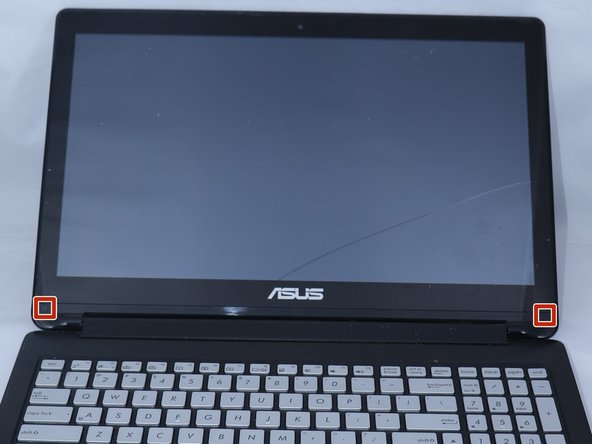
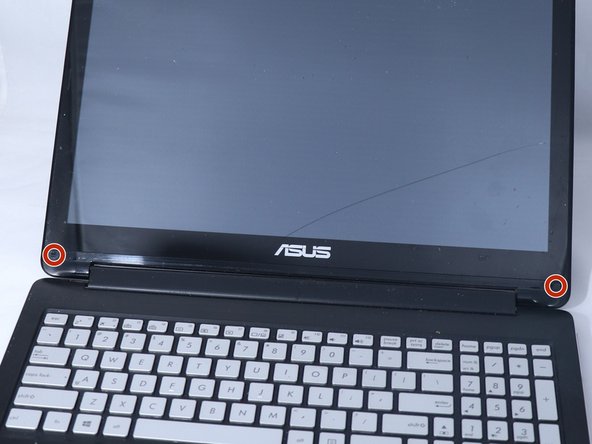
Use the metal spudger to gently lift the two plastic squares off the screen.
-
-
-
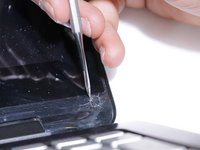
Use the plastic opening tool to pry the front edges of the screen off of the back.
-


To reassemble your device, follow these instructions in reverse order.
İptal et: Bu kılavuzu tamamlamadım.
4 farklı kişi bu kılavuzu tamamladı.
Ekip

Eastern Washington University, Team S3-G2, Rowley Spring 2018 Eastern Washington University, Team S3-G2, Rowley Spring 2018 üyesi
EWU-ROWLEY-S18S3G2
3 Üyeler
4 adet Kılavuz yazıldı