Ana içeriğe geç

Asus ROG Strix GL702VS LCD Screen (Display) Replacement

Neye ihtiyacın var

  1. Asus ROG Strix GL702VS LCD Screen (Display) Replacement, LCD Screen (Display): adım 1, 3 resimden 1. Asus ROG Strix GL702VS LCD Screen (Display) Replacement, LCD Screen (Display): adım 1, 3 resimden 2. Asus ROG Strix GL702VS LCD Screen (Display) Replacement, LCD Screen (Display): adım 1, 3 resimden 3.
    • Remove the two screw stickers at the bottom corners of the screen.

    • Remove the two 4mm JIS #0 screws beneath the stickers.

  2. Asus ROG Strix GL702VS LCD Screen (Display) Replacement: adım 2, 3 resimden 1. Asus ROG Strix GL702VS LCD Screen (Display) Replacement: adım 2, 3 resimden 2. Asus ROG Strix GL702VS LCD Screen (Display) Replacement: adım 2, 3 resimden 3.
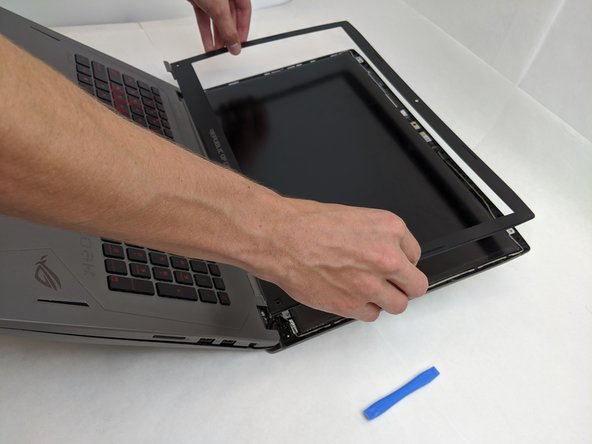
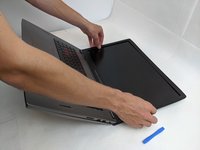
    • Break the glue between the bezel and screen with a nylon spudger, working around the inside of the bezel.

    • Using an opening tool, lift up the bezel once the glue has been removed.

    • The plastic clips remain so it will have some resistance/snapping noises.

  3. Asus ROG Strix GL702VS LCD Screen (Display) Replacement: adım 3, 2 resimden 1. Asus ROG Strix GL702VS LCD Screen (Display) Replacement: adım 3, 2 resimden 2.
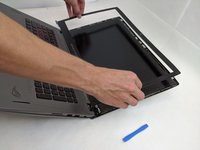
    • Lift the plastic bezel off of the front display panel.

    • The plastic bezel will click when put back on the screen.

  4. Asus ROG Strix GL702VS LCD Screen (Display) Replacement: adım 4, 1 resimden 1.
    • Remove the four interior 4mm JIS #0 screws from each of the four metal LCD tabs.

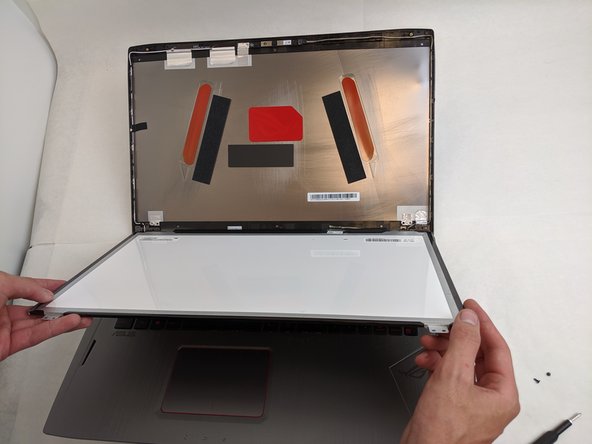
  5. Asus ROG Strix GL702VS LCD Screen (Display) Replacement: adım 5, 3 resimden 1. Asus ROG Strix GL702VS LCD Screen (Display) Replacement: adım 5, 3 resimden 2. Asus ROG Strix GL702VS LCD Screen (Display) Replacement: adım 5, 3 resimden 3.
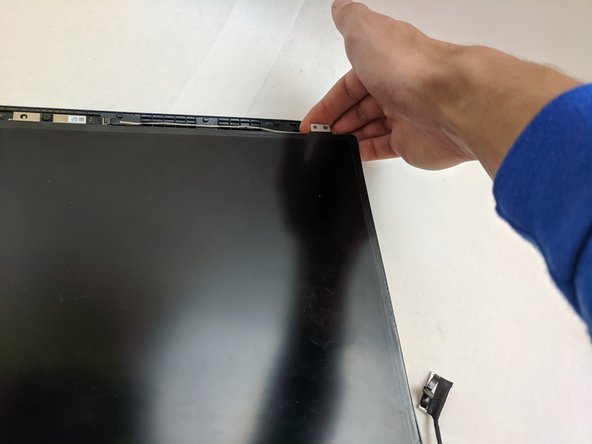
    • Once the LCD display is freed you can lift it up out of the casing.

    • Be careful as the cable remains attached.

  6. Asus ROG Strix GL702VS LCD Screen (Display) Replacement: adım 6, 2 resimden 1. Asus ROG Strix GL702VS LCD Screen (Display) Replacement: adım 6, 2 resimden 2.
    Bu adımda kullanılan alet:
    Tweezers
    $4.99
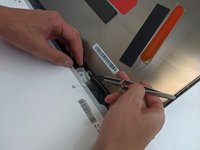
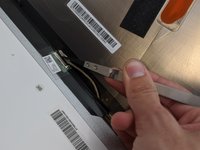
    • On the backside of the LCD, disconnect the LCD cable using a pair of tweezers.

    • Once fully disconnected, remove the LCD and replace it.

Sonuç

To reassemble your device, follow these instructions in reverse order.

Bir başkası bu kılavuzu tamamladı.

0Kılavuz Yorumları

Yorum Ekle

İstatistikleri Görüntüle:

Son 24 Saat: 3

Son 7 gün: 11

Son 30 gün: 29

Her zaman: 1,871