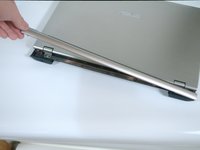
Ana içeriğe geç

Asus U56E Laptop Screen Replacement

Neye ihtiyacın var

  1. Asus U56E Laptop Screen Replacement, Screen: adım 1, 2 resimden 1. Asus U56E Laptop Screen Replacement, Screen: adım 1, 2 resimden 2.
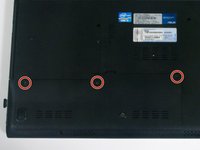
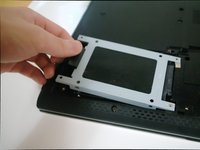
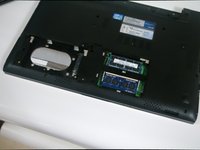
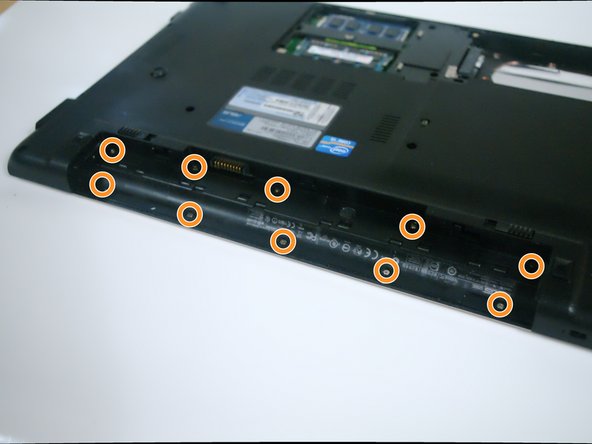
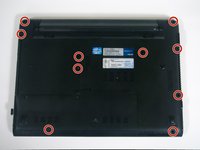
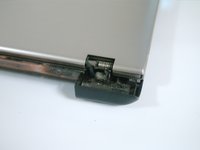
    • Position the laptop on a flat, stable surface, with the underside facing upward.

  2. Asus U56E Laptop Screen Replacement: adım 2, 3 resimden 1. Asus U56E Laptop Screen Replacement: adım 2, 3 resimden 2. Asus U56E Laptop Screen Replacement: adım 2, 3 resimden 3.
    • Make sure the laptop is unplugged before removing the battery to avoid risk of electric shock.

    • Slide the two battery lock switches toward each other.

    • Lift the battery to remove it from the laptop.

  3. Asus U56E Laptop Screen Replacement: adım 3, 3 resimden 1. Asus U56E Laptop Screen Replacement: adım 3, 3 resimden 2. Asus U56E Laptop Screen Replacement: adım 3, 3 resimden 3.
    • Remove the 3 Phillips #00 screws holding on the back cover of the laptop.

    • Lift the cover, exposing the laptop hard drive and RAM.

  4. Asus U56E Laptop Screen Replacement: adım 4, 2 resimden 1. Asus U56E Laptop Screen Replacement: adım 4, 2 resimden 2.
    • Remove the eight small screws holding the hard drive in.

    • The hard drive cover can now be removed by lifting the tab on the left.

  5. Asus U56E Laptop Screen Replacement: adım 5, 1 resimden 1.
    • Gently slide the hard drive left toward the edge of the laptop, then lift up to remove it.

  6. Asus U56E Laptop Screen Replacement: adım 6, 2 resimden 1. Asus U56E Laptop Screen Replacement: adım 6, 2 resimden 2.
    • Remove the 4 Phillips #00 screws around the RAM.

  7. Asus U56E Laptop Screen Replacement: adım 7, 2 resimden 1. Asus U56E Laptop Screen Replacement: adım 7, 2 resimden 2.
    • Remove the 10 Phillips #00 screws from the bottom of the laptop.

    • Remove 10 Phillips #000 screws from under the battery.

  8. Asus U56E Laptop Screen Replacement: adım 8, 2 resimden 1. Asus U56E Laptop Screen Replacement: adım 8, 2 resimden 2.
    • Slide the optical drive out of the laptop.

    • Gently lift the rear plastic hinge cover to separate it from the laptop.

  9. Asus U56E Laptop Screen Replacement: adım 9, 3 resimden 1. Asus U56E Laptop Screen Replacement: adım 9, 3 resimden 2. Asus U56E Laptop Screen Replacement: adım 9, 3 resimden 3.
    • Remove the 3 Phillips #000 screws from each side of the hinge (six screws in total).

    • Gently lift the thin plastic cover from each side, exposing the laptop hinge.

    • Be aware of the thin cables still connected to the screen.

  10. Asus U56E Laptop Screen Replacement: adım 10, 2 resimden 1. Asus U56E Laptop Screen Replacement: adım 10, 2 resimden 2.
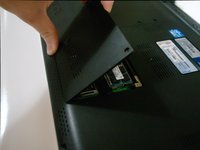
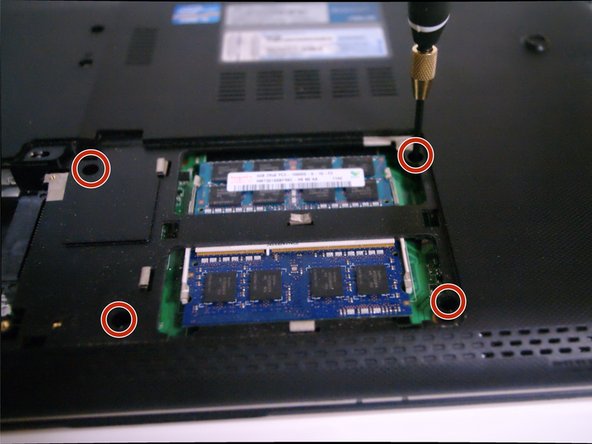
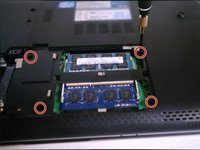
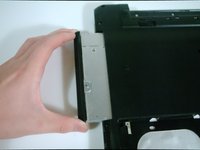
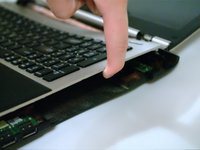
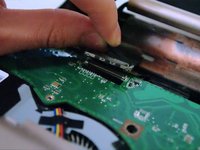
    • Gently lift around the perimeter of keyboard to separate it from the laptop body.

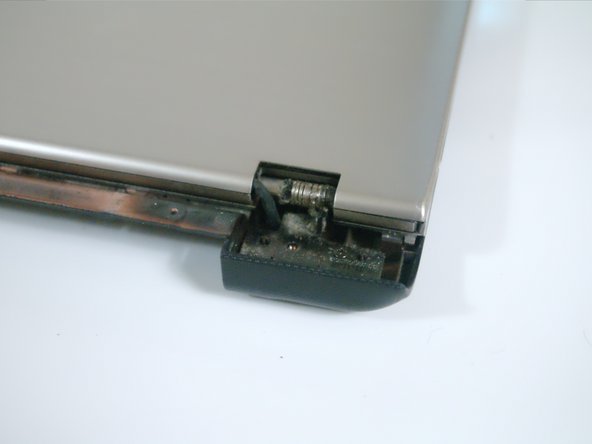
    • It may help to use a Plastic Opening Tool.

    • Be careful not to pull too hard on the keyboard - It's connected to the motherboard with a thin ribbon cable!

  11. Asus U56E Laptop Screen Replacement: adım 11, 3 resimden 1. Asus U56E Laptop Screen Replacement: adım 11, 3 resimden 2. Asus U56E Laptop Screen Replacement: adım 11, 3 resimden 3.
    • Pull the display connector straight up to remove it from the motherboard.

    • Carefully detach the white and black WiFi antennas from the wireless adapter.

  12. Asus U56E Laptop Screen Replacement: adım 12, 1 resimden 1.
    • The screen can now be safely removed from the laptop.

Sonuç

To reassemble your device, follow these instructions in reverse order.

Bir başkası bu kılavuzu tamamladı.

David Zilar

Üyelik tarihi: 09/29/15

167 İtibar

1 Kılavuz yazıldı

Ekip

Cal Poly, Team 14-5, Green Fall 2015 Cal Poly, Team 14-5, Green Fall 2015 üyesi

CPSU-GREEN-F15S14G5

4 Üyeler

5 adet Kılavuz yazıldı

0 Yorum

Yorum Ekle

İstatistikleri Görüntüle:

Son 24 Saat: 0

Son 7 gün: 4

Son 30 gün: 9

Her zaman: 1,339