Giriş
Make sure you are properly grounded to protect your device from static discharge before you begin.
If you need more information, the back cover removal process is extremely similar to what's seen in this video for a 2021 VivoBook: https://youtu.be/Rv_-KFoPTJc?t=166
Neye ihtiyacın var
-
-
-
Remove 10 screws from the back of the laptop. Please note the four on the bottom are significantly shorter than the rest.
-
Place the screws in a parts organizer to save yourself stress. Lay them out in the same pattern as the back cover. The lid of the iFixit Essential Toolkit works great for this.
-
-
-
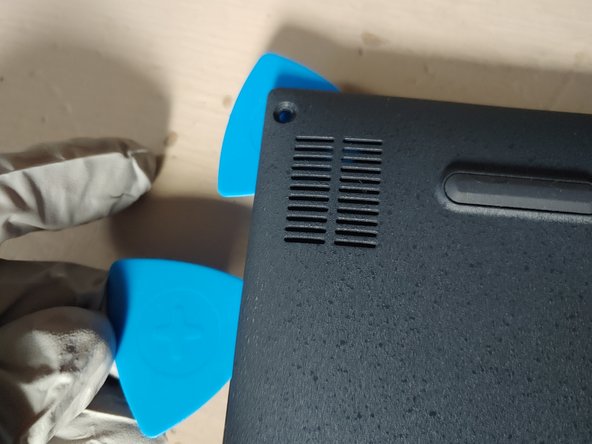
Starting at one of the bottom corners, push hard on the pick to wedge it into the gap between the back cover and the rest of the unit. Try a few different spots and angles near the corner until you get the pick in.
-
Take a second pick and work your way up the short side, towards the hinges. Twist the picks slightly as you go to open the gap further. Eventually you will be able to pull the cover enough to disengage the tabs. When a tab is disengaged, it will make a noticeable popping sound and the gap will stay open on its own.
-
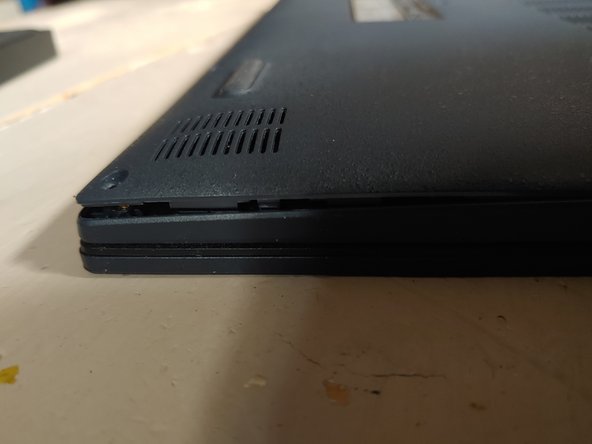
Slowly work your way around the laptop. Be extra careful near the hinges. Eventually the cover will be completely removed.
-


To reassemble your device, place the cover on the back of the device in the correct orientation. Slowly press around the edge of the cover to re-engage the plastic tabs. Take your time and make sure all the tabs are engaged. Don't forget the top edge near the hinges. Then reinstall the screws.
To reassemble your device, place the cover on the back of the device in the correct orientation. Slowly press around the edge of the cover to re-engage the plastic tabs. Take your time and make sure all the tabs are engaged. Don't forget the top edge near the hinges. Then reinstall the screws.