Bu sürüm, hatalı düzenlemeler içerebilir. En son doğrulanmış bellek kopyası dönün.
Neye ihtiyacın var
-
Bu adım çevrilmemiş. Çevrilmesine yardım edin
-
Remove the two round rubber feet at the hinge-edge of the laptop.
-
-
Bu adım çevrilmemiş. Çevrilmesine yardım edin
-
Remove the eleven 4 mm Phillips #00 screws from the back panel.
-
-
Bu adım çevrilmemiş. Çevrilmesine yardım edin
-
Using a plastic opening tool pry the back panel off of the laptop.
-
-
Bu adım çevrilmemiş. Çevrilmesine yardım edin
-
Pull the speaker cable out of its four retaining clips with either your fingers, or a plastic opening tool.
-
-
Bu adım çevrilmemiş. Çevrilmesine yardım edin
-
Remove all seven 2 mm Phillips #00 screws from the battery.
-
-
-
Bu adım çevrilmemiş. Çevrilmesine yardım edin
-
Pull the speaker connector toward the edge of the laptop to disconnect it from its socket.
-
-
Bu adım çevrilmemiş. Çevrilmesine yardım edin
-
Lift the battery connector straight up off its socket to disconnect it from the motherboard.
-
-
Bu adım çevrilmemiş. Çevrilmesine yardım edin
-
Lift the battery and speakers up and pull out to remove.
-
-
Bu adım çevrilmemiş. Çevrilmesine yardım edin
-
Disconnect the display cable from the motherboard with a plastic opening tool.
-
-
Bu adım çevrilmemiş. Çevrilmesine yardım edin
-
Remove the three 6mm Phillips #00 screws from the hinge.
-
Remove the 2mm Phillips #00 screw from the plastic housing securing the fan into place.
-
-
Bu adım çevrilmemiş. Çevrilmesine yardım edin
-
Lift the screen assembly hinge up and off of the motherboard fan.
-
-
Bu adım çevrilmemiş. Çevrilmesine yardım edin
-
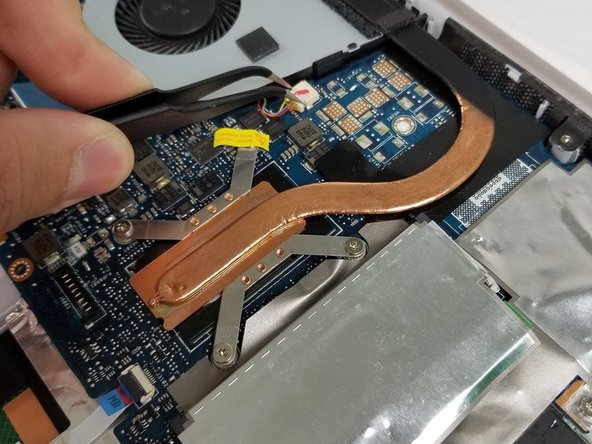
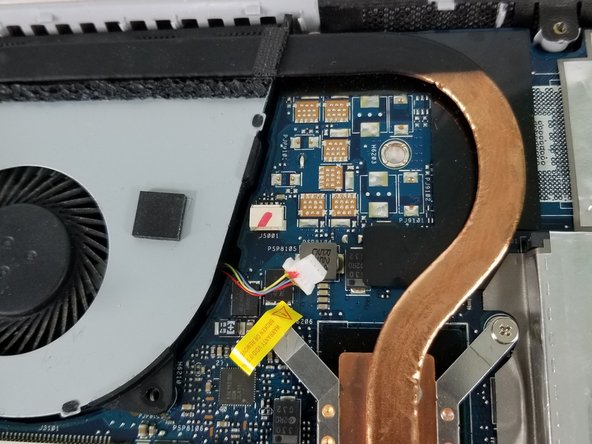
Using tweezers, disconnect the cable connector from the motherboard fan.
-
-
Bu adım çevrilmemiş. Çevrilmesine yardım edin
-
Lift the fan up and off of the white pegs that secure it into place.
-
İptal et: Bu kılavuzu tamamlamadım.
Bir başkası bu kılavuzu tamamladı.
Bir Yorum
The bottom of the pictured device may feature Phillips #00 screws, but I also have this laptop and the screws around the edge of the bottom panel are Torx T5s on my device.


