Bu sürüm, hatalı düzenlemeler içerebilir. En son doğrulanmış bellek kopyası dönün.
Neye ihtiyacın var
-
Bu adım çevrilmemiş. Çevrilmesine yardım edin
-
Hold the phone in one hand, slide the latch up, and pull the battery up to remove it.
-
-
-
Bu adım çevrilmemiş. Çevrilmesine yardım edin
-
Remove the small rubber insert from the top of the phone to access the top screw.
-
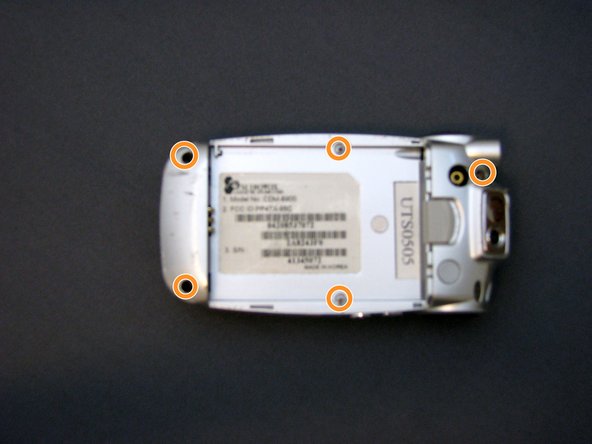
Unscrew all five screws on the back of the cell phone with a Phillips #00 screwdriver.
-
-
Bu adım çevrilmemiş. Çevrilmesine yardım edin
-
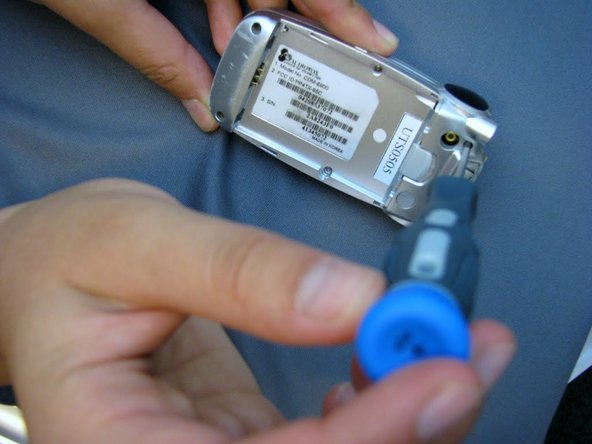
Wedge the phone plate toward you, using the leverage from an opening tool.
-
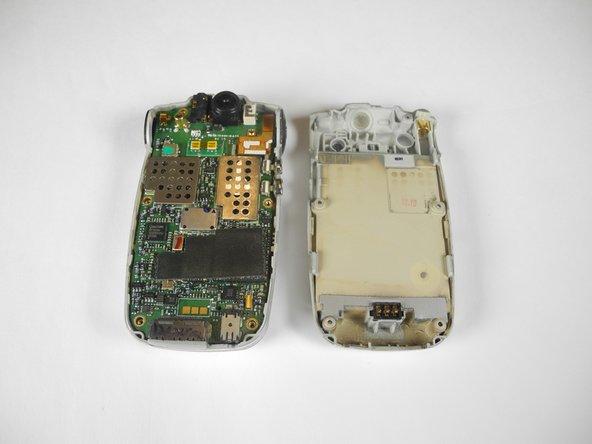
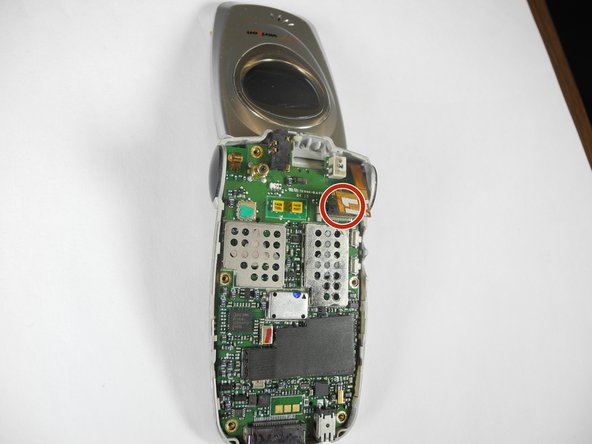
Detach the motherboard from the LCD screen connector by gently detaching the small copper plate on the top right of the motherboard.
-
-
Bu adım çevrilmemiş. Çevrilmesine yardım edin
-
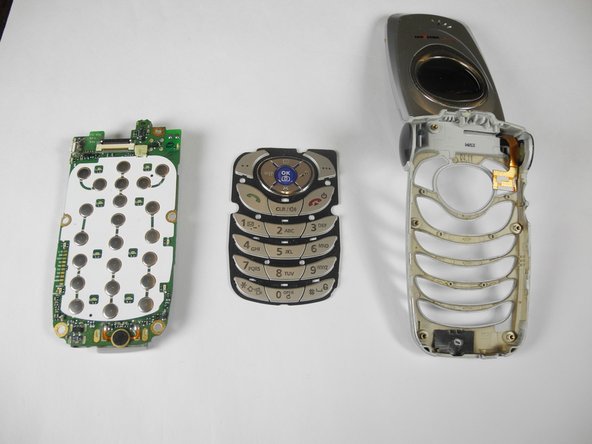
To release the motherboard, push the large "OK" button located on the other side of the phone.
-
-
Bu adım çevrilmemiş. Çevrilmesine yardım edin
-
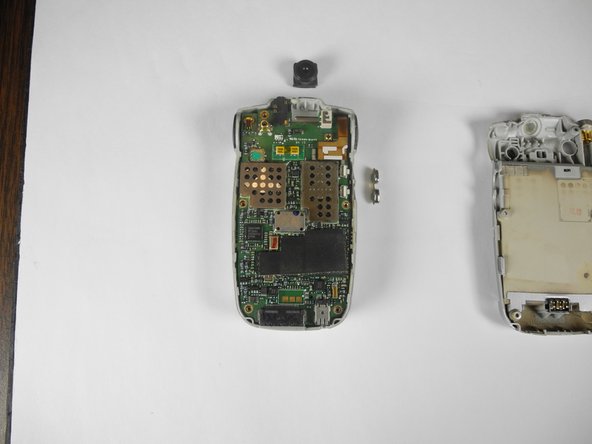
Grasp camera.
-
Slide the camera out of slot on the logic board.
-


Ekip

Cal Poly, Team 28-31, Regan Spring 2010 Cal Poly, Team 28-31, Regan Spring 2010 üyesi
CPSU-REGAN-S10S28G31
4 Üyeler
12 adet Kılavuz yazıldı