Giriş
You will need to have a #00 Phillips screw driver and a great attitude to replace this important component of your gun! Also, watch out for all the small parts such as the spring itself, they are easy to lose track of! Also cracking the gun open may make you nervous but just take each step one at a time and you will be fine.
Neye ihtiyacın var
-
-
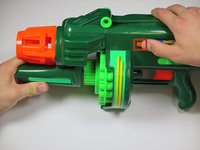
Locate the orange slider on the front side of the gun.
-
Pull the orange slider towards the back of the gun while lifting up on the nose the gun.
 FixBot'a Sor
-
-
-
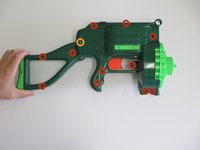
Remove the single 1/8 in. screw at the junction of the body and the nose using a Philips #00 Screwdriver.
-
Remove all parts within the chamber to be able to completely detach the nose of the gun.
-
-
-
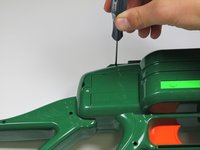
Remove the 1/16 in. screws using a Phillips #00 Screwdriver as indicated in the photo on the left.
-
Remove the 1 mm screw on the battery lid using a Philips #1 Screwdriver as indicated in the photo on the left.
-
-
-
-
Carefully spread apart the two halves of the gun, and lift out the ammo drum.
-
-
-
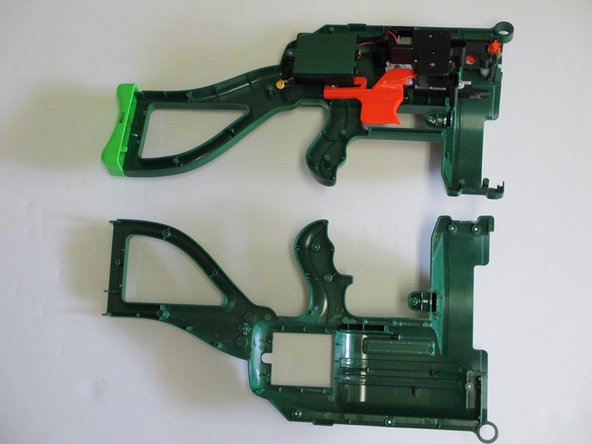
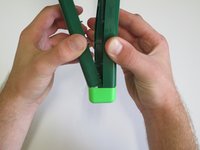
Grab both sides of the gun and pull forcefully in an upward and outward motion to remove from the light green stock.
-
-
-
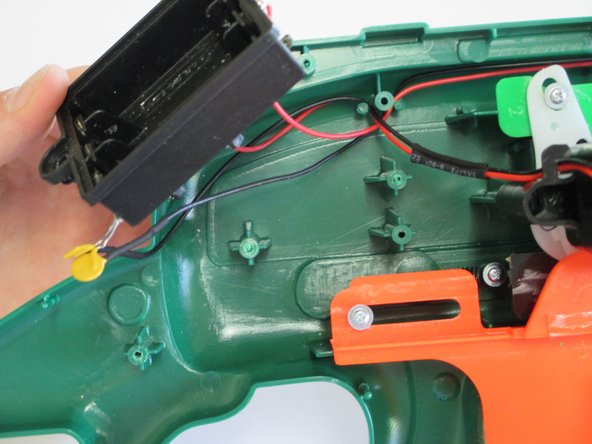
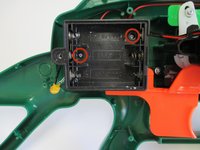
Remove the two 1/16 in. screws attaching the battery box to the frame of the gun using a Phillips #00 Screwdriver.
-
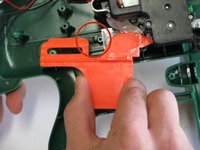
Lift the battery box off the frame of the gun to give yourself access to the trigger mechanism.
-
-
-
Remove the two 1/6 in. screws connecting the trigger and trigger spring to the frame of the gun using a Phillips #00 Screwdriver.
-
-
-
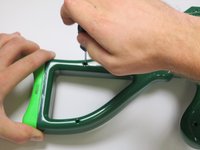
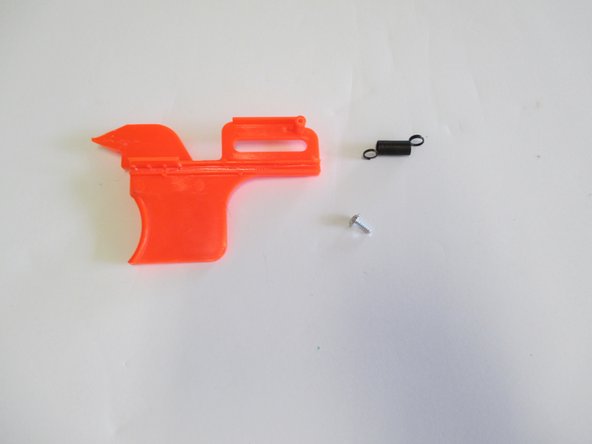
Lift the plastic trigger away from the gun along with the attached spring.
-


To reassemble your device, follow these instructions in reverse order.
İptal et: Bu kılavuzu tamamlamadım.
2 farklı kişi bu kılavuzu tamamladı.
Ekip

Cal Poly, Team 6-22, Maness Fall 2014 Cal Poly, Team 6-22, Maness Fall 2014 üyesi
CPSU-MANESS-F14S6G22
4 Üyeler
6 adet Kılavuz yazıldı