Giriş
Are you trying to figure out what is wrong with your camera? This is a good place to start as it allows you to access everything in the camera that could possibly be wrong.
Neye ihtiyacın var
-
-
-
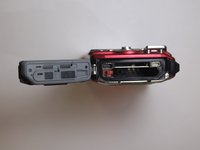
Orient camera to look directly at battery compartment side as shown.
 FixBot'a Sor
-
-
-
Locate the two latches on the battery compartment.
-
First, move the "lock" switch left to reveal red indicator.
-
Next, move the "cover latch" switch downward to reveal red indicator.
-
-
-
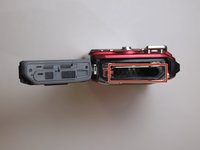
Allow the battery compartment latch to completely open.
-
Insert battery with the writing face up.
-
-
-
-
-
Orient the camera so you are looking at the bottom.
-
Remove the three 3.85mm Phillips #00 screws from the bottom of the camera.
-
-
-
-
Orient the camera so you are looking at the side plate.
-
Remove the two 3.15mm Phillips #00 screws from the side plate of the camera.
-
-
-
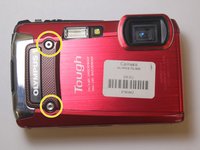
Orient the camera so you are looking at the front plate.
-
Remove the two 3.8mm with the Phillips H1.5 from the front plate.
-
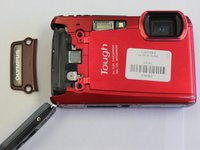
Remove the "Olympus" plate.
-
-
-
Locate three small black screws inside of the battery compartment.
-
Remove the 3.85mm Phillips #00 screw on the far left side.
-
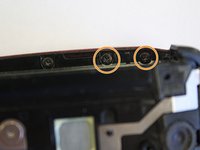
Remove the two 5mm Phillips #00 screws on the right side
-
-
-
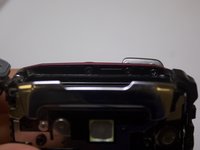
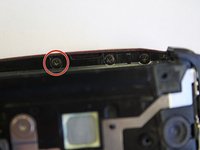
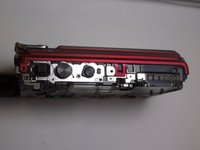
Orient the camera to be look at the top.
-
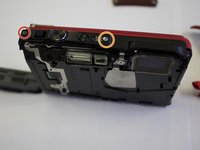
Remove the 5.4mm Phillips #00 screw on the top left side.
-
Remove the 7.4mm Phillips #00 screw next to the "ON/OFF" label.
-
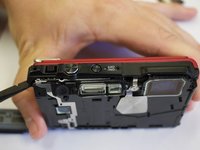
Pry off top button plate with black nylon spudger.
-
-
-
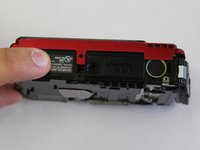
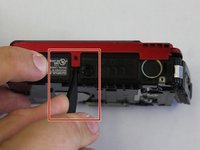
Rotate to bottom of camera and locate bottom latch.
-
Wedge black nylon spudger in between bottom latch and camera base to release LCD Screen from camera.
-
Push firmly apart.
-
-
-
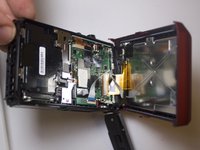
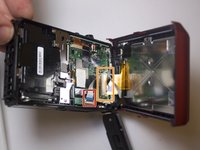
Orient the camera to the LCD screen side that is now wedged open.
-
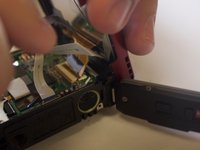
Locate the white ribbon cable and pull out from motherboard.
-
Locate the brown ribbon cable and pull out from motherboard.
-
-












To reassemble your device, follow these instructions in reverse order.

Ekip

Clemson, Team 7-2, Benson Spring 2016 Clemson, Team 7-2, Benson Spring 2016 üyesi
CLEM-BENSON-S16S7G2
4 Üyeler
16 adet Kılavuz yazıldı
