Ana içeriğe geç

Back Panel Replacement

Neye ihtiyacın var

  1. Back Panel Replacement, Back Panel: adım 1, 3 resimden 1. Back Panel Replacement, Back Panel: adım 1, 3 resimden 2. Back Panel Replacement, Back Panel: adım 1, 3 resimden 3.
    • First, remove the 6 screws in the back panel and pull the back panel off.

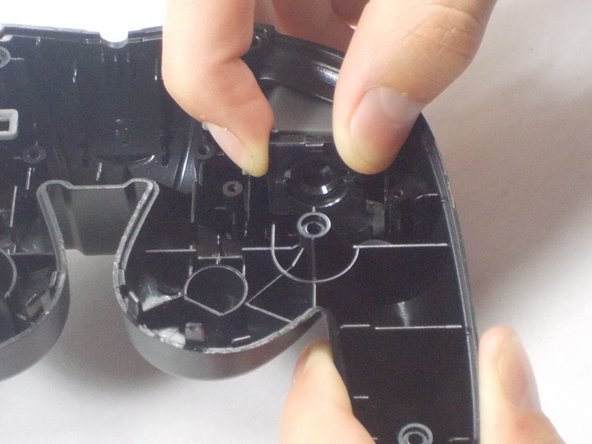
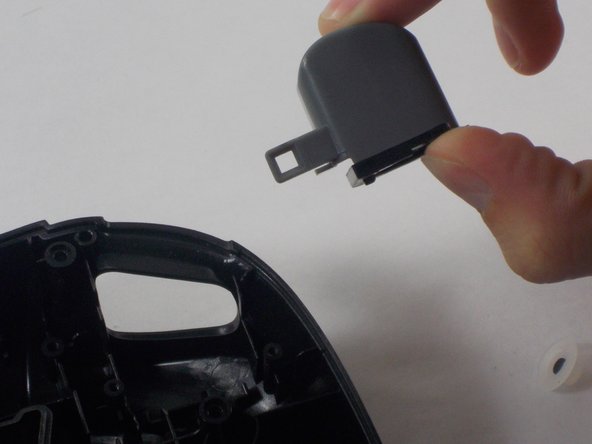
    • Separate the halves of the controller. However, be careful when separating due to the little wires that could get mixed up.

  2. Back Panel Replacement: adım 2, 3 resimden 1. Back Panel Replacement: adım 2, 3 resimden 2. Back Panel Replacement: adım 2, 3 resimden 3.
    • Next, remove the rumble motor by unscrewing the 2 screws connecting it.

  3. Back Panel Replacement: adım 3, 3 resimden 1. Back Panel Replacement: adım 3, 3 resimden 2. Back Panel Replacement: adım 3, 3 resimden 3.
    • Finally remove the screws holding in the right and left triggers. It's easiest to hold the trigger together as shown in the third picture. Remove both the left and right trigger, and then you have successfully removed your back panel.

Sonuç

To reassemble your device, follow these instructions in reverse order.

David Mistretta

Üyelik tarihi: 10/26/16

101 İtibar

1 Kılavuz yazıldı

Ekip

UMass Dartmouth, Team 3-5, Isaacson Fall 2016 UMass Dartmouth, Team 3-5, Isaacson Fall 2016 üyesi

UMASSD-ISAACSON-F16S3G5

3 Üyeler

10 adet Kılavuz yazıldı

0 Yorum

Yorum Ekle

İstatistikleri Görüntüle:

Son 24 Saat: 0

Son 7 gün: 2

Son 30 gün: 2

Her zaman: 282