Giriş
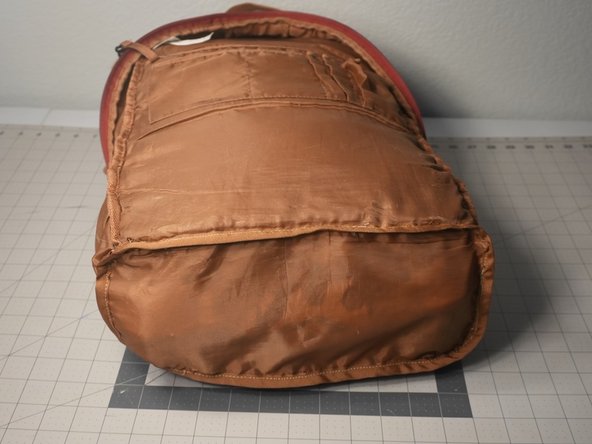
The Ozark Trail Ot Whittier backpack is one of the most durable backpacks for its low price point. However, the sustained pressure of heavy backpack contents can cause a large tear in the base. The incision is usually along the line of the inner laptop compartment. Repairing a torn base is straightforward for those with sewing experience, particularly handbag and line garment experience. This guide outlines how to remove the base panel, cut a new base panel, sew the new panel in, and bind the inner seams. It is recommended that you take caution as an iron will be used in this project.
Neye ihtiyacın var
-
-
-
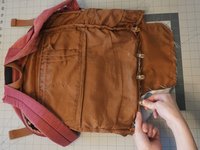
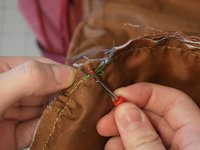
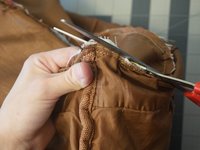
Seam rip the binding along the bottom rectangle of the backpack.
-
Discard the ripped panel of burlap.
-
-
-
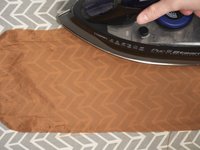
Iron the base panel of the polyester lining fabric.
-
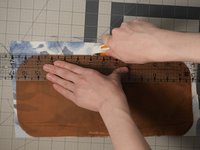
Place the lining fabric on top of the desired fabric.
-
Using a ruler and rotary cutter, cut an identical rectangle.
-
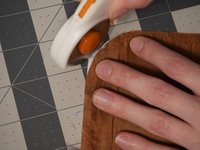
Carefully round the corners of your desired fabric rectangle to match the shape of the liner.
-
-
-
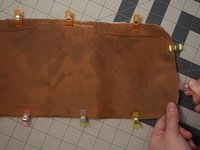
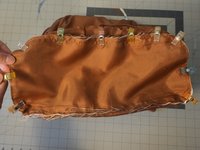
Pin the liner and new fabric panel together, so that the 'right sides' of the fabric are facing outwards.
-
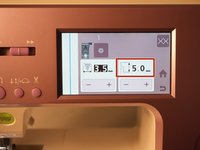
Set your machine to the longest stitch length (usually 5 mm), and the loosest thread tension.
-
Sew the layers together with a 1/4" seam allowance.
-
-
-
-
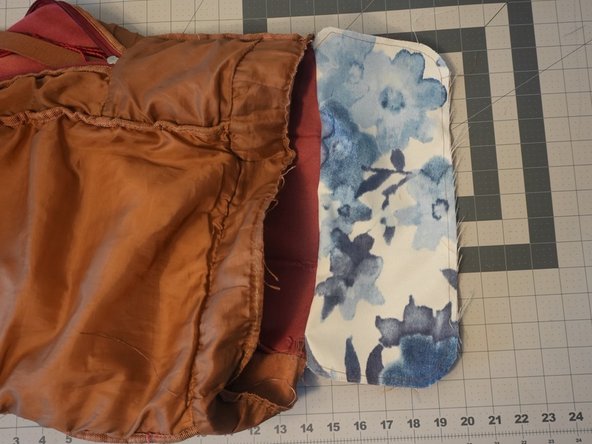
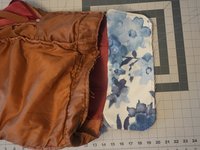
Pin the lining and new fabric base so that it is centered on the thick side of the backpack.
-
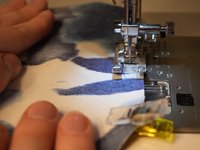
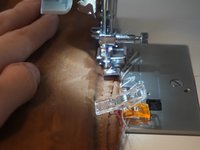
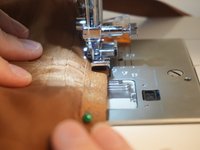
Using a zipper foot, sew the new fabric base and liner to the thick side of the backpack.
-
-
-
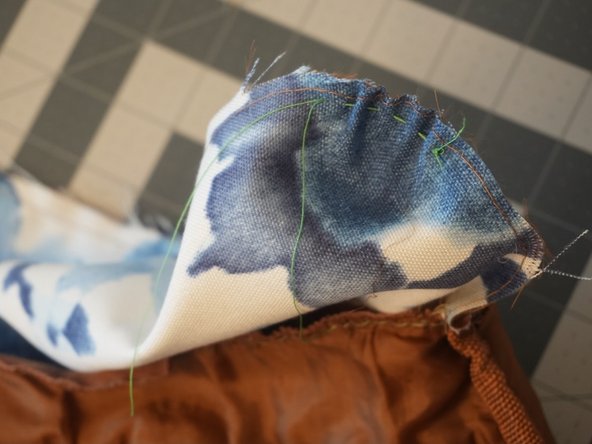
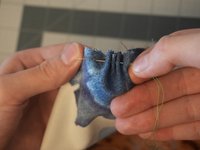
Using a contrasting-colored thread, hand-sew along the corners of the base fabric.
-
Tighten the contrasting threads to bunch up the corners until they fit snug into the corners of the backpack.
-
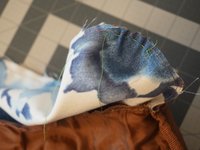
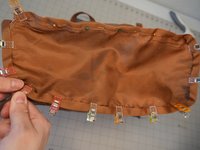
Pin the remaining 3 sides of the base with to the 3 sides of the backpack.
-
-
-
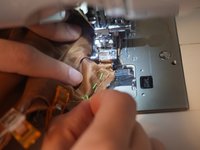
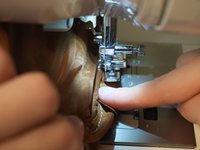
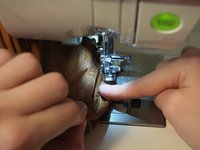
Sew along the remaining three sides.
-
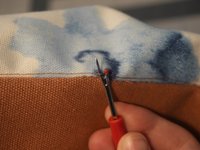
Seam-rip the contrasting color thread.
-
Trim down any fabric that exceeds 1/4" seam allowance, particularly around the corners.
-
-
-
Turn the backpack right side out.
-
Look along the new seam for any of the stitches that hold the lining and base fabric together, and remove them.
-
Pin the binding around the bottom seam, so that it sandwiches the seam allowance.
-
Allow one end of the binding to remain loose.
-
-
-
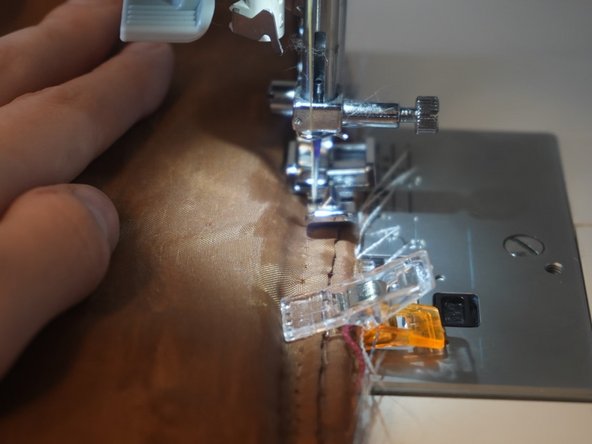
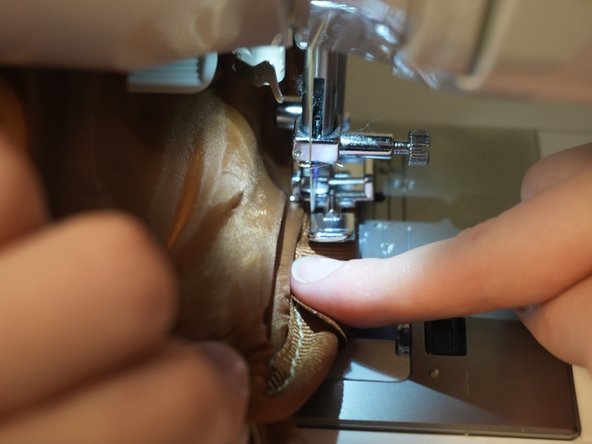
Starting with the pinned end of the binding, carefully sew about 1/10" away from the end of the binding.
-
When you reach the loose end of the binding, connect the end that you already sewed with the loose end.
-
Sew both ends together.
-


 FixBot'a Sor
















Ekip

University of North Texas, Team 2-3, Raign Spring 2023 University of North Texas, Team 2-3, Raign Spring 2023 üyesi
UNT-RAIGN-S23S2G3
2 Üyeler
2 adet Kılavuz yazıldı
