Bu sürüm, hatalı düzenlemeler içerebilir. En son doğrulanmış bellek kopyası dönün.
Neye ihtiyacın var
-
Bu adım çevrilmemiş. Çevrilmesine yardım edin
-
Remove the six T6 Torx screws on the back of the phone.
-
Make sure to keep the screws somewhere that they will not get lost.
-
-
Bu adım çevrilmemiş. Çevrilmesine yardım edin
-
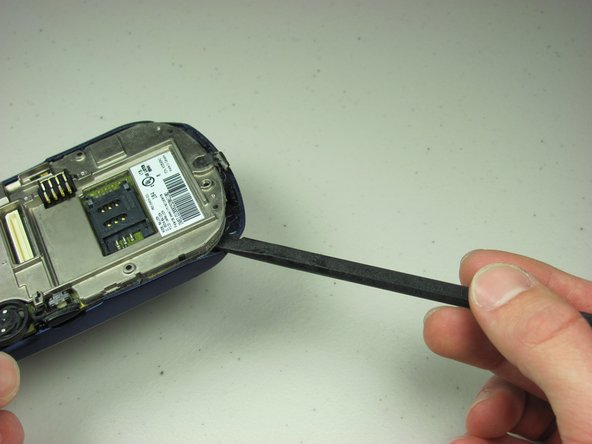
Using your finger nail or a spudger, carefully pry up the back cover.
-
Begin in one spot and slowly circle around the device as you pry up all of the back cover.
-
-
-
Bu adım çevrilmemiş. Çevrilmesine yardım edin
-
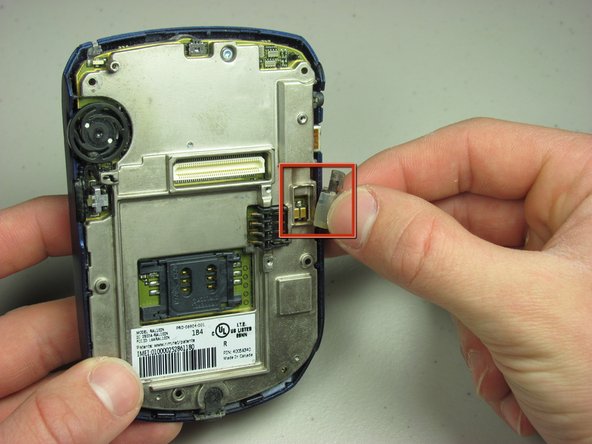
Remove the daughterboard.
-
Remove the exposed vibration motor.
-
-
Bu adım çevrilmemiş. Çevrilmesine yardım edin
-
Unscrew metal plate.
-
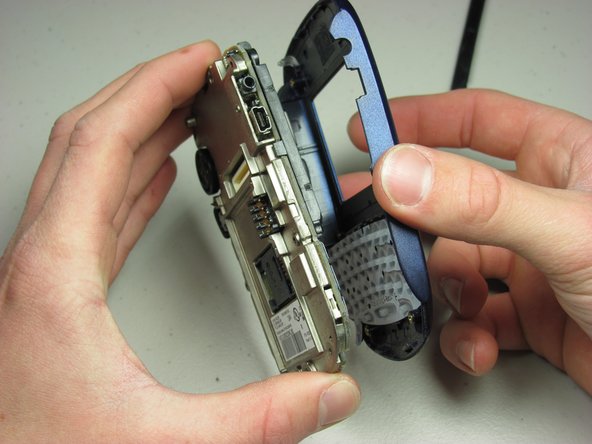
Pry off front cover.
-
Lift off front cover to expose LCD screen.
-
-
Bu adım çevrilmemiş. Çevrilmesine yardım edin
-
Remove keypad from front cover and replace or fix existing pad.
-


Ekip

Cal Poly, Team 14-44, Regan Winter 2010 Cal Poly, Team 14-44, Regan Winter 2010 üyesi
CPSU-REGAN-W10S14G44
4 Üyeler
8 adet Kılavuz yazıldı