Giriş
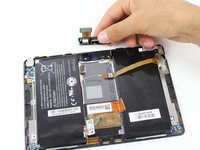
Both front and back cameras are connected as a single assembly and must be replaced together.
Neye ihtiyacın var
-
-
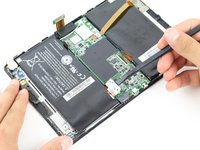
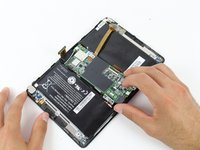
Use a plastic opening tool to pry the back panel off by inserting it in between the front and back panel.
-
-
Bu adımda kullanılan alet:Tweezers$4.99
-
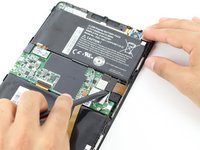
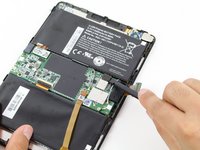
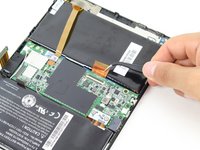
Remove the battery connector using either your fingers or a pair of tweezers.
-
-
-
-
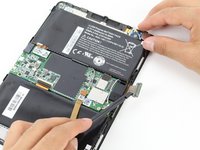
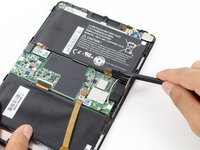
With the spudger, remove the flat-top connector coming from underneath the motherboard.
-
-
-
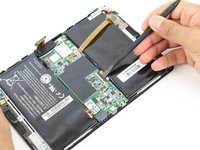
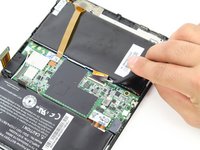
Remove the clipped ZIF data connector coming from underneath the motherboard.
-
Lift up the black plastic clip with a spudger.
-
Pull the connector out gently using tweezers.
-
-
-
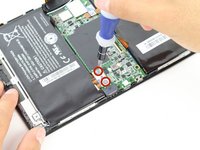
Remove the following five screws from the motherboard.
-
Three 1.5x2.5mm Phillips screws
-
Two 1.55x2.38mm Phillips screws
-
-
-
Lift all four antenna connectors from the motherboard again using the spudger.
-
-
-
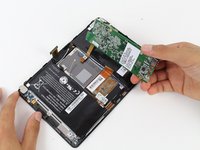
Gently lift the motherboard away from the device. If there is any resistance, check the previous steps to ensure that all connections have been removed.
-
-
-
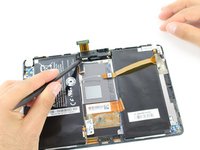
Pry the camera assembly away from the device, lifting the left side with a spudger.
-
-
-
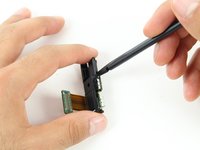
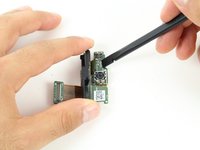
Insert spudger between the plastic frame and circuit board.
-
Gently pry the plastic frame away from the rest of the camera assembly.
-
To reassemble your device, follow these instructions in reverse order.
İptal et: Bu kılavuzu tamamlamadım.
2 farklı kişi bu kılavuzu tamamladı.


