Giriş
Here is a well used Bugani M83 that worked great when plugged in but the battery no longer held a charge. Prior to disassembly, we've checked to make sure that it did attempt to charge and that the charge cable as well as the jack were in good working order.
Neye ihtiyacın var
-
-
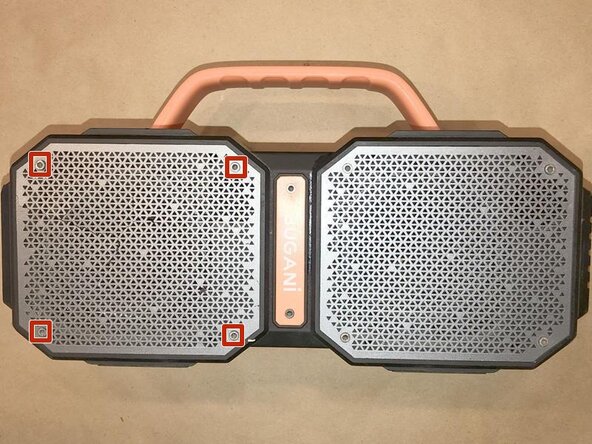
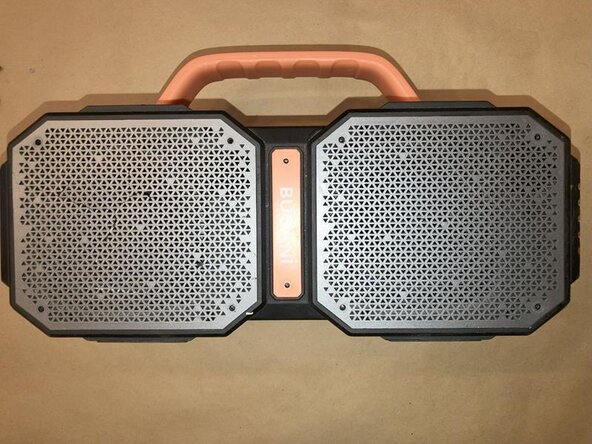
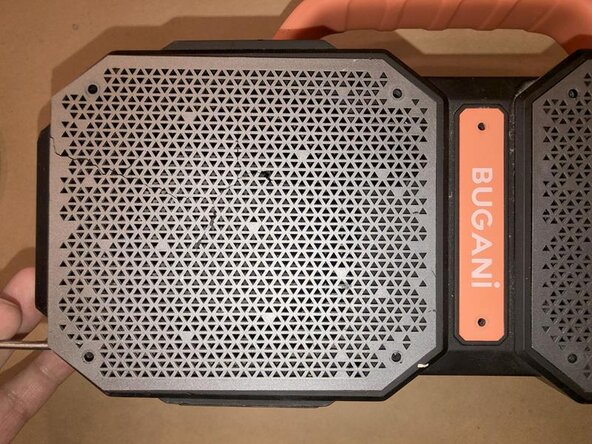
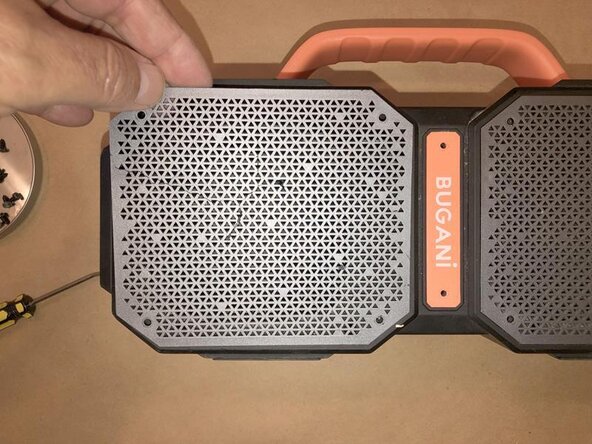
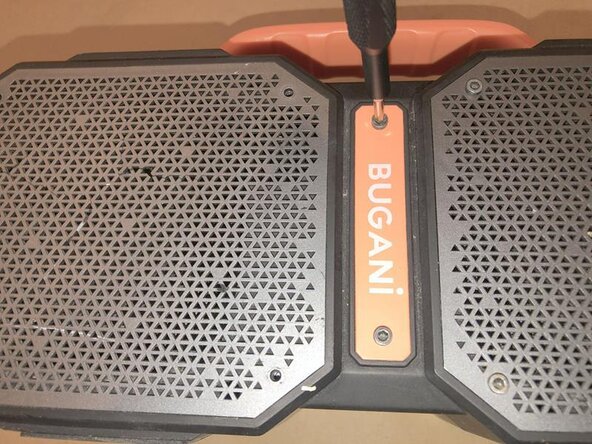
A well used Bugani M83. Quick inspection to check for any hidden screws etc. Only ones visible are on the 2 speaker grilles as well as the name tag in the center
-
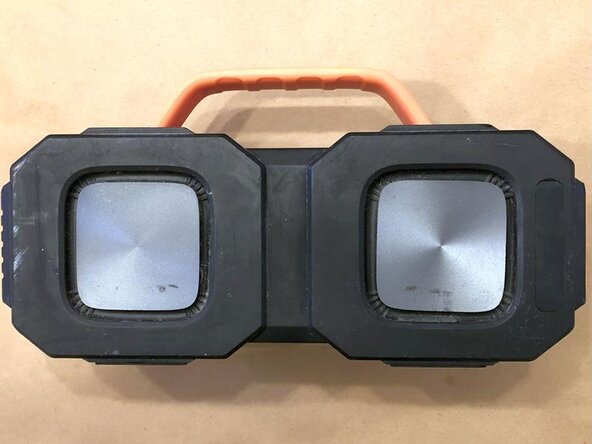
Top view only shows the handle with a center seam of two halves for the case.
-
No visible or hidden screws on the back side either.
-
-
-
-
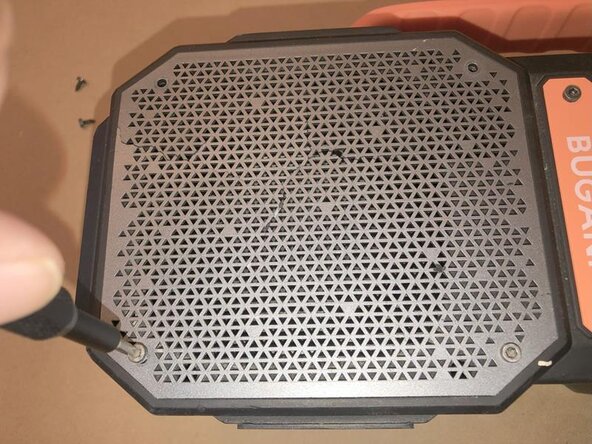
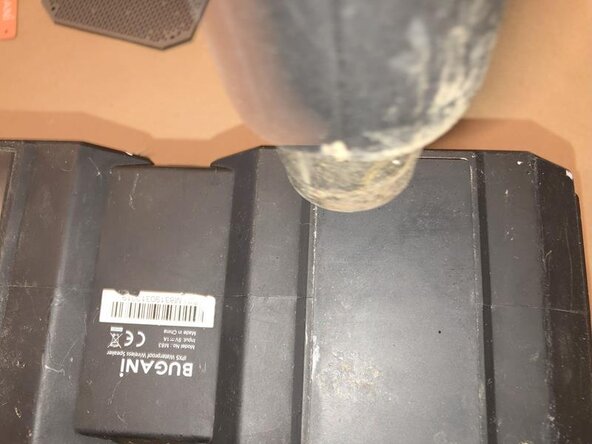
Now time to focus on the bottom. Again we do not know yet if there are any screws etc. that may keep the case together.
-
Now, the rubber feet are glued to the case. Use a pick or similar tool to lift a corner of the rubber foot to see if it comes off easily. In this case it did not. There was quite a bit of adhesive being used. Also, the device is not mine and I do not like to damage other peoples property ;-)
-
Here we used a hot air gun to loosen the adhesive. A good hair dryer will also be a acceptable tool.
-
-
-
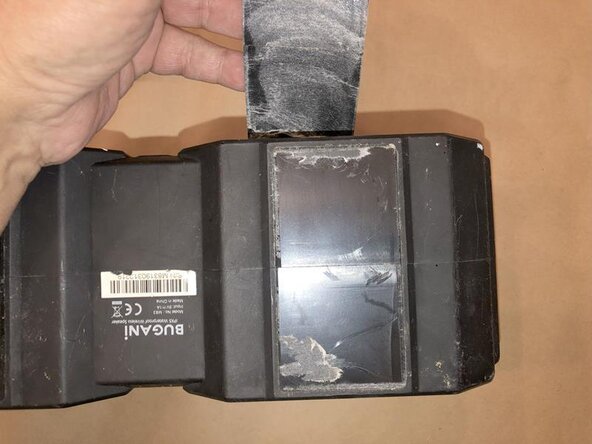
Once the glue is warmed up enough to soften use something like a putty knife and insert that between the rubber footing and the speaker case.
-
Keep pushing gently so as not to rip the rubber footing. Again, I do nto like to cause more damage :-)
-
If the putty handle should no longer slide easily, use more heat to soften the glue. Finally the rubber will come clean off without any rips in the rubber foot.
-
-
-
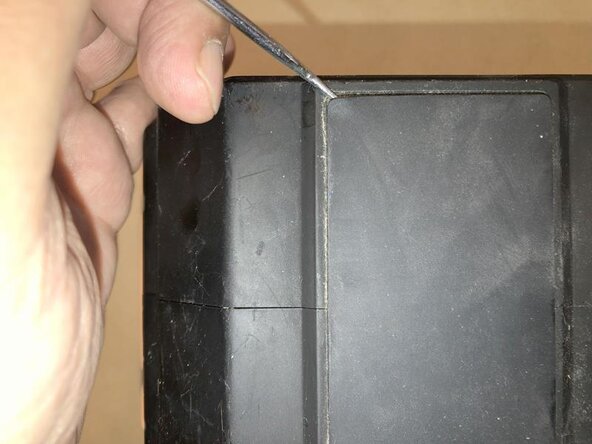
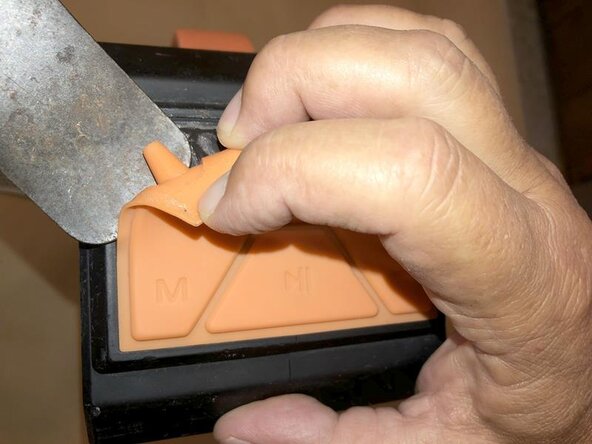
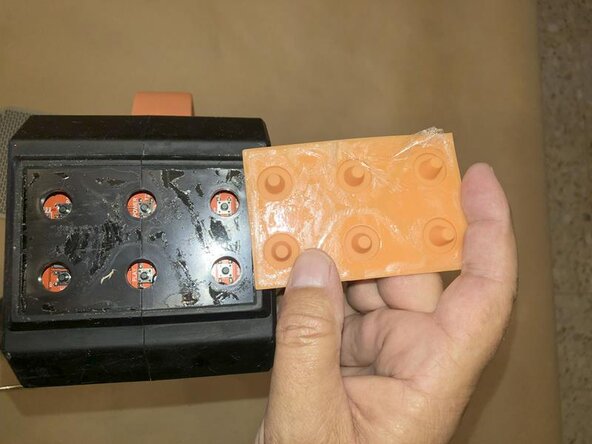
The adhesive on here is not as thick as it was on the rubber footing. Insert a putty knife, or similar tool, at one corner
-
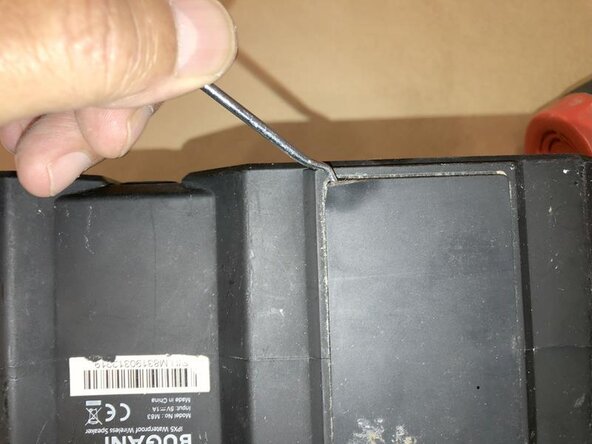
and keep slowly moving it forward to release the glue. There are 1/2"pegs in the membrane that reach through the case to the switches.
-
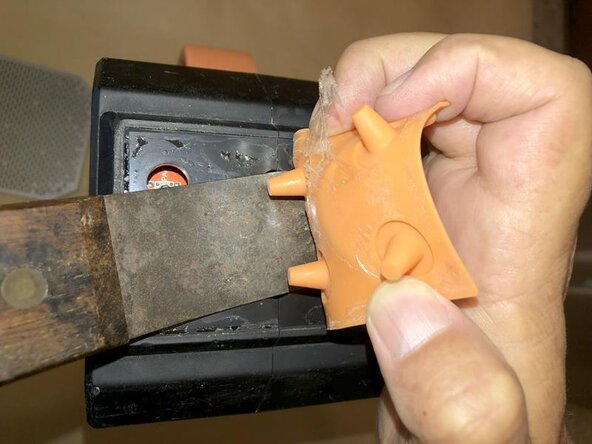
Avoid damaging those while using the putty knife when removing the membrane. Push the putty knife with one hand while you move the membrane with the other one
-
-
-
Membrane was successfully removed without any damage. Again, no screws or tabs visible.
-
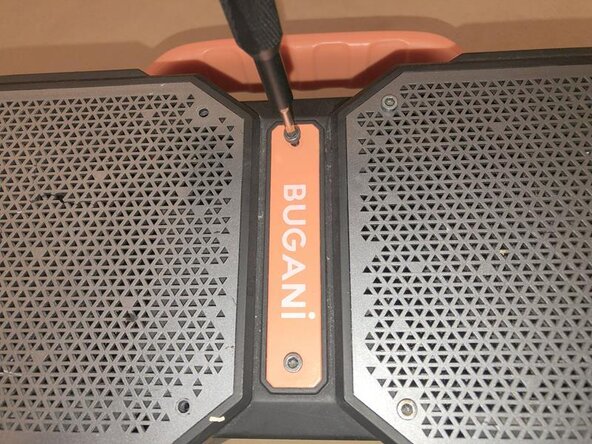
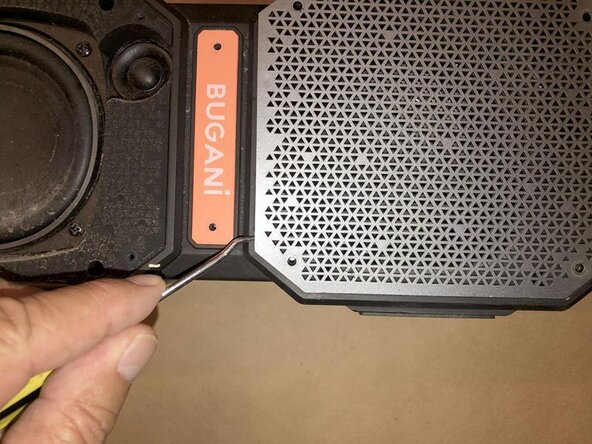
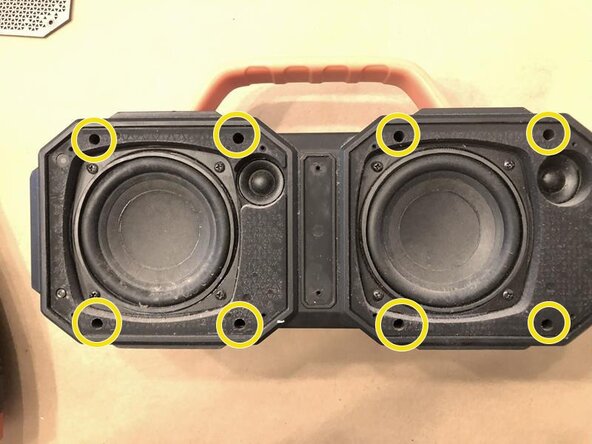
Since the screws that held the two speaker grilles, as well as the name tag, are two short to hold the case together, there had to be more. We found those in the deep recesses of the front cover.
-
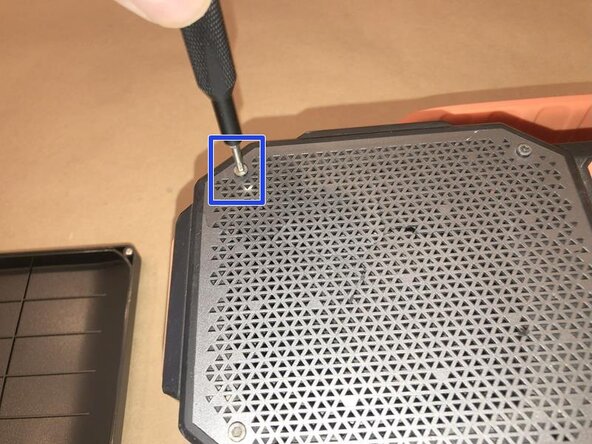
to remove those, we use a Phillips #00 precision screwdriver
-
-
-
These screws are deep and are not very well visualized. You will need to go "by feel" to ensure the screwdriver is well engaged. Now is not the time to ruin the screwhead.
-
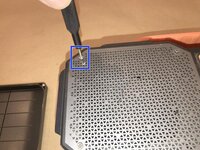
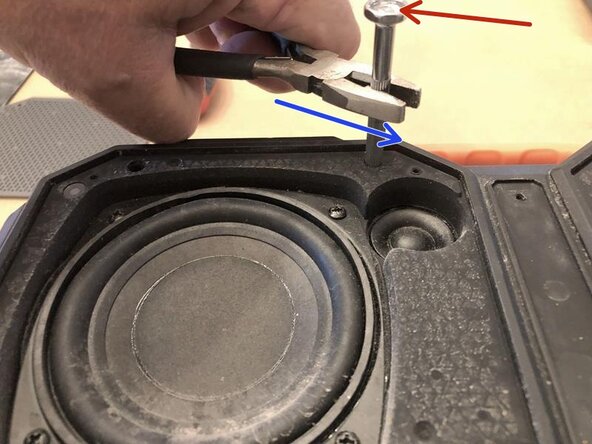
Sine these are deep, make sure the screwdriver is properly engaged into the screwhead.
-
Then apply some downward pressure on the screwdriver with your thumb and use a pair of pliers or similar tool, to loose the screws. Keep the downward pressure applied to avoid slipping the screwdriver out. Consider using a longer screwdriver to get more torque applied.
-
-
-
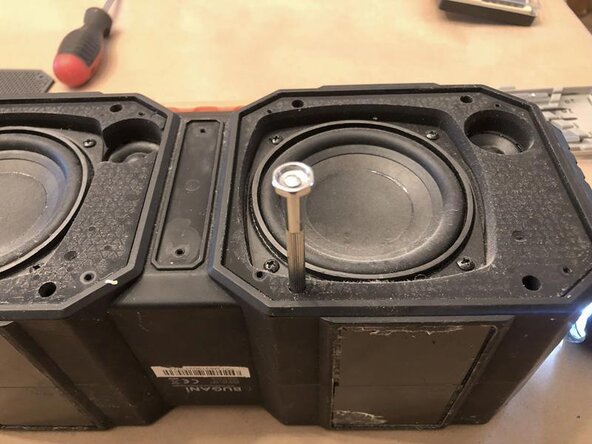
Continue to loosen the rest of the screws.
-
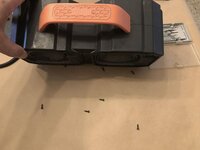
Since these are fairly deep into the case, they may not all come immediately out. It may be necessary to tilt the device a bit to get all of the screws out. that way you know you got them all.
-
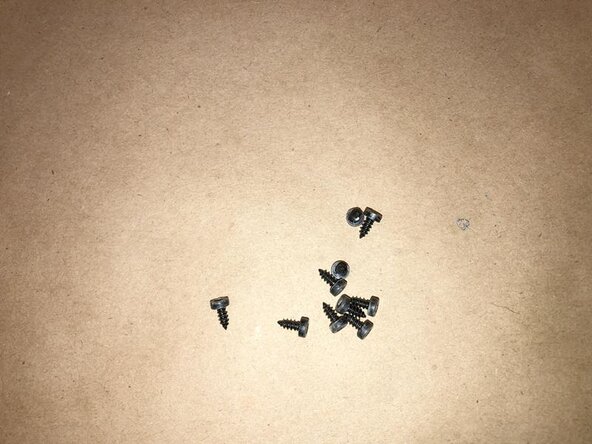
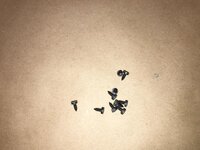
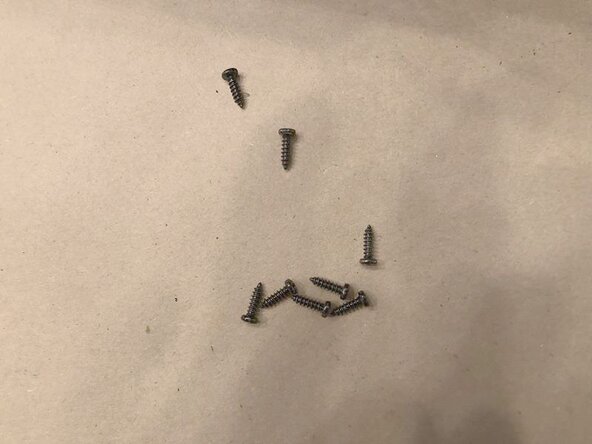
All 8 screws are identical with each other. They are not identical to the screws for the speaker grille. Keep those 2 sets separated.
-
-
-
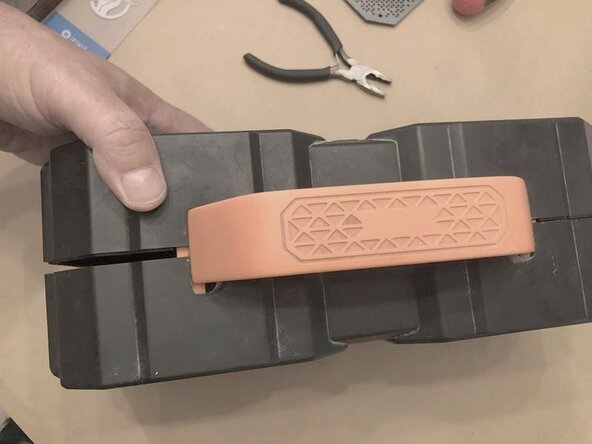
With the last 8 screws removed, the case can now be separated.
-
Amazingly enough, no further adhesive was being used on the device.
-
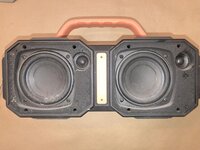
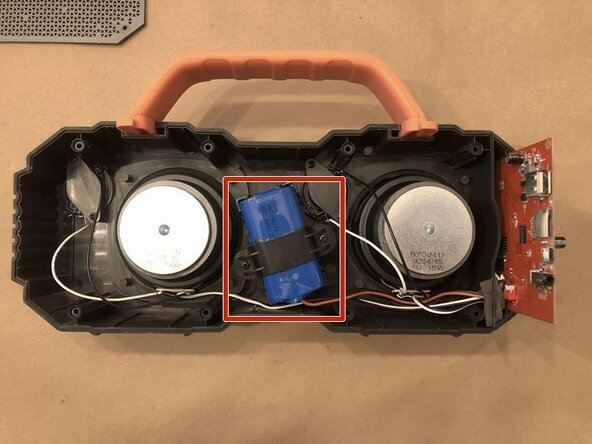
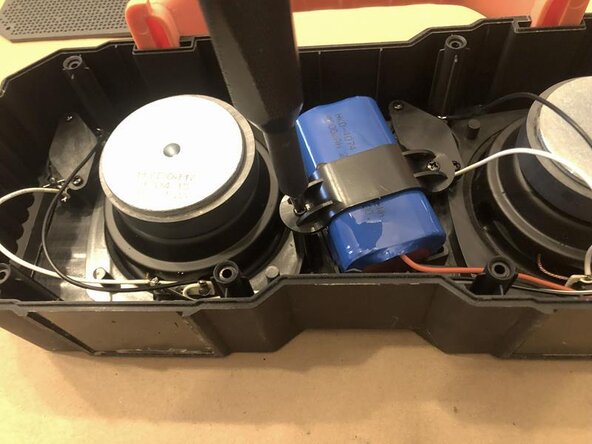
Now with the back cover removed, the inside of the speaker is clearly visible. Really not much there :-) The blue component is the battery. The control board is on the right and the rest are the speakers. Pretty clean and fairly well organized.
-
-
-
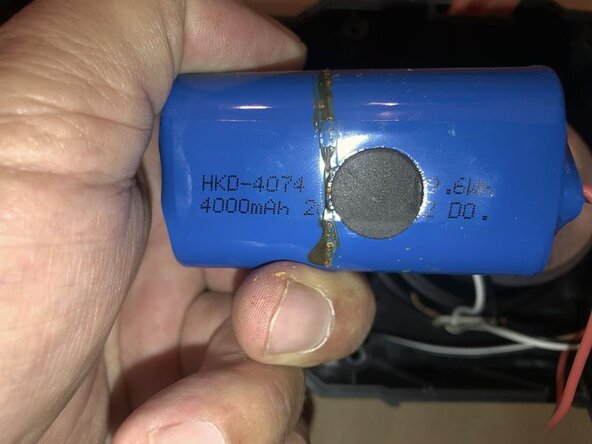
The battery is a HKD-4074 7.4v 29.6Wh 4000mAh and does seem to be a bit hard to find. Dimension are 40mm x 40mmx 70mm. We may just have to consider building our own :-)
-
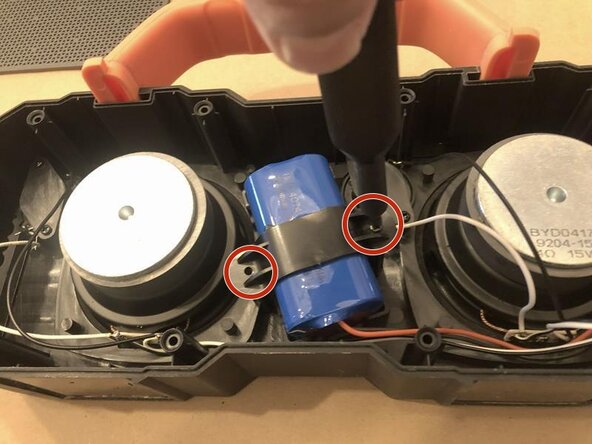
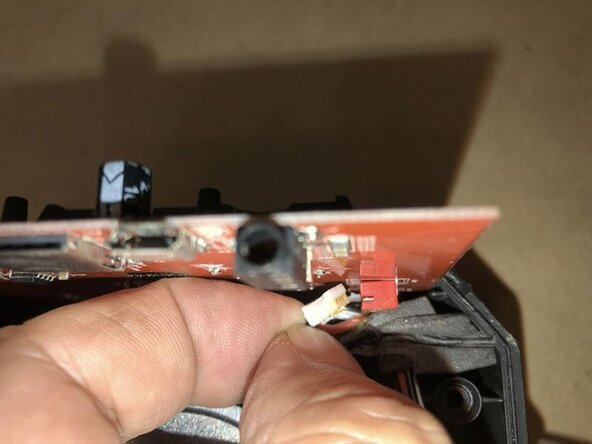
The battery is connect to the control board via a small connector.
-
Gently pull that out from the board connector. Pull on the connector and not the cable. Since the connector is fairly small, you want to make sure to not damage the cable or the board connector.
-


To reassemble your device, follow these instructions in reverse order.
A quick online search showed that the battery is available at some places, but the cost is pretty outrageous. According to my colleague, who is the owner of this, the original cost for this speaker was somewhere around the $110 USD at a large US retailer. The cost for a replacement battery is around $60 USD. No way! We will go ahead and build our own and safe some of our hard earned money. More to come on this one.
Repair is War on Entropy!
