Giriş
Use this guide to remove a broken camera lens from your Canon PowerShot SD850 IS.
Neye ihtiyacın var
-
-
-
Remove the following 4 screws:
-
Two 2.8 mm Phillips #00 at the bottom of the camera.
-
Two 2.75 mm Phillips #00 on the opposite side of the wrist strap.
 FixBot'a Sor
-
-
-
Open the A/V OUT DIGITAL flap on the side of the wrist strap.
-
Remove the 2.75 mm Phillips #00 under the A/V OUT DIGITAL flap on the side of the wrist strap.
-
-
-
On the bottom of the camera, use your fingernail to slide the light gray tab towards the edge of the camera.
-
Slide light gray door and pull up to open the door.
-
Remove the 8.35 mm Phillips #00 next to the brown tab that holds the battery.
-
-
-
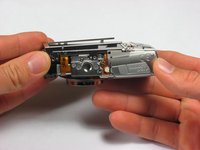
Gently pull the front cover straight out from the camera. This will expose the wiring on the front of the camera.
-
-
-
Slide the back casing (with the screen protector) off to reveal the LCD and back wiring.
-
-
-
-
-
Remove the 1.75 mm Phillips #00 located at the top left of the LCD screen.
-
-
-
-
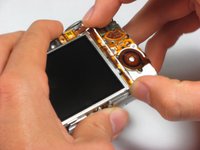
The LCD screen should now only be attached by two LCD data cables.
-
Lift the screen from the left side and use a spudger or a small flat head screwdriver to flip the black portion of the connector upward to unlock it.
-
Carefully slide the data cable out of the connector.
-
-
-
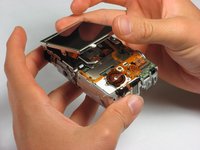
The LCD should still be connected by the backlight cable.
-
To remove the backlight cable, use a spudger or a small flat head screwdriver to unlock the backlight cable.
-
Carefully slide out the backlight cable.
-
The LCD screen can now be fully detached from the camera body.
-
-
-
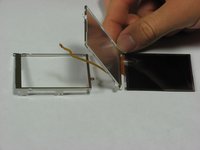
The LCD screen and housing are now in three pieces:
-
LCD screen
-
LCD screen frame
-
LCD back housing
-
The LCD screen itself can now be removed and fixed/replaced.
-
-
-
-
-
Remove the 1.85 mm #00 Phillips located on the left side of the camera.
-
-
Bu adımda kullanılan alet:Tweezers$4.99
-
Use a set of tweezers to remove the speaker located at the top of the camera on the flash unit.
-
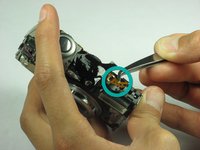
Next use the tweezers to carefully remove the speaker cable off its respective holders.
-
-
-
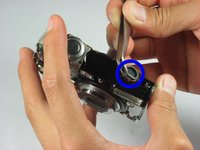
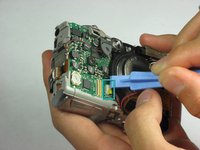
Use a spudger or a flathead screwdriver to remove the camera lens cable located in the front of the camera.
-
-
-
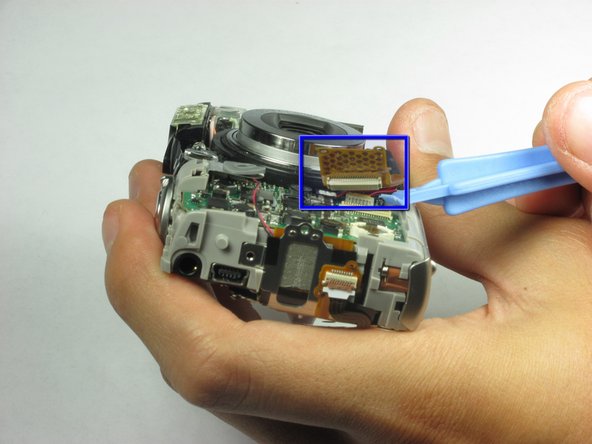
Use a spudger or a flathead screwdriver and carefully pry out the first flash cable from the bottom of the cable. The white 2 prong power cable pops UP (use spudger below red/black insertion and put upward pressure). For the yellow one, apply pressure horizontally.
-
Next use a spudger or a flathead screwdriver and carefully pry out the second flash cable.
-
-
-
Gently remove the flash component from the rest of the camera.
-
Use a spudger or a flathead screwdriver and carefully pry off the plastic piece on top of the flash unit.
-
The flash unit can now be removed and replaced.
-
-
-
-
-
Remove four screws located on the back of the camera:
-
6.15 mm #00 Phillips
-
2.75 mm #00 Phillips
-
2.15 mm #00 Phillips
-
2.7 mm #00 Phillips
-
-
-
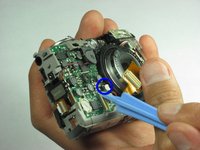
Use a spudger or a flathead screwdriver and carefully pry out the bulb located in the front of the camera on top of the camera lens.
-
-


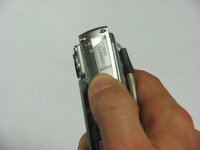
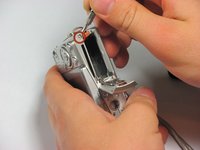


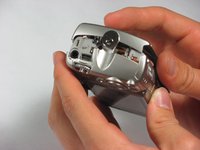
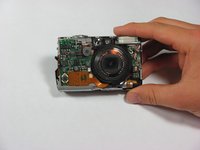










To reassemble your device, follow these instructions in reverse order.
İptal et: Bu kılavuzu tamamlamadım.
3 farklı kişi bu kılavuzu tamamladı.

Ekip

Cal Poly, Team 20-7, Maness Fall 2010 Cal Poly, Team 20-7, Maness Fall 2010 üyesi
CPSU-MANESS-F10S20G7
6 Üyeler
21 adet Kılavuz yazıldı
2Kılavuz Yorumları
If you have a problem on your camera then it is better if you go nearest technician to fix your camera.
Get a good action camera at http://actionshotcam.com
