Ana içeriğe geç
Onarım Topluluğuna Katılın - Hesap Oluşturun

Canon Powershot SD550 Image Sensor Replacement

Neye ihtiyacın var

    1. Canon Powershot SD550 Image Sensor Replacement, Outer Case: adım 1, 1 resimden 1.
      • Remove the battery and SD card from the camera.

      FixBot'a Sor

      Yorum Ekle

    2. Canon Powershot SD550 Image Sensor Replacement: adım 2, 1 resimden 1.
      • Remove the three 3.8 mm screws from the underside of the camera.

      • Each of the screws is slightly different, so it is important that you note the original location of each screw.

      FixBot'a Sor

      Yorum Ekle

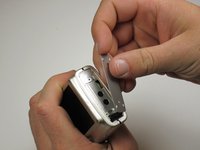
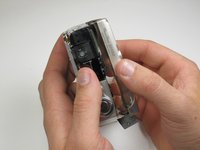
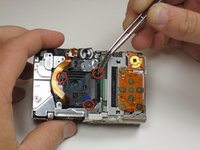
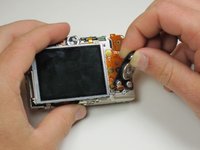
    3. Canon Powershot SD550 Image Sensor Replacement: adım 3, 3 resimden 1. Canon Powershot SD550 Image Sensor Replacement: adım 3, 3 resimden 2. Canon Powershot SD550 Image Sensor Replacement: adım 3, 3 resimden 3.
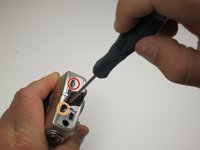
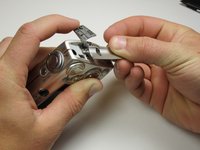
      • Remove the 3.2 mm screw from the right side of the camera.

      • Remove the 2.2 mm screw from the right side of the camera.

      • One of these screws is hidden under the USB port cover.

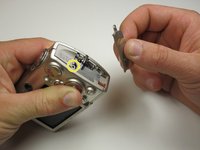
      • Lift the side panel off.

      • Remove the 1.8 mm screw from underneath the side panel.

      FixBot'a Sor
      Yorum Ekle

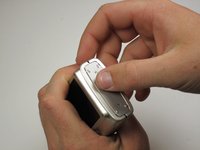
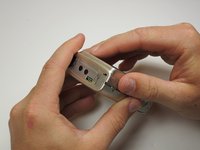
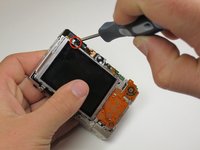
    4. Canon Powershot SD550 Image Sensor Replacement: adım 4, 3 resimden 1. Canon Powershot SD550 Image Sensor Replacement: adım 4, 3 resimden 2. Canon Powershot SD550 Image Sensor Replacement: adım 4, 3 resimden 3.
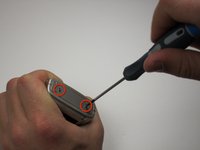
      • Remove the two 2.2 mm screws from the left side of the camera.

      • Lift the plate from the camera.

      FixBot'a Sor
      Yorum Ekle

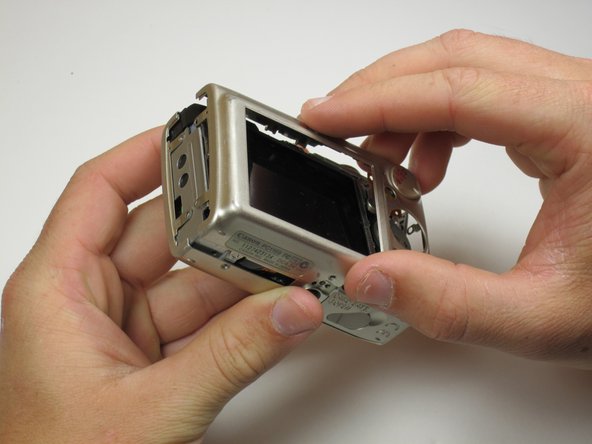
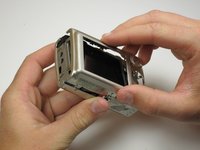
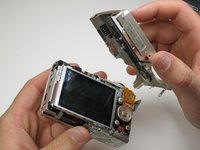
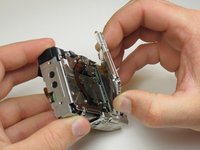
    5. Canon Powershot SD550 Image Sensor Replacement: adım 5, 3 resimden 1. Canon Powershot SD550 Image Sensor Replacement: adım 5, 3 resimden 2. Canon Powershot SD550 Image Sensor Replacement: adım 5, 3 resimden 3.
      • Gently lift the rear of the case to remove it from the camera.

      FixBot'a Sor
      Yorum Ekle

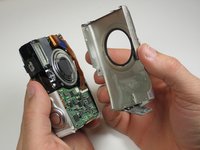
    6. Canon Powershot SD550 Image Sensor Replacement: adım 6, 3 resimden 1. Canon Powershot SD550 Image Sensor Replacement: adım 6, 3 resimden 2. Canon Powershot SD550 Image Sensor Replacement: adım 6, 3 resimden 3.
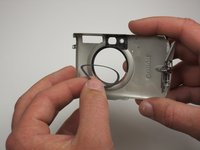
      • Remove the front of the camera body.

      • Be sure to keep track of the rubber ring.

      FixBot'a Sor

      Yorum Ekle

    1. Canon Powershot SD550 Image Sensor Replacement, LCD Screen: adım 7, 3 resimden 1. Canon Powershot SD550 Image Sensor Replacement, LCD Screen: adım 7, 3 resimden 2. Canon Powershot SD550 Image Sensor Replacement, LCD Screen: adım 7, 3 resimden 3.
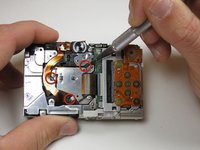
      • Peel the navigation buttons from the button panel and set them aside.

      • To free the LCD display, remove the 2.9 mm screw in the top left corner.

      • Rotate the screen clockwise until it lifts away from the camera.

      • There are two ribbon cables attached to the rear of the screen. Do not try to pull the screen off at this point.

      FixBot'a Sor

      Yorum Ekle

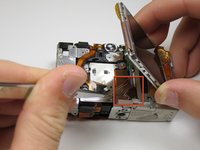
    2. Canon Powershot SD550 Image Sensor Replacement: adım 8, 2 resimden 1. Canon Powershot SD550 Image Sensor Replacement: adım 8, 2 resimden 2.
      • To unplug the ribbon cables, pull them straight out of their plugs. Do this gently to avoid damaging the connections.

      • After disconnecting both cables, pull the screen away from the camera to remove it.

      FixBot'a Sor
      Yorum Ekle

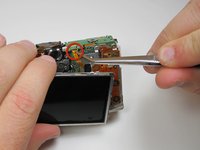
    1. Canon Powershot SD550 Image Sensor Replacement, Image Sensor: adım 9, 2 resimden 1. Canon Powershot SD550 Image Sensor Replacement, Image Sensor: adım 9, 2 resimden 2.
      • Now the photo sensor is exposed. In order to remove the ribbon cable from its port, first flip up the blue locking mechanism.

      • After the cable is unlocked, it easily pulls free.

      FixBot'a Sor
      Yorum Ekle

    2. Canon Powershot SD550 Image Sensor Replacement: adım 10, 2 resimden 1. Canon Powershot SD550 Image Sensor Replacement: adım 10, 2 resimden 2.
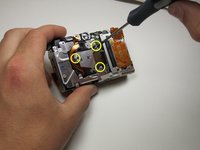
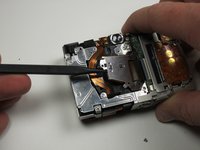
      • In order to remove the photo sensor, you will have to cut through glue and remove screws.

      • Use a knife to carefully slice through the glue at the tree points indicated. Try not to cut through anything but the glue to avoid damage.

      • WARNING: Knives are sharp. Treat them with respect.

      • Now remove the three .15 inch screws holding the photo sensor to the camera frame.

      FixBot'a Sor

      Yorum Ekle

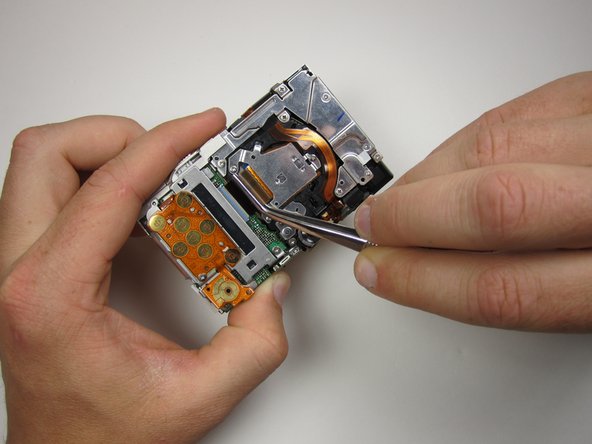
    3. Canon Powershot SD550 Image Sensor Replacement: adım 11, 2 resimden 1. Canon Powershot SD550 Image Sensor Replacement: adım 11, 2 resimden 2.
      • Now you can carefully lift up the image sensor and remove it from the camera.

      • Be careful not to lose the three small springs or the rubber grommet that lie beneath the sensor.

      FixBot'a Sor
      Yorum Ekle

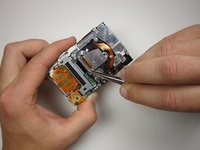
    4. Canon Powershot SD550 Image Sensor Replacement: adım 12, 1 resimden 1.
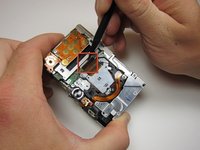
      • You have now successfully removed the image sensor.

      FixBot'a Sor
      Yorum Ekle

Sonuç

To reassemble your device, follow these instructions in reverse order.

İptal et: Bu kılavuzu tamamlamadım.

3 farklı kişi bu kılavuzu tamamladı.

Matthew Theiss

Üyelik tarihi: 04/14/11

191 İtibar

3 adet Kılavuz yazıldı

Ekip

Cal Poly, Team 18-23, Garner Spring 2011 Cal Poly, Team 18-23, Garner Spring 2011 üyesi

CPSU-GARNER-S11S18G23

5 Üyeler

22 adet Kılavuz yazıldı

0Kılavuz Yorumları

Yorum Ekle

İstatistikleri Görüntüle:

Son 24 Saat: 0

Son 7 gün: 10

Son 30 gün: 54

Her zaman: 3,291