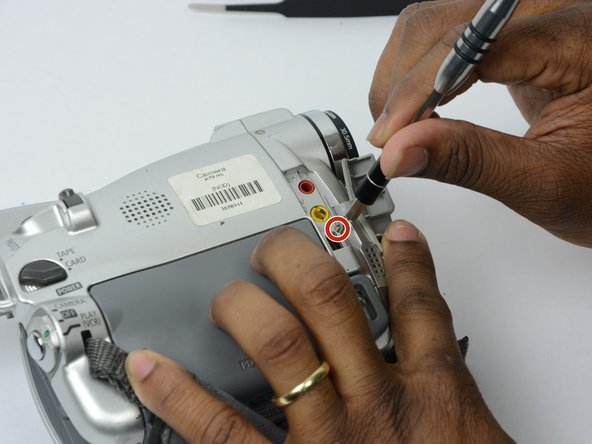
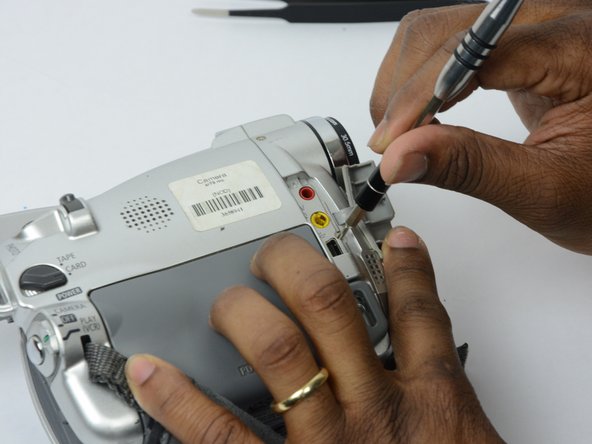
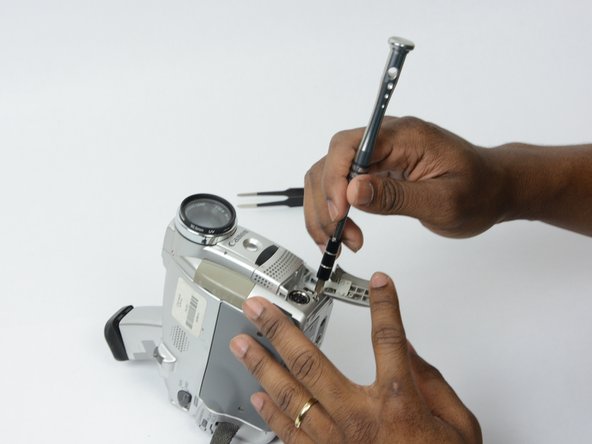
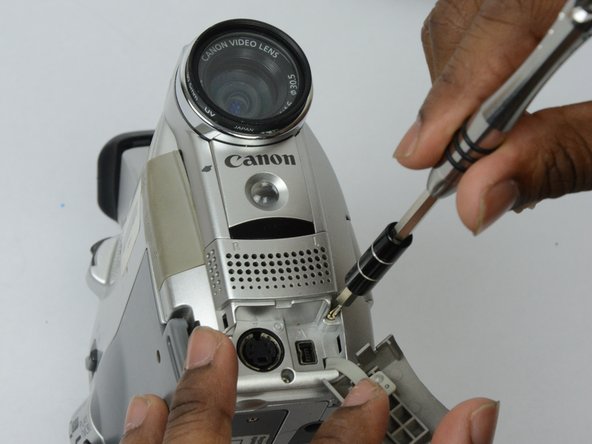
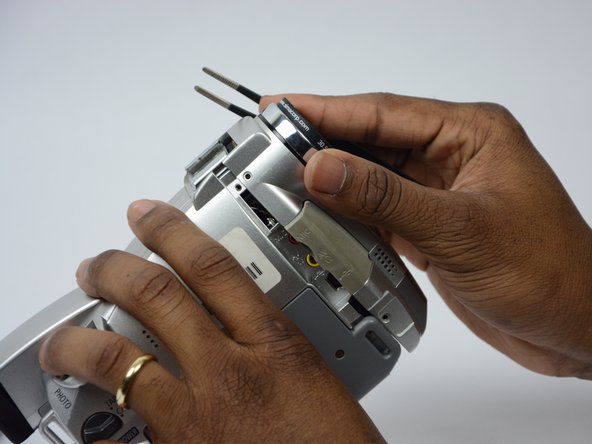
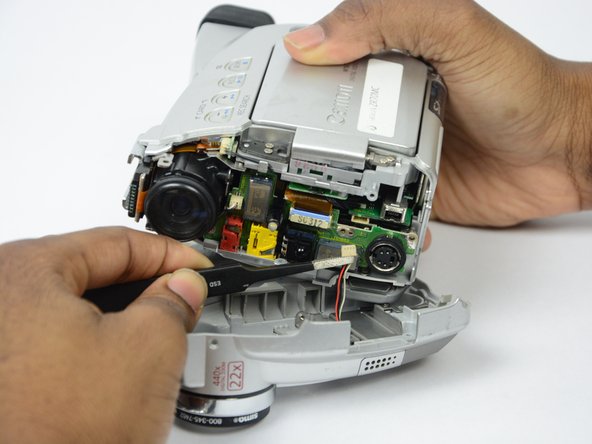
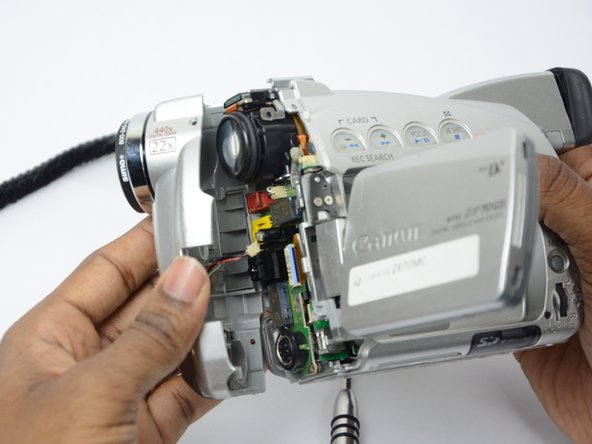
Ana içeriğe geç

Canon ZR70MC Front Panel Replacement

Neye ihtiyacın var

  1. Canon ZR70MC Front Panel Replacement, Front Panel: adım 1, 2 resimden 1. Canon ZR70MC Front Panel Replacement, Front Panel: adım 1, 2 resimden 2.
    • Unscrew the 3.35mm screw.

  2. Canon ZR70MC Front Panel Replacement: adım 2, 1 resimden 1.
    • Turn the ZR70MC so that you can see the bottom of the camcorder.

    • Unscrew the 3.35 mm located in the top left portion of the camera.

  3. Canon ZR70MC Front Panel Replacement: adım 3, 3 resimden 1. Canon ZR70MC Front Panel Replacement: adım 3, 3 resimden 2. Canon ZR70MC Front Panel Replacement: adım 3, 3 resimden 3.
    • Turn the camera on the side and remove the cover for the audio inputs. There is a 2.65 mm screw located behind the cover.

    • Remove the 2.65 mm screw.

  4. Canon ZR70MC Front Panel Replacement: adım 4, 3 resimden 1. Canon ZR70MC Front Panel Replacement: adım 4, 3 resimden 2. Canon ZR70MC Front Panel Replacement: adım 4, 3 resimden 3.
    • Remove the cover located on the front of the camcorder and remove the cover by pulling on the bottom groove.

    • Locate and remove the two 3.35 mm screws.

  5. Canon ZR70MC Front Panel Replacement: adım 5, 2 resimden 1. Canon ZR70MC Front Panel Replacement: adım 5, 2 resimden 2.
    • Turn the camcorder so that the bottom is facing up and open the tape cassette compartment.

    • There is one 3.35 mm screw located under the tape cassette panel on the front left side of the camcorder. Remove the screw.

  6. Canon ZR70MC Front Panel Replacement: adım 6, 3 resimden 1. Canon ZR70MC Front Panel Replacement: adım 6, 3 resimden 2. Canon ZR70MC Front Panel Replacement: adım 6, 3 resimden 3.
    • Now that all of the screws are removed, remove the front panel by gently pulling on the front panel.

    • The speaker will be connected to the main body by a wire. Be careful not to damage this wire.

  7. Canon ZR70MC Front Panel Replacement: adım 7, 3 resimden 1. Canon ZR70MC Front Panel Replacement: adım 7, 3 resimden 2. Canon ZR70MC Front Panel Replacement: adım 7, 3 resimden 3.
    Bu adımda kullanılan alet:
    Tweezers
    $4.99
    Satın Al
    • Use tweezers to gently pull the speaker wire from the main body of the camcorder.

    • Pull the front panel completely away from the main body of the camcorder.

Sonuç

To reassemble your device, follow these instructions in reverse order.

Bir başkası bu kılavuzu tamamladı.

khalid clarke

Üyelik tarihi: 09/26/17

824 İtibar

7 adet Kılavuz yazıldı

Ekip

USF Tampa, Team S13-G2, Boczar Fall 2017 USF Tampa, Team S13-G2, Boczar Fall 2017 üyesi

USFT-BOCZAR-F17S13G2

3 Üyeler

14 adet Kılavuz yazıldı

0 Yorum

Yorum Ekle

İstatistikleri Görüntüle:

Son 24 Saat: 1

Son 7 gün: 3

Son 30 gün: 5

Her zaman: 201