Giriş
If your Cirago M9030 MP3 player won't power on, shuts down unexpectedly, or shows signs of water or corrosion damage, you may have a faulty motherboard. Use this guide to replace the motherboard.
The motherboard is the device's main circuit board. It connects and controls parts such as the display, battery, storage, and buttons. When it fails, the device may stop responding, freeze, or show a blank screen.
Before using this guide, check the Cirago M9030 Troubleshooting Guide to rule out other causes.
To prevent electrical shock or damage to sensitive components, completely power off and disconnect the device from any external power source before beginning.
Replacing the motherboard will erase all data stored on the device. Back up important files if possible.
Neye ihtiyacın var
-
-
Use a Phillips #00 screwdriver to unscrew the four 1.1mm long screws on each corner located at the top of the cover.
 FixBot'a Sor
-
-
-
Similar to the last step, flip the cover over and use a Phillips #00 screwdriver to unscrew the four 1.1mm long screws on each corner located at the bottom of the cover.
-
-
-
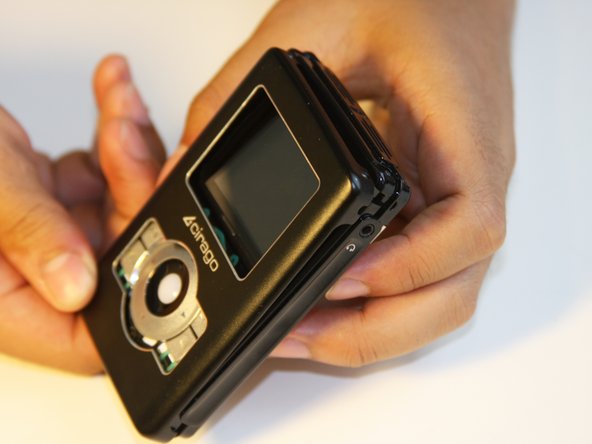
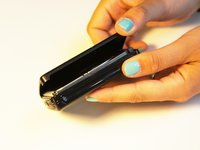
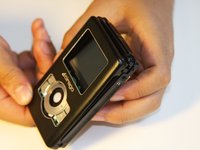
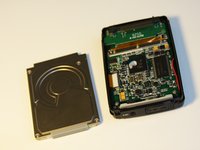
Gently take the cover apart using your hands separating the top and bottom.
-
-
-
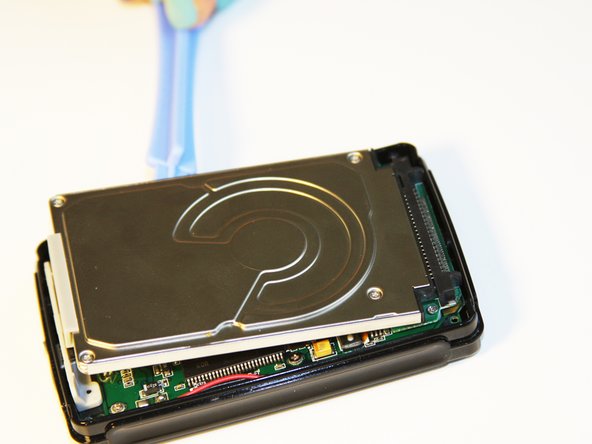
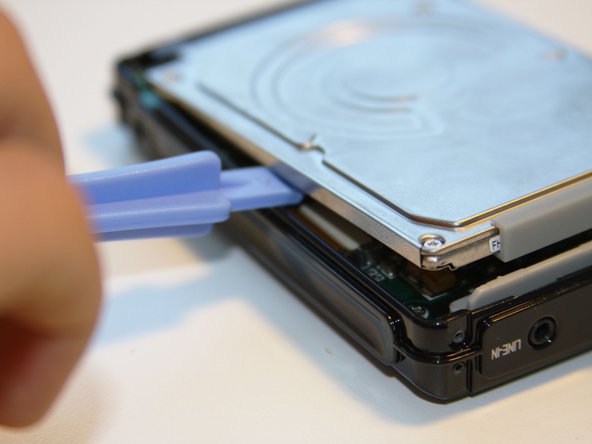
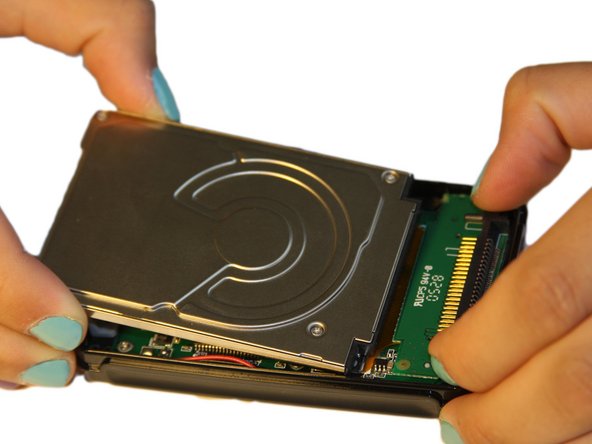
Using the plastic opening tool, wedge the tool underneath the bottom left edge of the hard drive.
-
Raise the bottom edge of the hard drive 15 degrees up from the device.
-
-
-
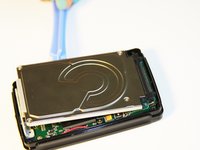
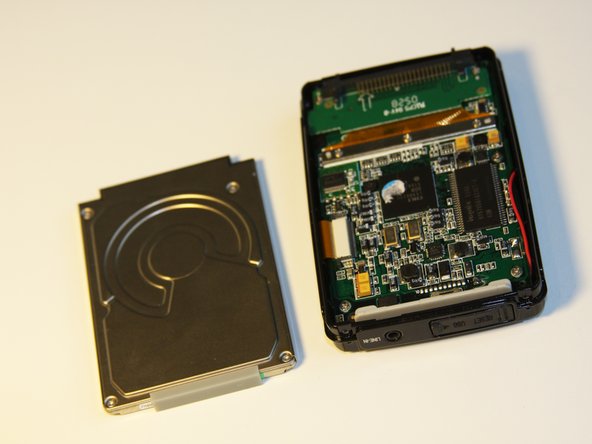
Place fingers on the IDE connectors gently picking up and sliding the hard drive out from the IDE module.
-
-
-
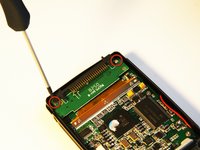
Using the Phillips #00 screwdriver, unscrew the two 1.5mm long screws holding the IDE connector to the motherboard located at the top.
-
-
-
Using the Phillips #00 screwdriver, unscrew the three 1.5mm long screws on the metal bracket.
-
-
-
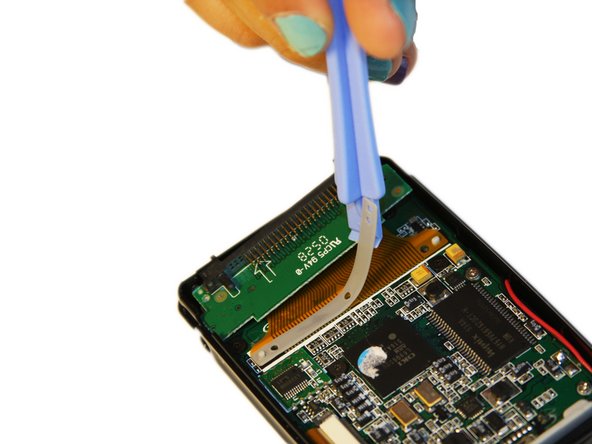
Using the plastic opening tool, completely lift the metal bracket off of the motherboard.
-
Using the plastic opening tool, completely lift the rubber insulator off of the motherboard.
-
-
-
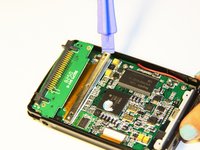
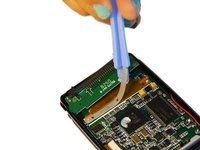
Using the plastic opening tool, completely lift the ribbon off of the motherboard.
-
-
-
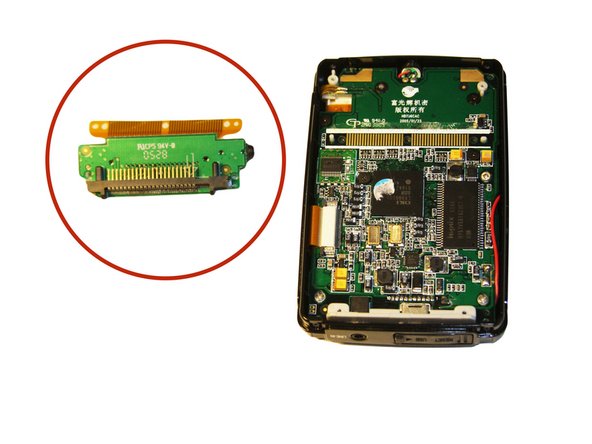
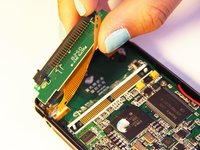
The audio jack is attached to the IDE connector. Pull at a 45 degree angle from the audio jack.
-
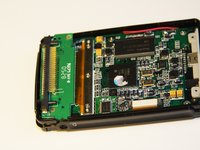
Completely remove the IDE connector from the device.
-
-
-
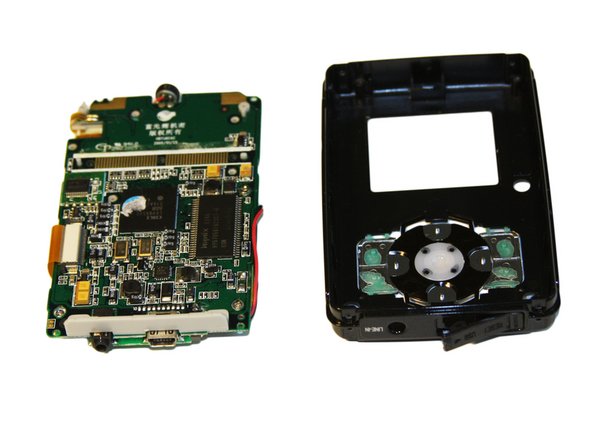
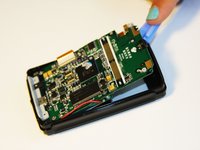
Using the plastic opening tool, wedge the tool underneath the top edge of the motherboard.
-
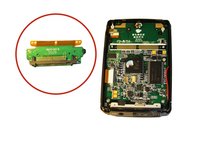
Completely remove the motherboard.
-












To reassemble your device, follow these instructions in reverse order.

Ekip

Cal Poly, Team 1-4, Regan SU 2012 Cal Poly, Team 1-4, Regan SU 2012 üyesi
CPSU-REGAN-SU12S1G4
4 Üyeler
7 adet Kılavuz yazıldı
