Giriş
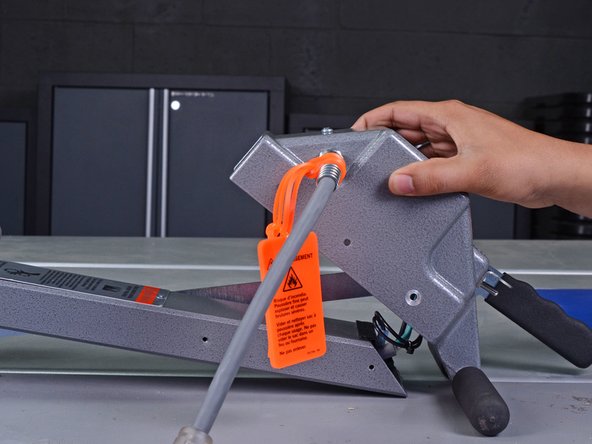
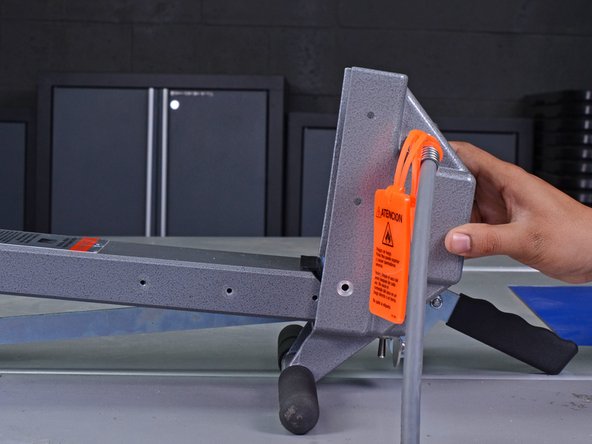
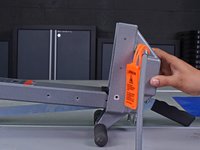
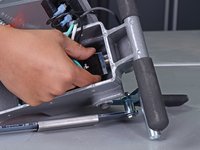
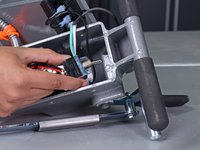
This guide shows how to remove and replace the control switch on the Clarke EZ-8 floor sander.
Neye ihtiyacın var
-
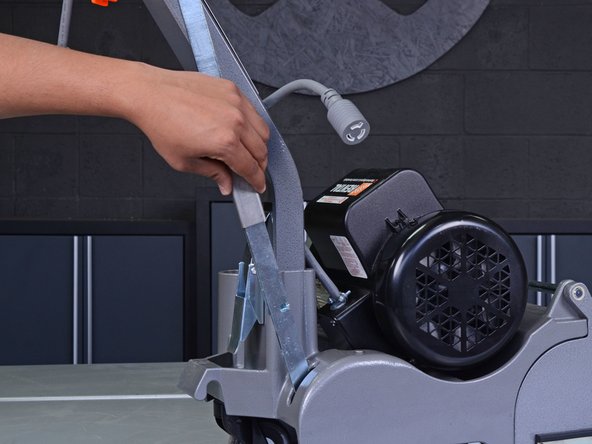
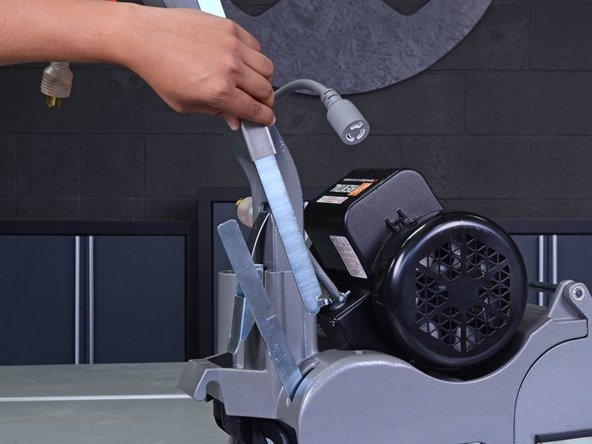
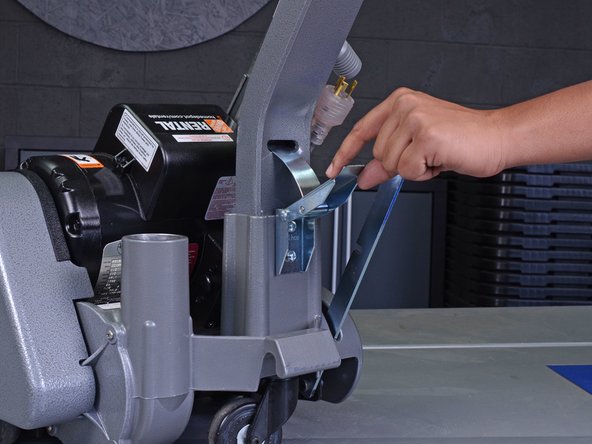
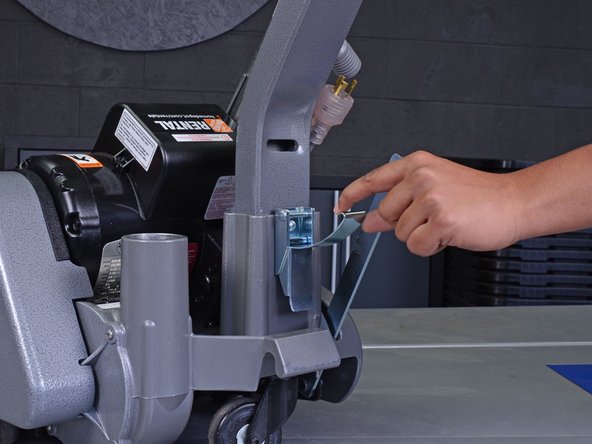
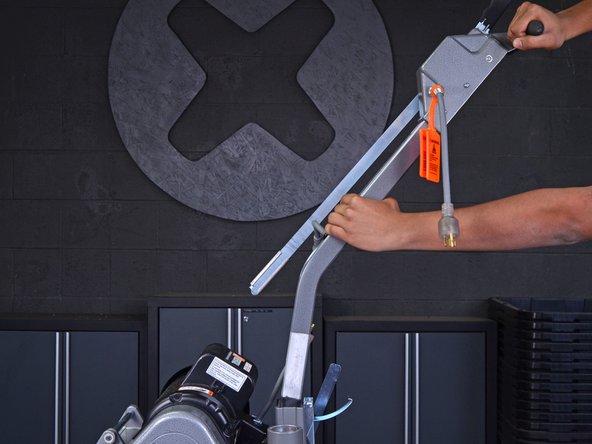
Adım 1 Disconnect all power cables
Dikkatli ol: adım 1 yapım altında olarak işaretlenen bir kılavuzdan alınmıştır.
-
-
Slide the collar on the control link arm up until the two halves of the arm detach from one another.
-
-
-
-
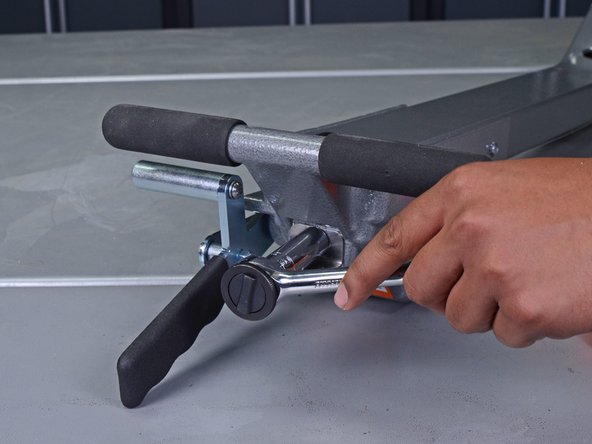
Use a socket wrench with a deep 9/16" socket to remove the retaining nut and star washer from the control switch toggle.
-
-
-
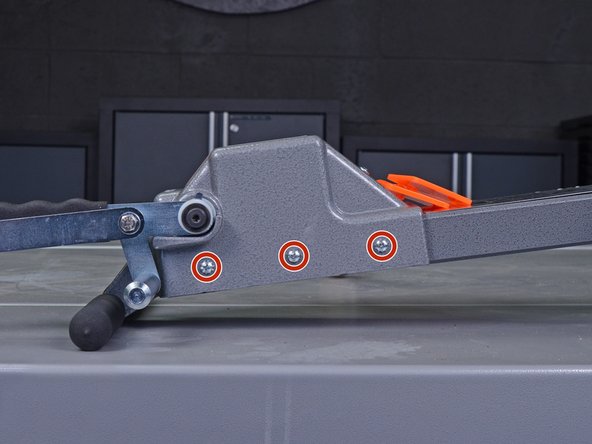
Use a Phillips #2 screwdriver to remove the six screws on the control housing—three on either side.
-
-
-
Lift the control housing up and swing it open so the wiring panel inside is accessible.
-
-
-
Use a #2 Phillips head screwdriver to remove the following three screws from the wiring panel:
-
Two 10-32 x 3/8" screws
-
One 8-32 x 3/8" screw
-
Remove the ring and fork terminals from the screws.
-
-
-
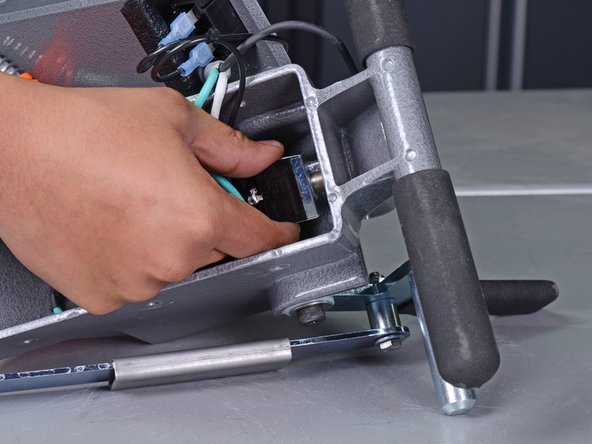
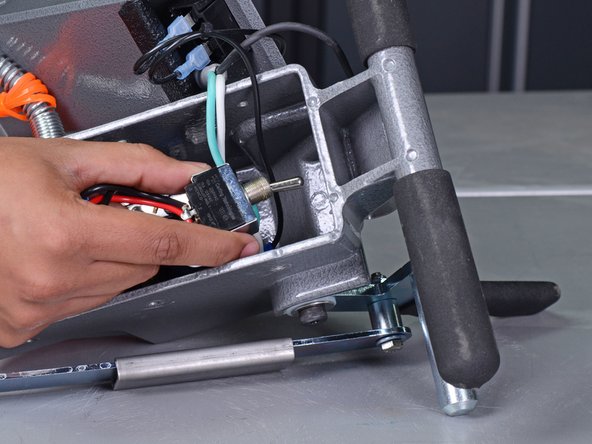
Pull and gently wiggle the control switch to remove it from its mounting hole in the control housing.
-
To reassemble your device, follow these instructions in reverse order.
To reassemble your device, follow these instructions in reverse order.
İptal et: Bu kılavuzu tamamlamadım.
9 farklı kişi bu kılavuzu tamamladı.
2Kılavuz Yorumları
Well Done, steps are clear and EZ 8 to follow!
Thank you excellent instruction


