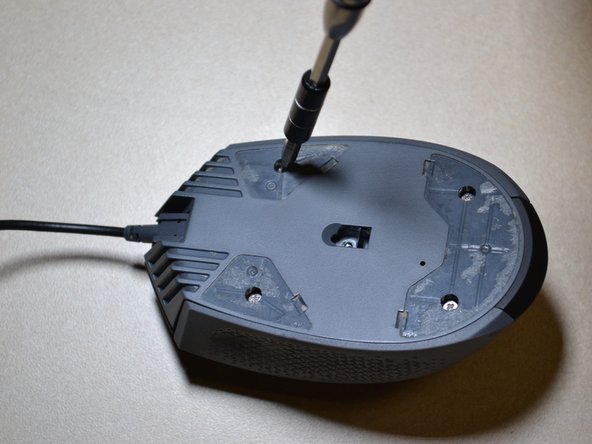
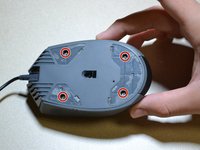
Ana içeriğe geç

Corsair Katar Disassembly

Neye ihtiyacın var

  1. Corsair Katar Disassembly, Corsair Katar Disassembly: adım 1, 2 resimden 1. Corsair Katar Disassembly, Corsair Katar Disassembly: adım 1, 2 resimden 2.
    • Unplug your mouse before starting.

    • Flip the mouse over so the bottom is facing up.

  2. Corsair Katar Disassembly: adım 2, 1 resimden 1.
    • Remove the three skates on the bottom of the mouse using the plastic opening tools.

    • Skates will be very sticky.

  3. Corsair Katar Disassembly: adım 3, 2 resimden 1. Corsair Katar Disassembly: adım 3, 2 resimden 2.
    • Use the JIS 0 screwdriver to remove the four 5 mm screws on the bottom of the mouse.

  4. Corsair Katar Disassembly: adım 4, 1 resimden 1.
    • Detach the bottom of the mouse from the upper shell.

    • Remove the shell slowly so as not to damage the white DPI cable inside the mouse.

    • Use the plastic opening tool to detach the white DPI sensor cable from its port.

    • Alternatively, you can use your hand to remove the DPI sensor cable by wiggling it out of the port.

Sonuç

To reassemble your device, follow these instructions in reverse order.

3 farklı kişi bu kılavuzu tamamladı.

Ryan Matesa

Üyelik tarihi: 07/12/18

248 İtibar

1 Kılavuz yazıldı

Ekip

UW Tacoma, Team S1-G3, Cardinal Summer 2018 UW Tacoma, Team S1-G3, Cardinal Summer 2018 üyesi

UWT-CARDINAL-SU18S1G3

3 Üyeler

12 adet Kılavuz yazıldı

0 Yorum

Yorum Ekle

İstatistikleri Görüntüle:

Son 24 Saat: 8

Son 7 gün: 16

Son 30 gün: 62

Her zaman: 3,062