Bu kılavuzda güncel değişiklikler var. En son onaylanmamış sürüme geçin.
Giriş
This guide will demonstrate how to safely disassemble the Creative Zen MicroPhoto in order to replace the motherboard.
Neye ihtiyacın var
-
-
Beginning with the notch directly beneath the battery, use the plastic opening tool to loosen the battery.
-
Once the battery is free, remove it from the device.
-
-
-
Turn over the device.
-
Use the plastic opening tool to separate the front and back covers.
-
Move the opening tool around the perimeter of the device until the front cover detaches.
-
-
-
-
Slowly detach the front cover from the rest of the device to reveal the interior.
-
-
-
Insert the flat-head screwdriver into the notch on the bottom of the device. Pry the main board and screen from the outer shell of the device.
-
-
-
Remove the main board and screen from the outer shell.
-
-
-
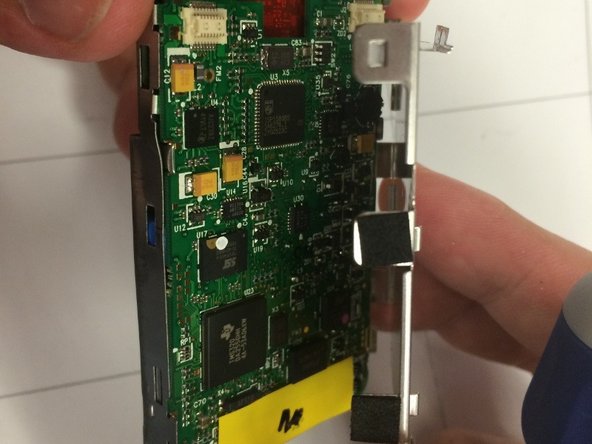
Using the flat-head screwdriver, carefully pry open the prongs on the sides of the device, and remove the main board from the screen.
-
-
-
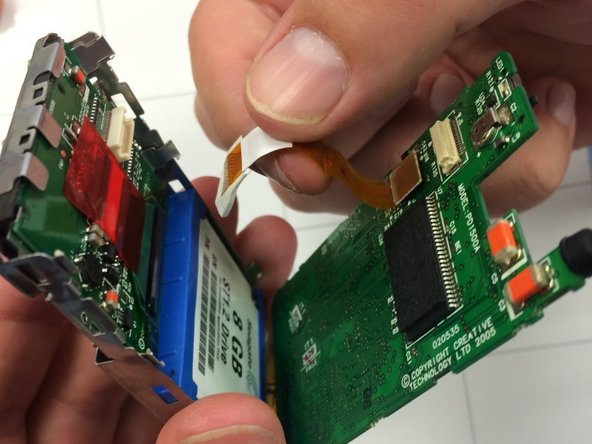
Push the ribbon tab (sticking out below the main screen) backward through the square hole to remove the main board of the device.
-
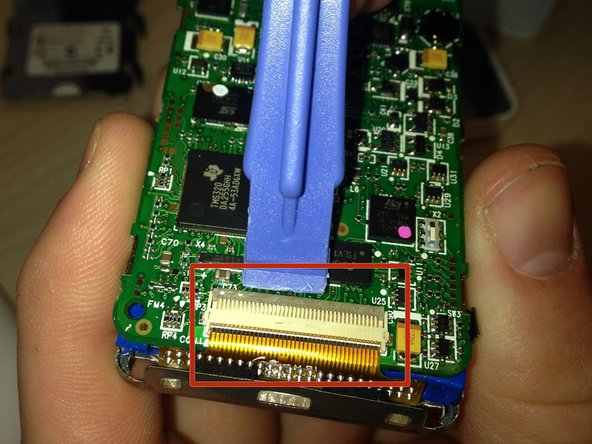
Once the wiring is removed from the front panel, release the hinge at the bottom of the device. To do so, gently pry underneath the clip (pictured) with a plastic opening tool. The clip will pop up, and the motherboard can be completely removed.
-


To reassemble your device, follow these instructions in reverse order.
To reassemble your device, follow these instructions in reverse order.
Ekip

Ohio State, Team 1-3, Buehl Fall 2014 Ohio State, Team 1-3, Buehl Fall 2014 üyesi
OSU-BUEHL-F14S1G3
4 Üyeler
2 adet Kılavuz yazıldı